
A DeWalt miter saw is a great tool for making all kinds of precise cuts, whether you’re cutting straight across a board or making tilted and angled cuts for things like picture frames or trim. This guide is a complete walkthrough on how to use it the right way. We’ll start with the basics of how to turn it on, go over how to stay safe, and even show you how to swap out the blade or try some more advanced cutting tricks.
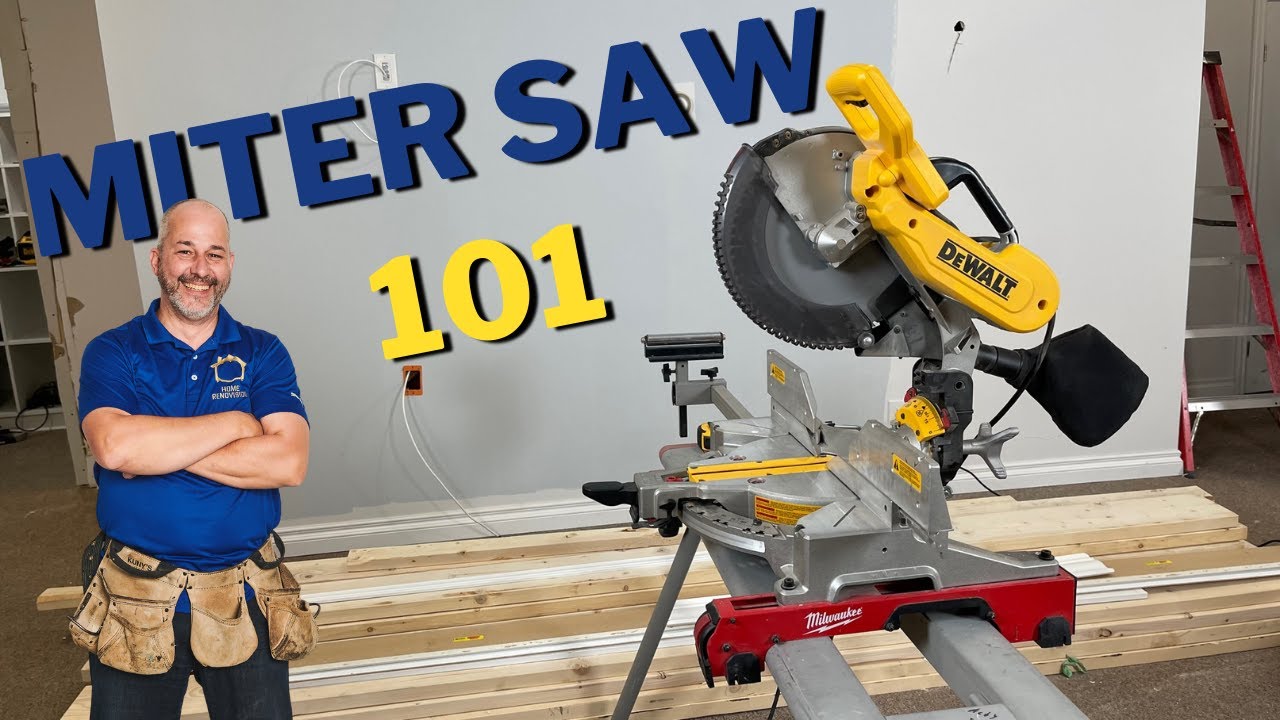
Image Source: i.ytimg.com
Choosing the Right DeWalt Miter Saw
DeWalt offers a wide range of miter saws, each designed for specific needs and applications. Selecting the right saw is crucial for achieving accurate and efficient cuts.
- Compound Miter Saw: Allows you to make both miter and bevel cuts in a single pass, ideal for crown molding and complex angles. Compound miter saws are essential for compound miter saw use.
- Sliding Miter Saw: Features a sliding rail that increases the cutting capacity, perfect for wider boards.
- Cordless Miter Saw: Offers portability and convenience, powered by a battery.
- Single Bevel Miter Saw: Bevels in one direction only.
- Dual Bevel Miter Saw: Bevels in both directions, adding convenience and efficiency.
DeWalt Miter Saw Safety: Prioritizing Your Well-being
Safety is paramount when operating any power tool. Before using your DeWalt miter saw, take these precautions:
- Read the Manual: Carefully review the owner’s manual to understand the saw’s operation, safety features, and limitations.
- Wear Safety Gear: Always wear safety glasses, hearing protection, and a dust mask or respirator.
- Secure the Workpiece: Use clamps or a vise to hold the material firmly in place. This prevents movement during cutting, which can lead to inaccurate cuts or kickback.
- Keep Hands Clear: Never place your hands near the blade’s path. Use a push stick or block to guide the workpiece.
- Inspect the Saw: Before each use, check the saw for any damage, loose parts, or worn components. Address any issues before operating the saw.
- Use Proper Lighting: Ensure adequate lighting in your work area to clearly see the cutting line and avoid shadows.
- Maintain a Clean Work Area: Keep the work area free of clutter and debris.
- Disconnect Power: Always disconnect the saw from the power source before making adjustments or changing the blade.
Setting Up Your DeWalt Miter Saw
Proper setup is crucial for accurate and safe dewalt miter saw operation.
- Mounting the Saw: Secure the miter saw to a stable work surface or stand. This prevents the saw from moving during operation. Many DeWalt miter saws have mounting holes for attaching to a stand or workbench.
- Calibrating the Saw: Check the accuracy of the miter and bevel scales. Use a speed square or protractor to verify that the saw is cutting at the correct angles. Adjust the scales as needed. This is a vital part of dewalt miter saw adjustments.
- Adjusting the Fence: Ensure the fence is straight and securely attached. The fence provides a reference surface for the workpiece, ensuring accurate cuts.
Basic Miter Saw Cutting Techniques
Once your saw is set up, you’re ready to start cutting. Master these basic miter saw cutting techniques for achieving accurate results:
-
Crosscuts: Crosscuts are straight cuts made perpendicular to the length of the board.
- Place the board flat against the fence.
- Align the blade with your marked cutting line.
- Turn on the saw and let it reach full speed.
- Slowly lower the blade through the wood, keeping the board firmly against the fence.
-
Once the cut is complete, release the trigger and allow the blade to stop before raising it.
2. Miter Cuts: Miter cuts are angled cuts made across the width of the board. These are crucial for precise miter saw angle cuts. -
Loosen the miter lock lever.
- Rotate the saw blade to the desired angle using the miter scale.
- Tighten the miter lock lever to secure the angle.
-
Place the board against the fence and make the cut as described for crosscuts.
3. Bevel Cuts: Bevel cuts are angled cuts made through the thickness of the board. These are critical when discussing miter saw bevel cuts. -
Loosen the bevel lock knob.
- Tilt the saw head to the desired angle using the bevel scale.
- Tighten the bevel lock knob to secure the angle.
-
Place the board against the fence and make the cut as described for crosscuts.
4. Compound Cuts: Compound cuts combine both miter and bevel angles. -
Set both the miter and bevel angles to the desired settings.
- Secure the workpiece against the fence.
- Make the cut slowly and carefully, ensuring the board remains stable.
Table: Common Cut Types and Their Uses
| Cut Type | Description | Common Uses |
|---|---|---|
| Crosscut | Straight cut perpendicular to the length of the board | Cutting boards to length, squaring ends |
| Miter Cut | Angled cut across the width of the board | Picture frames, trim work, corners |
| Bevel Cut | Angled cut through the thickness of the board | Crown molding, angled edges |
| Compound Cut | Combination of miter and bevel angles | Complex trim work, decorative moldings |
Advanced Miter Saw Cutting Techniques
For more complex projects, consider these advanced techniques:
- Nested Crown Molding Cuts: Cutting crown molding requires precise compound miter cuts. Use a crown molding jig or guide to hold the molding at the correct angle.
- Cutting Large Materials: When cutting wide boards, use the sliding feature of a sliding miter saw. Make multiple passes if necessary.
- Cutting Metal: Some miter saws can cut metal with the appropriate blade. Use a non-ferrous metal cutting blade and wear eye protection. Always follow the manufacturer’s recommendations for cutting metal.
Achieving Accurate Miter Saw Cuts
Accuracy is essential for professional-looking results. These tips will help you achieve accurate miter saw cuts:
- Sharp Blade: A dull blade can cause splintering and inaccurate cuts. Replace your blade regularly.
- Consistent Pressure: Apply even pressure when cutting. Avoid pushing or pulling the saw too quickly.
- Zero Clearance Insert: A zero clearance insert reduces tear-out and improves cut quality.
- Test Cuts: Before cutting your final piece, make a few test cuts on scrap material to verify the accuracy of your settings.
- Marking: Use a sharp pencil or marking knife to create clear, precise cutting lines.
How to Change the Blade on a DeWalt Miter Saw
Changing the blade is a necessary part of dewalt miter saw maintenance. Follow these steps:
- Disconnect the Power: Unplug the saw from the power outlet.
- Lock the Arbor: Engage the arbor lock to prevent the blade from turning.
- Remove the Blade Bolt: Use the wrench provided with the saw to loosen and remove the blade bolt.
- Remove the Outer Flange: Remove the outer flange that holds the blade in place.
- Remove the Old Blade: Carefully remove the old blade from the saw.
- Install the New Blade: Place the new blade onto the arbor, ensuring the teeth are facing the correct direction (usually indicated on the blade).
- Reinstall the Outer Flange: Reinstall the outer flange.
- Reinstall the Blade Bolt: Tighten the blade bolt securely using the wrench.
- Release the Arbor Lock: Disengage the arbor lock.
- Test the Saw: Plug the saw back in and test it to ensure the blade is properly installed and rotating freely.
DeWalt Miter Saw Adjustments
Periodic dewalt miter saw adjustments are essential for maintaining accuracy and performance.
- Miter Scale Adjustment: If your miter cuts are not accurate, adjust the miter scale using the adjustment screws.
- Bevel Scale Adjustment: Similarly, adjust the bevel scale if your bevel cuts are off.
- Fence Adjustment: Ensure the fence is aligned correctly and securely attached. Adjust as needed.
- Laser Guide Adjustment (if equipped): Calibrate the laser guide to match the blade’s cutting path.
DeWalt Miter Saw Maintenance
Regular dewalt miter saw maintenance will extend the life of your saw and keep it performing optimally.
- Cleaning: Regularly clean the saw with a brush or vacuum to remove sawdust and debris.
- Lubrication: Lubricate moving parts with a dry lubricant to ensure smooth operation.
- Blade Inspection: Regularly inspect the blade for damage or wear. Replace the blade when necessary.
- Carbon Brush Replacement: Check the carbon brushes periodically and replace them when they are worn down.
- Cord Inspection: Inspect the power cord for damage and replace it if necessary.
Troubleshooting Common Miter Saw Problems
- Saw Won’t Start: Check the power cord, outlet, and switch. Ensure the blade guard is properly positioned.
- Blade Wobbles: Ensure the blade is properly installed and tightened. Check for a bent arbor.
- Inaccurate Cuts: Calibrate the miter and bevel scales. Check the fence for alignment.
- Excessive Vibration: Ensure the saw is securely mounted. Check for a bent blade or worn bearings.
Tips for Compound Miter Saw Use
A compound miter saw expands your cutting capabilities. Keep these points in mind when using one:
- Understand the Angles: Compound cuts involve both miter and bevel angles. Plan your cuts carefully to ensure the pieces fit together correctly.
- Secure the Workpiece: Due to the complexity of compound cuts, securing the workpiece is even more critical. Use clamps and supports to prevent movement.
- Practice on Scrap Wood: Before cutting your final piece, practice on scrap wood to get a feel for the cut and verify your settings.
- Consider a Digital Angle Finder: A digital angle finder can help you accurately measure and set the miter and bevel angles.
FAQ: Frequently Asked Questions
- What is the best miter saw for a beginner? A single bevel sliding miter saw is a good option for beginners due to its versatility and ease of use.
- Can I cut metal with my DeWalt miter saw? Yes, with the appropriate metal-cutting blade. Ensure the blade is designed for the type of metal you’re cutting and follow all safety precautions.
- How often should I change my miter saw blade? The frequency depends on usage, but replace it when you notice reduced cutting performance, splintering, or visible damage.
- Who is the miter saw intended for? The miter saw is intended for woodworkers, carpenters, and DIY enthusiasts who need to make accurate crosscuts, miter cuts, and bevel cuts.
- What safety features should I look for in a miter saw? Key safety features include a blade guard, electric brake, and a dust collection system.
- How do I prevent tear-out when cutting wood with a miter saw? Use a sharp blade, a zero-clearance insert, and score the cutting line before making the cut.
- How do I maintain my DeWalt miter saw? Regularly clean the saw, lubricate moving parts, inspect the blade, and check the carbon brushes.
By following these guidelines and safety precautions, you can confidently use your DeWalt miter saw to create accurate, professional-looking cuts for all your woodworking projects.

Hi, I’m Tom Scalisi, and welcome to The Saw Blog! I started this blog to share my hands-on experience and insights about woodworking tools—especially saws and saw blades. Over the years, I’ve had the chance to work with a wide range of tools, and I’m here to help both professionals and hobbyists make informed decisions when it comes to selecting and using their equipment. Whether you’re looking for in-depth reviews, tips, or just advice on how to get the best performance out of your tools, you’ll find it here. I’m excited to be part of your woodworking journey!