
Have you ever made a cut and it came out all crooked? I’ve done that too, many times. Learning how to make a straight cut with a circular saw helped me fix that. With the right steps and a simple power saw straight edge, even a long board—like 8 ft—can be easy to cut straight. I’ll show you how to use a circular saw (or a skill saw) the right way. I’ll also share some tips from my own work, so you can get clean, straight cuts every time. How To Make A Straight Cut With A Circular Saw.
Understanding Your Tools
What is a Circular Saw?
A circular saw is a tool that cuts wood with a fast, round blade. You hold it with both hands and guide it along a line. It cuts quick and smooth when used the right way.
The first time I used one, I was a bit scared. It was loud and strong. But once I got used to it, I saw how helpful it was. The blade spins one way, and a guard covers it for safety. Some saws even have a light or laser to help you stay on the line.
Different Types of Cuts
A circular saw isn’t just for one type of job; you can use it to make several different kinds of cuts. You can “rip” wood by cutting along the length of the grain, or “crosscut” by cutting across the grain. You can even make slanted or angled cuts by simply tilting the saw blade.
When I made my first shelf, I only did straight cuts. I didn’t know I could tilt the saw. After I learned, my corners fit way better.
Safety Precautions
Always stay safe when using a circular saw. Wear safety glasses and keep your hands away from the blade. Make sure the wood doesn’t move while you cut. Never start the saw with the blade touching the wood.
One time, I didn’t hold the board right, and it moved while cutting. That shook me up. Now I take a few extra seconds to set things up safely every time.
Preparation for Straight Cuts
Choosing the Right Saw Blade
To cut straight, you need the right blade. A fine-tooth blade gives clean lines, while rough blades can leave jagged edges.
I once used a rough blade by mistake. The wood chipped, and the edge looked bad. I swapped it for a better one, and the cut was clean. A sharp blade makes all the difference.
Check the blade’s label. Look for one made for clean or finish cuts. Spending a little more here will save you a lot of time later.
Setting Up Your Work Area
A flat, firm work area helps you cut well. Use a steady table or sawhorses to keep the wood from moving.
One time, I used my porch steps to cut. The board slipped, and I messed up. Now, I always check the setup before I cut.
Keep your space clear. Move cords out of the way. A clean spot keeps you safe and makes the job easier.
Using Guides and Jigs
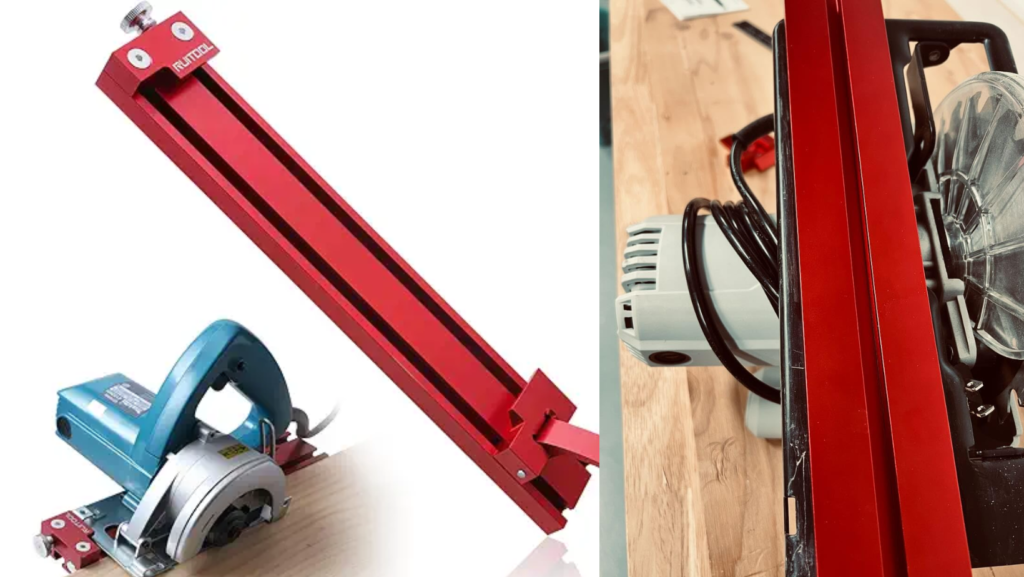
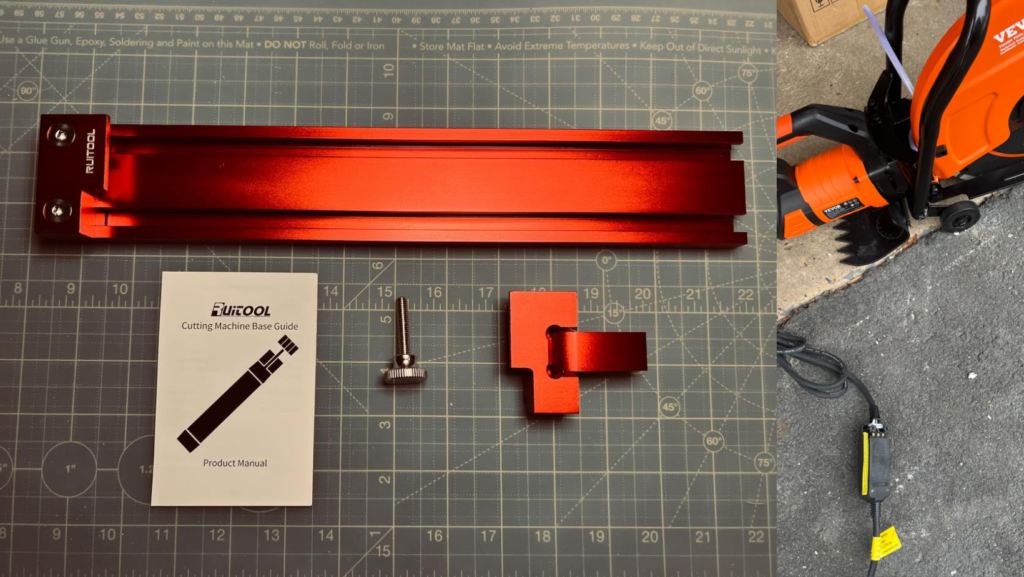
Want a straight cut? Use a guide or jig. They help the saw stay on track.
You can buy a guide or make one from scrap wood. I made a simple one with a spare board, and it worked great.
For long cuts, clamp a straight edge to the board and run the saw along it. It’s like using a ruler for drawing—easy and neat.
Techniques for Making Straight Cuts
Marking Your Cut
To get a straight cut, draw a straight line.
Use a pencil and a square. A square helps you make a 90-degree line. If the board is long, use a level or straight board to guide your line.
At first, I tried guessing the line. The cut always looked bad. Now, I take time to mark it right. It saves time and wood.
Starting the Cut
Line up the saw before you turn it on.
Set the front of the saw flat on the wood. Keep the blade near the line, but not touching. Hold it tight with both hands.
Now, pull the trigger. Wait for the saw to spin. Then, push it slow and smooth. Let it glide, don’t force it.
One time, I rushed it. The saw jerked and my cut went crooked. Now I go slow. It works better.
Maintaining Control
As you cut, stay steady and focused.
Keep both hands on the saw. Watch the line. Push at a slow, even pace. Don’t rush.
If the saw drifts, guide it back. Don’t yank it. Just steer it with care.
I once tried to speed through a cut. The edge came out rough, and I had to redo it. A calm cut is a clean cut.
Common Challenges and Troubleshooting
Common Issues
Sometimes, your cut just doesn’t go straight.
Why does this happen?
It can be from moving too fast. Or maybe the blade is dull. Or the board isn’t flat.
I had this happen on a shelf job. I didn’t clamp the board. Halfway in, it slipped. My saw moved off the line. The cut was bad. I had to start over. That day, I learned to slow down.
Another time, my blade was old. It dragged through the wood. The edge came out rough. Now I check the blade before I cut.
Also, don’t cut on soft or bumpy ground. Your board will shift or tilt. That throws off your line.
Troubleshooting Tips
Don’t worry. You can fix most of these problems.
How do I fix a crooked cut?
Stop the saw. Take a look. Line it up again.
If your saw moves off the line, don’t force it. Let go of the trigger. Reset. Start fresh.
I messed up a long board once. The middle dipped. The saw bounced. It scared me. Now, I use scrap wood to hold the board up.
Want straight cuts?
Use a straight board as a guide. Clamp it. Run your saw along the edge. Like tracing a line. It works great.
Also, stand right. Keep both hands on the saw. Look at the line. Move slow. That’s the trick.
Practical Tips and Personal Insights
Practice Tips: Get Better With Every Cut
Want better cuts? Just keep cutting. The more you try, the better you’ll get. It’s like learning to ride a bike—wobbly at first, then smooth.
Start with scrap wood. Don’t test your skills on your best piece. Use an old board. Draw a line and cut. Use a guide. Try without one, too. See what feels right.
Go easy. Let the saw do the work. Don’t shove it. If you push too fast, it can jump. Too slow, and it might burn the wood. Find a nice pace and stay steady.
Try angled cuts. Tilt the saw and see how it moves. It might feel weird at first, but it gets easier. Soon, those corner cuts will look sharp and clean.
Personal Stories: What I Learned the Hard Way
I once had to cut a long 8-foot board for a table I made for my sister. I didn’t have fancy tools—just my circular saw, and a straight board clamped on as a guide.
I was nervous. Long cuts are hard. I checked the line, the blade, and the clamps. I took a deep breath and started slow. The cut was straight! And that table? It looked great.
Another time, I was helping a friend with garden boxes. We used concrete steps as a workbench, which was not smart. The cuts kept going crooked. So, I set up two sawhorses and laid a board flat. That fixed it. The cuts were straight and clean.
What I Learned: Don’t rush. Set up your space right. A good base makes a big difference.
Cutting wood can feel great when it goes right. You hear the saw hum. You follow the line. Then, you lift the saw and see that clean edge. It’s a small win—but it feels big.
So take your time, make test cuts, and try different setups. You don’t need fancy gear. Just be careful and stay calm.
FAQs About Using Circular Saws
How do you get a straight cut with an 8 ft long board?
Cutting a long board straight can be tough. But there’s a simple way to do it. I use a straight edge—like a long piece of wood or a level—and clamp it to the board. Then I run the saw along that edge. It’s just like tracing with a ruler.
Also, don’t forget to support the board. I use two sawhorses and a small board in the middle. That keeps it steady so it doesn’t bend or shake.
Can you use a circular saw without a guide?
Yes, you can. But it’s harder. I’ve done it a few times. The line wasn’t perfect, but it worked for rough cuts. If you want a clean edge, a guide helps a lot.
If you go without one, take it slow. Keep both hands on the saw and watch the line. Don’t rush. It’s like drawing—slow and steady wins the race.
What’s the difference between a circular saw and a skill saw?
They’re the same thing. Skil is just a brand name. People started calling all circular saws skill saws over time.
So when someone says skill saw, they likely mean a regular circular saw. It’s like saying Band-Aid when you mean a bandage. Same idea.
Conclusion
Cutting straight with a circular saw is easier than it seems. You just need a few steps, a steady hand, and a bit of practice. We talked about blades, setup, guides, and how to keep control. We also looked at common mistakes and how to fix them.
So, what’s the key? Go slow. Mark your line. Support your wood. Let the saw do the work. If you can use a guide, use one. But even without it, you can get a clean cut.
If you’ve read this far, you’re ready to try it out. Grab a scrap board and start cutting. Use a guide first. Then try it without one. You’ll see what works best for you.
If this helped you, share it with a friend. We all start somewhere. I’ve made crooked cuts too. But now, I take my time—and my cuts come out clean.
There’s a good feeling in getting it right. The sound of the saw, the smell of fresh wood, and that straight line at the end—it just feels good.

Hi, I’m Tom Scalisi, and welcome to The Saw Blog! I started this blog to share my hands-on experience and insights about woodworking tools—especially saws and saw blades. Over the years, I’ve had the chance to work with a wide range of tools, and I’m here to help both professionals and hobbyists make informed decisions when it comes to selecting and using their equipment. Whether you’re looking for in-depth reviews, tips, or just advice on how to get the best performance out of your tools, you’ll find it here. I’m excited to be part of your woodworking journey!