
A table saw crosscut sled is a jig used to make accurate and safe crosscuts on a table saw. This article will guide you through building your own.
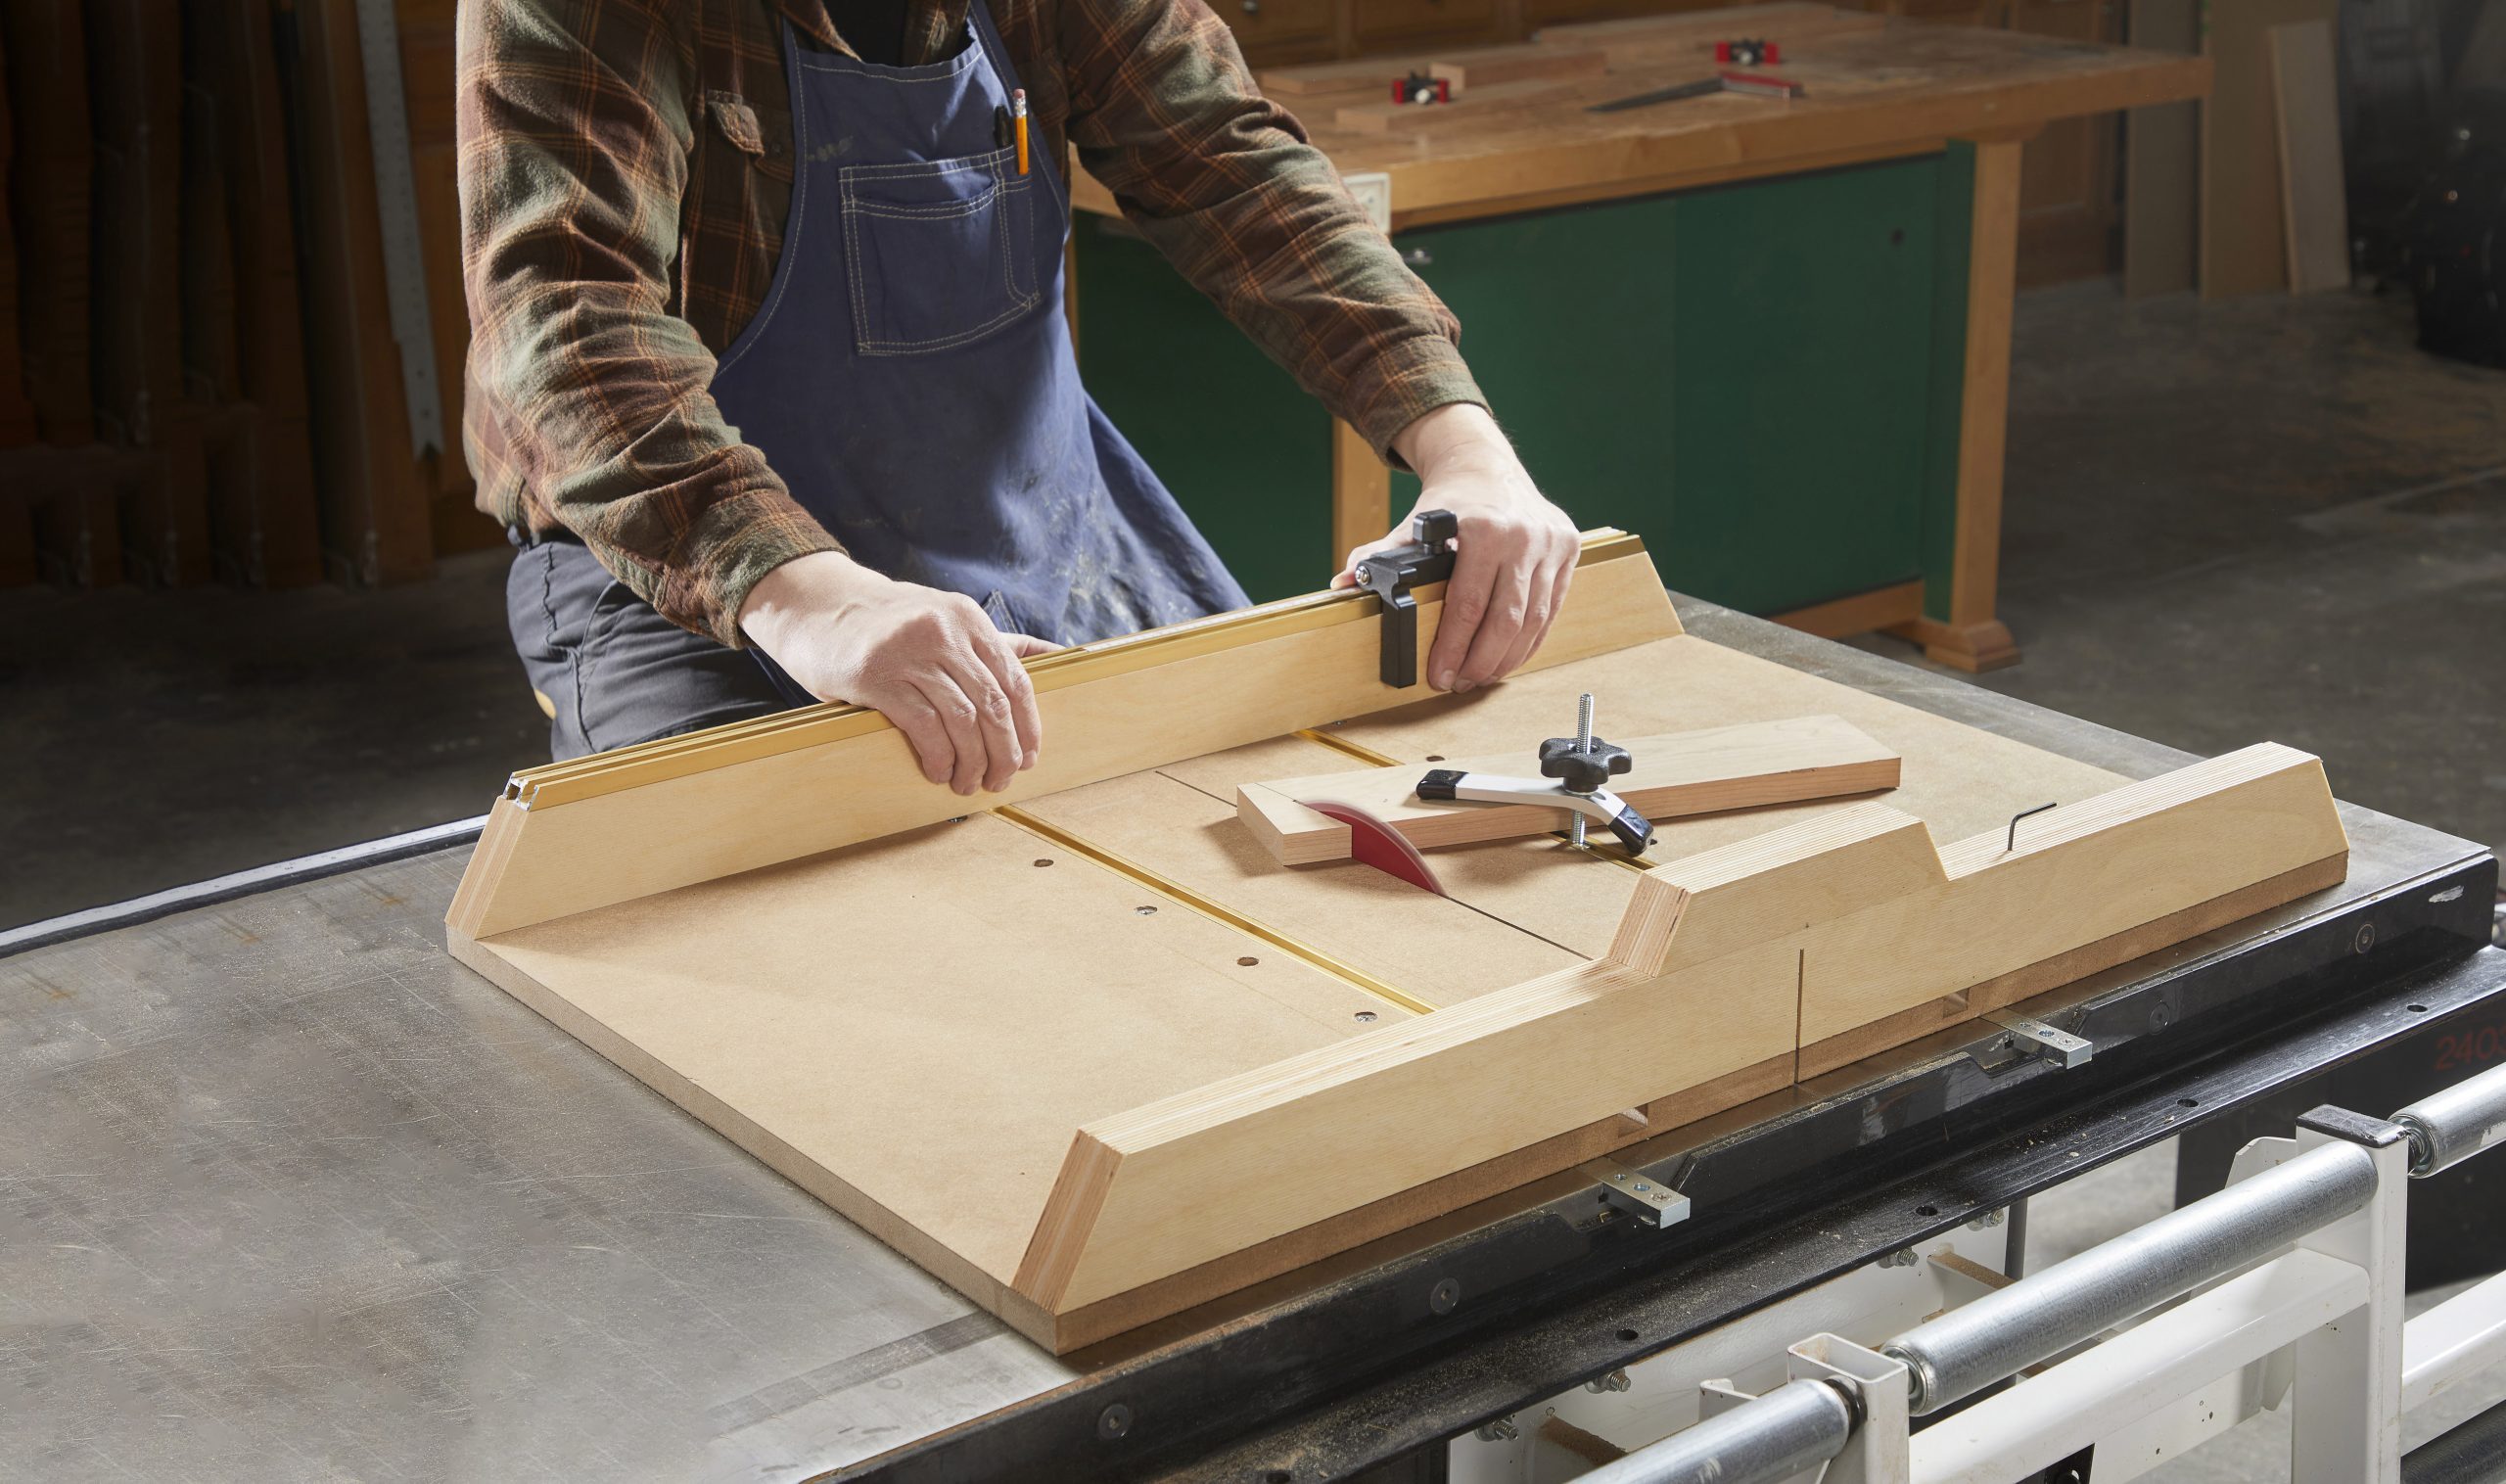
Image Source: www.familyhandyman.com
Why Build a Table Saw Crosscut Sled?
A table saw is a great tool, but the standard miter gauge that comes with it can make it tricky to get perfectly straight or safe cuts. That’s where a crosscut sled comes in. It’s basically a sliding platform that holds your wood steady and gives you way more control. It makes it easy to get the exact same cut over and over again, and best of all, it keeps your hands much further away from the blade.
The Benefits of Using a Crosscut Sled
- Improved Accuracy: Achieve perfectly square cuts every time.
- Enhanced Safety: Keeps hands away from the blade, reducing the risk of injury.
- Repeatability: Ideal for making multiple cuts of the same length.
- Support for Large Workpieces: Provides a stable base for larger boards.
- Zero-Clearance Cutting: Minimizes tear-out for cleaner cuts.
Miter Saw vs. Crosscut Sled: Which is Best?
Both miter saws and crosscut sleds are designed for crosscutting, but they have different strengths. A miter saw is great for quick, angled cuts and long pieces. A crosscut sled excels at precision, repeatability, and supporting large or oddly shaped pieces, especially for 90-degree cuts. If you need extreme accuracy and frequently work with sheet goods, a crosscut sled is an invaluable addition to your shop. The choice boils down to which qualities are more important for the tasks you undertake.
Planning Your DIY Crosscut Sled
Before you start woodworking sled construction, careful planning is essential. This involves determining the crosscut sled dimensions, selecting the best materials for crosscut sled, and choosing a design that meets your specific needs.
Deciding on the Right Crosscut Sled Dimensions
There’s no one-size-fits-all answer for crosscut sled dimensions. Consider these factors:
- Table Saw Size: The sled must fit your table saw. Measure the width of your table saw top and the distance between the miter slots.
- Typical Workpiece Size: Build a sled large enough to comfortably accommodate the boards you usually work with.
- Storage Space: Consider where you will store the sled when not in use. A larger sled takes up more space.
A common size for a general-purpose sled is around 24 inches deep and 30 inches wide, but adjust these dimensions to fit your particular needs.
Choosing the Best Materials for a Durable Crosscut Sled
The materials you select will impact the sled’s performance and longevity. Here’s a breakdown of common choices:
- Plywood: For the base and fence, Baltic birch plywood or a high-quality cabinet-grade plywood is ideal. It’s stable, flat, and resists warping. Avoid construction-grade plywood, which can have voids and inconsistencies.
- Hardwood: Use hardwood (such as maple, oak, or birch) for the runners that fit into the miter slots. Hardwood is durable and slides smoothly.
- Fasteners: Use screws (wood screws or pan head machine screws) that are appropriate for the material thickness. Ensure they are long enough to provide a secure hold but not so long that they protrude through the other side.
- Glue: Use wood glue to reinforce joints for added strength and stability.
Here’s a table summarizing the recommended materials:
| Component | Material | Notes |
|---|---|---|
| Base | Baltic birch plywood/Good MDF | Provides a stable, flat surface. Choose a thickness of at least ¾ inch for rigidity. |
| Fence | Baltic birch plywood/Hardwood | Needs to be perfectly square to the blade. Can be reinforced with a hardwood edge. |
| Runners | Hardwood (Maple, Oak, Birch) | Must fit snugly but smoothly in the miter slots. |
| Fasteners | Wood screws, Machine Screws | Choose appropriate length and type for the material thickness. |
| Glue | Wood glue | Reinforces joints for added strength. |
| Optional stops | Aluminum T-track or Wood | Aluminum T-track allows for adjustable, repeatable cuts. Wood can be used for simple, fixed stops. |
Step-by-Step: Building Your DIY Crosscut Sled
Now, let’s get to the actual building process. These instructions will walk you through each step to ensure you construct a functional and safe table saw sled.
Step 1: Preparing the Base
- Cut the Plywood: Cut your plywood to the desired dimensions for the base. Ensure it is perfectly square.
- Attach the Runners:
- Cut the hardwood for the runners slightly wider and thicker than your miter slots.
- Carefully dry-fit the runners into the miter slots. They should slide smoothly but without excessive play.
- If the runners are too thick, plane or sand them down gradually until they fit correctly.
- Once you have a good fit, apply glue to the runners and clamp them into the miter slots on the base.
- Allow the glue to dry completely before proceeding.
- Flush the Runners: After the glue has dried, use a hand plane or router with a flush-trim bit to make the runners flush with the base. This ensures a smooth, even surface.
Step 2: Attaching the Fences (Building a Crosscut Sled Fence)
- Cut the Fence Material: Cut your fence material (plywood or hardwood) to the desired length and height. It’s best to make it a few inches taller than your tallest workpiece.
- Attach the Rear Fence:
- Position the rear fence so it is square to the miter slots. Use a reliable square to ensure accuracy.
- Apply glue to the base where the fence will sit.
- Clamp the fence firmly in place.
- Pre-drill pilot holes and screw the fence to the base. Use countersunk screws for a clean finish.
- Make the Initial Cut:
- Install the sled on your table saw.
- Raise the blade so it is slightly higher than the fence.
- Carefully push the sled through the blade, cutting a kerf in the base and the rear fence. This creates a zero-clearance slot for the blade.
- Attaching the Front Fence (Accuracy Table Saw Sled):
- This is the most critical step for accuracy table saw sled. Use a reliable square to position the front fence perfectly perpendicular to the blade (using the kerf you just cut as a reference).
- Alternatively, you can use the “five-cut method” to dial in perfect accuracy. This involves making five cuts and measuring the resulting piece to calculate the error and adjust the fence accordingly.
- Apply glue to the base and clamp the front fence in place.
- Pre-drill pilot holes and screw the fence to the base, again using countersunk screws.
Step 3: Reinforcing and Fine-Tuning
- Add Reinforcements: For added stability, consider adding triangular supports to the inside corners of the fences. These can be made from plywood or hardwood and glued and screwed in place.
- Check for Square: Use a reliable square to verify that the fences are still square to the blade after adding reinforcements. Make any necessary adjustments.
- Apply a Finish: Apply a coat of paste wax to the base to help it slide smoothly on the table saw.
Advanced Crosscut Sled Techniques
Once you’ve mastered the basics, you can explore advanced techniques to expand the capabilities of your crosscut sled.
Adding a Hold-Down Clamp
A hold-down clamp secures your workpiece to the sled, preventing it from shifting during the cut. This is especially useful for small or irregular-shaped pieces. You can purchase commercial hold-down clamps or build your own using plywood and hardware.
Incorporating a T-Track and Stop Block
Adding a T-track to the fence allows you to use a stop block for repeatable cuts. The T-track provides a secure channel for the stop block, ensuring it stays in place during the cut. This is ideal for cutting multiple pieces to the same length.
Building an Adjustable Miter Sled
An adjustable miter sled allows you to make angled cuts with precision. This involves building a sled with an adjustable fence that can be set to different angles. A protractor or angle gauge can be used to set the desired angle accurately.
Zero Clearance Inserts
Creating zero clearance inserts around the blade opening helps to eliminate tear-out by supporting the wood fibers as the blade cuts through them. The insert should be level with the surface of the sled.
Using Digital Angle Finders
To maximize accuracy on the sled’s 90-degree alignment, consider using digital angle finders. They attach magnetically and provide highly accurate angle measurements to fine-tune the crosscut sled fences.
Essential Safety Precautions
Safety is paramount when using a table saw and crosscut sled. Always follow these precautions:
- Wear Safety Glasses: Protect your eyes from flying debris.
- Use Push Sticks: Keep your hands away from the blade by using push sticks to guide the workpiece.
- Never Reach Over the Blade: Avoid reaching over the blade, even with the sled.
- Inspect the Sled Regularly: Check for loose screws, cracks, or other damage before each use.
- Unplug the Saw When Making Adjustments: Always unplug the saw before making any adjustments to the sled or blade.
- Ensure Proper Blade Height: Set the blade height so it is just high enough to cut through the workpiece.
- Avoid Cutting Metal: Never use a crosscut sled to cut metal.
Troubleshooting Common Problems
Even with careful planning and construction, you may encounter some issues with your crosscut sled. Here are some common problems and how to fix them:
| Problem | Possible Cause | Solution |
|---|---|---|
| Sled is difficult to push | Runners are too tight in the miter slots | Sand or plane down the runners until they slide smoothly. Apply paste wax to the runners and table saw top. |
| Cuts are not square | Fence is not square to the blade | Re-square the fence using a reliable square or the five-cut method. |
| Tear-out occurs | Blade is dull or has too many teeth | Use a sharp blade with an appropriate number of teeth for the material you are cutting. Consider using a zero-clearance insert. |
| Workpiece slips | Insufficient clamping or hold-down | Add a hold-down clamp to secure the workpiece to the sled. Use sandpaper on the sled surface to provide better grip. |
| Sled vibrates excessively | Runners are loose in the miter slots | Shim the runners with tape or wood veneer to eliminate play. Ensure the runners are securely attached to the base. |
| Uneven Cuts | Table saw surface is uneven or dirty | Clean the surface of the table saw and the base of the crosscut sled. Ensure there are no obstructions preventing smooth travel along the tracks. |
Table Saw Sled Plans
There are numerous table saw sled plans available online, ranging from simple designs to more complex setups. Many woodworking websites and forums offer free plans, while others sell detailed plans with step-by-step instructions. Look for plans that are tailored to your specific table saw and the types of projects you typically work on.
FAQ:
- What is the best thickness for the plywood base? A thickness of ¾ inch is generally recommended for the plywood base. This provides sufficient rigidity and stability.
- Can I use MDF instead of plywood? MDF (Medium Density Fiberboard) can be used for the base, but it is more susceptible to moisture damage than plywood. If you choose to use MDF, seal it well with a finish to protect it from moisture.
- How do I ensure my fence is perfectly square? The five-cut method is a reliable technique for achieving perfect squareness. It involves making five cuts and measuring the resulting piece to calculate the error and adjust the fence accordingly.
- Can I use this sled for cutting angles? While a standard crosscut sled is primarily designed for 90-degree cuts, you can build an adjustable miter sled for cutting angles. This involves adding an adjustable fence that can be set to different angles.
- Who is the best person to ask if I am struggling with my build? Local woodworking clubs and online woodworking communities are great places to ask for help and advice. Experienced woodworkers can often provide valuable insights and solutions to common problems.
Building a table saw crosscut sled is a rewarding project that will significantly improve the accuracy and safety of your woodworking. By following these steps and taking your time, you can create a versatile jig that will serve you well for years to come.

Hi, I’m Tom Scalisi, and welcome to The Saw Blog! I started this blog to share my hands-on experience and insights about woodworking tools—especially saws and saw blades. Over the years, I’ve had the chance to work with a wide range of tools, and I’m here to help both professionals and hobbyists make informed decisions when it comes to selecting and using their equipment. Whether you’re looking for in-depth reviews, tips, or just advice on how to get the best performance out of your tools, you’ll find it here. I’m excited to be part of your woodworking journey!