
How do you change a table saw blade? Changing a table saw blade involves several key steps including unplugging the saw, removing the throat plate, loosening the arbor nut, and carefully installing the new blade before securing everything back in place. This guide provides detailed table saw blade change instructions, ensuring you do it safely and correctly.
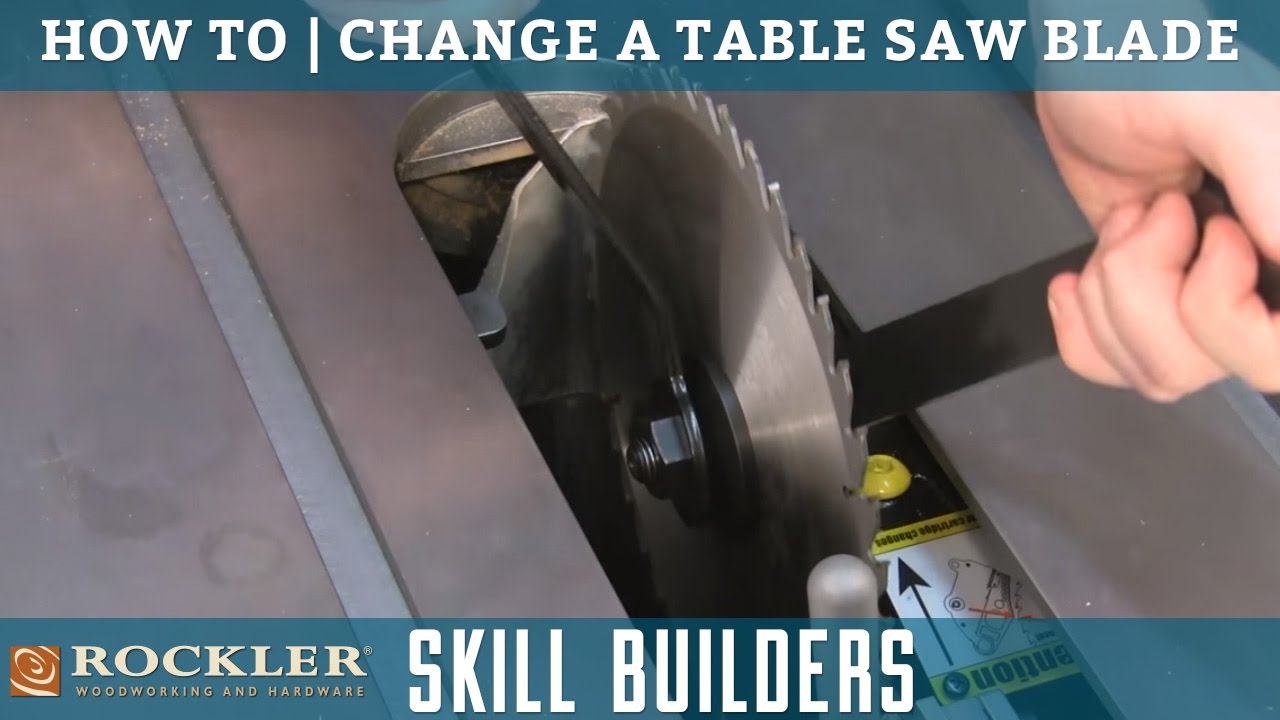
Image Source: i.ytimg.com
Why Changing Your Table Saw Blade Matters
Table saw blade replacement is a crucial part of table saw maintenance. A dull or incorrect blade can lead to:
- Poor cut quality: Ragged edges, splintering, and inaccurate cuts.
- Increased risk of kickback: A dull blade requires more force, increasing the chance of the wood being thrown back at you.
- Motor strain: A dull blade makes the motor work harder, shortening its lifespan.
- Safety hazards: A struggling saw is more likely to cause accidents.
By keeping your blade sharp and using the appropriate blade for the job, you ensure clean, accurate cuts and a safer working environment. Changing saw blade safely should always be your top priority.
Safety First: Essential Precautions Before You Start
Before you even think about table saw blade removal or installing new table saw blade, prioritize safety. These steps are non-negotiable:
- Unplug the saw: This is the most crucial step. Ensure the saw is completely disconnected from the power source.
- Wear safety glasses: Protect your eyes from sawdust and debris.
- Wear gloves: Protect your hands from sharp blade edges.
- Read the manual: Familiarize yourself with your saw’s specific instructions and safety guidelines.
- Clear the area: Ensure your workspace is clean and free of obstructions.
- Consider hearing protection: Table saws can be loud, prolonged exposure can affect your hearing.
Tools You’ll Need For Table Saw Blade Change Steps
Having the right tools on hand makes the blade changing procedure table saw much smoother. Here’s what you’ll need:
- Arbor wrenches: Usually two wrenches, one to hold the arbor and another to loosen the nut. Some saws only require one wrench and incorporate a spindle lock.
- Gloves: For hand protection.
- Safety glasses: For eye protection.
- Clean cloth or brush: For removing sawdust and debris.
- Blade cleaner (optional): To clean the new blade before installation.
- Owner’s manual: For saw-specific instructions.
Step-by-Step Guide: How to Swap Table Saw Blade
Follow these detailed instructions for a safe and efficient table saw blade change:
Step 1: Preparing the Saw
- Unplug the Saw: Double-check that the saw is unplugged! This is paramount.
- Raise the Blade: Raise the blade to its maximum height. This provides better access to the arbor nut.
- Remove the Throat Plate: The throat plate is the insert around the blade. Depending on your saw, it may lift out, have a locking mechanism, or require a screwdriver.
Step 2: Loosening the Arbor Nut
- Engage the Arbor Lock (if equipped): Some saws have a spindle lock button that prevents the arbor from turning. Press and hold it.
- Use the Wrenches: Place one wrench on the arbor nut and the other on the arbor flange (the metal disc behind the blade).
- Loosen the Nut: The direction to loosen the nut depends on your saw’s design. Most table saws have a left-handed thread (meaning you turn it clockwise to loosen). Refer to your owner’s manual. Apply firm, steady pressure. It might be tight.
- If No Arbor Lock: If your saw doesn’t have an arbor lock, you’ll need to use both wrenches simultaneously. One wrench holds the arbor flange steady, while the other loosens the nut. This may require some coordination and muscle.
Step 3: Table Saw Blade Removal
- Remove the Arbor Nut and Flange: Once loosened, fully unscrew the nut and remove it along with the outer flange. Keep these parts in a safe place.
- Carefully Remove the Old Blade: Wearing gloves, carefully lift the old blade off the arbor. Be mindful of the teeth, as they can be very sharp.
- Clean the Arbor and Flanges: Use a clean cloth or brush to remove any sawdust or debris from the arbor, flanges, and throat plate.
Step 4: Installing New Table Saw Blade
- Inspect the New Blade: Before installing, inspect the new blade for any damage or defects. Make sure the blade is the correct size and type for your saw and the material you plan to cut.
- Mount the New Blade: Carefully slide the new blade onto the arbor. Ensure the teeth are pointing in the correct direction of rotation (usually indicated by an arrow on the blade).
- Reattach the Flanges and Nut: Replace the inner flange (if it was removed), then the outer flange, and finally, the arbor nut.
- Tighten the Nut: Using the wrenches, tighten the arbor nut. Again, remember the thread direction. Tighten firmly, but don’t overtighten. Use the arbor lock, if available, to hold the arbor steady while tightening.
Step 5: Final Checks and Adjustments
- Replace the Throat Plate: Reinstall the throat plate securely.
- Lower the Blade: Lower the blade to its lowest position.
- Test the Blade Rotation: Plug the saw back in (briefly!) and turn it on to ensure the blade is rotating in the correct direction. Immediately unplug it again.
- Check Blade Alignment: Use a square to check that the blade is parallel to the miter slot. Adjust as needed.
- Test Cuts: Make a few test cuts on scrap wood to ensure the blade is cutting cleanly and accurately.
Choosing the Right Blade: A Quick Guide
The best way to change table saw blade also involves selecting the right blade for your project. Different blades are designed for different materials and purposes. Here’s a brief overview:
| Blade Type | Tooth Count | Application | Pros | Cons |
|---|---|---|---|---|
| Combination | 40-50 | General purpose, ripping and crosscutting | Versatile, good for most projects | Not ideal for very fine or very fast cuts |
| Ripping | 24-30 | Cutting with the grain of wood | Fast cutting, removes material quickly | Can leave a rougher cut |
| Crosscut | 60-80 | Cutting across the grain of wood | Clean, smooth cuts, minimizes splintering | Slower cutting speed |
| Plywood/Melamine | 80+ | Cutting plywood, melamine, and laminates | Very clean cuts, minimizes chipping and tear-out | Slower cutting speed, not suitable for thick materials |
| Metal Cutting | Varies | Cutting non-ferrous metals | Designed to cut aluminum, brass, and other non-ferrous metals | Not suitable for wood |
| Dado Blade Sets | Varies | Cutting grooves and rabbets | Creates perfectly flat-bottomed grooves in a single pass | Requires a saw with a longer arbor, can be more complex to set up |
Tips for Smooth and Safe Blade Changes
- Keep it clean: Regularly clean your saw and blades to prevent buildup and ensure smooth operation.
- Sharpen dull blades: Instead of replacing blades frequently, consider having them sharpened.
- Store blades properly: Store blades in a dry place to prevent rust and damage. Use blade guards or cases for protection.
- Don’t force anything: If the arbor nut is extremely tight, don’t force it. Try using a penetrating oil or consult a professional.
- Practice makes perfect: The more you change your blade, the more comfortable and efficient you’ll become.
Troubleshooting Common Issues
- Arbor nut is stuck: Apply penetrating oil and let it sit for a few minutes. Use a longer wrench for more leverage.
- New blade vibrates: Ensure the blade is properly seated on the arbor and the flanges are clean. Check for any blade damage.
- Cuts are still rough: Check blade alignment. Ensure you are using the correct blade for the material you are cutting. The blade may need sharpening.
- Throat plate doesn’t fit: Ensure you are using the correct throat plate for the blade you are using. Some throat plates are designed for specific blade thicknesses or dado blade sets.
- Spindle lock not engaging: Ensure the saw is completely stopped before engaging the spindle lock. Clean any dust or debris that may be preventing the lock from engaging.
Frequently Asked Questions (FAQ)
Q: How often should I change my table saw blade?
A: How often you need to sharpen or change your blade really depends on how much you use your saw and the kind of wood you’re working with. It’s a good habit to take a quick look at the blade every now and then to check for dullness or any chipped teeth.
A simple way to tell if it’s time for a change is to pay attention to how the saw feels. If the wood starts looking rough or burnt, or if you feel like you’re having to push much harder than usual to get through a cut, it’s probably time to sharpen the blade or get a new one.
Q: Can I use any blade on my table saw?
A: No. Only use blades that are specifically designed for table saws and are the correct size for your saw’s arbor. Never use blades that are too large or too small.
Q: What is the difference between a ripping blade and a crosscut blade?
A: Ripping blades are designed for cutting with the grain of wood, while crosscut blades are designed for cutting across the grain. Ripping blades have fewer teeth and a larger gullet for efficient material removal, while crosscut blades have more teeth for a cleaner cut.
Q: Is it safe to sharpen my own table saw blades?
A: Sharpening table saw blades requires specialized tools and knowledge. It’s generally recommended to have your blades professionally sharpened to ensure they are properly balanced and sharpened to the correct angle.
Q: What is a dado blade set, and how is it different?
A: A dado blade set is a collection of blades and chippers used to create wide grooves or rabbets in wood. They require a saw with a longer arbor to accommodate the increased blade thickness. Changing a dado blade set involves similar steps to changing a single blade, but requires careful attention to the order and orientation of the blades and chippers.
Q: What does TPI mean in relation to saw blades?
A: TPI stands for Teeth Per Inch. It is a measure of how many teeth are present on the blade per inch of its circumference. Higher TPI blades are generally used for finer, smoother cuts, while lower TPI blades are used for faster, more aggressive cuts.
Q: Can I use a dull blade if I’m careful?
A: No. Using a dull blade is always a safety hazard. It requires more force to make cuts, increasing the risk of kickback and other accidents. It also strains the motor and can damage the wood.
By following these steps and tips, you can safely and efficiently change your table saw blade, ensuring optimal performance and a safer working environment. Remember to always prioritize safety and consult your owner’s manual for specific instructions for your saw model.

Hi, I’m Tom Scalisi, and welcome to The Saw Blog! I started this blog to share my hands-on experience and insights about woodworking tools—especially saws and saw blades. Over the years, I’ve had the chance to work with a wide range of tools, and I’m here to help both professionals and hobbyists make informed decisions when it comes to selecting and using their equipment. Whether you’re looking for in-depth reviews, tips, or just advice on how to get the best performance out of your tools, you’ll find it here. I’m excited to be part of your woodworking journey!