
Think of a Ryobi miter saw as your go-to tool for making perfect angled cuts in wood. This guide will show you how to use it safely, swap out the blade, and get everything lined up just right. We’ll also go over how to keep it running smoothly, how to fix basic problems, and some fun project ideas to get you started.
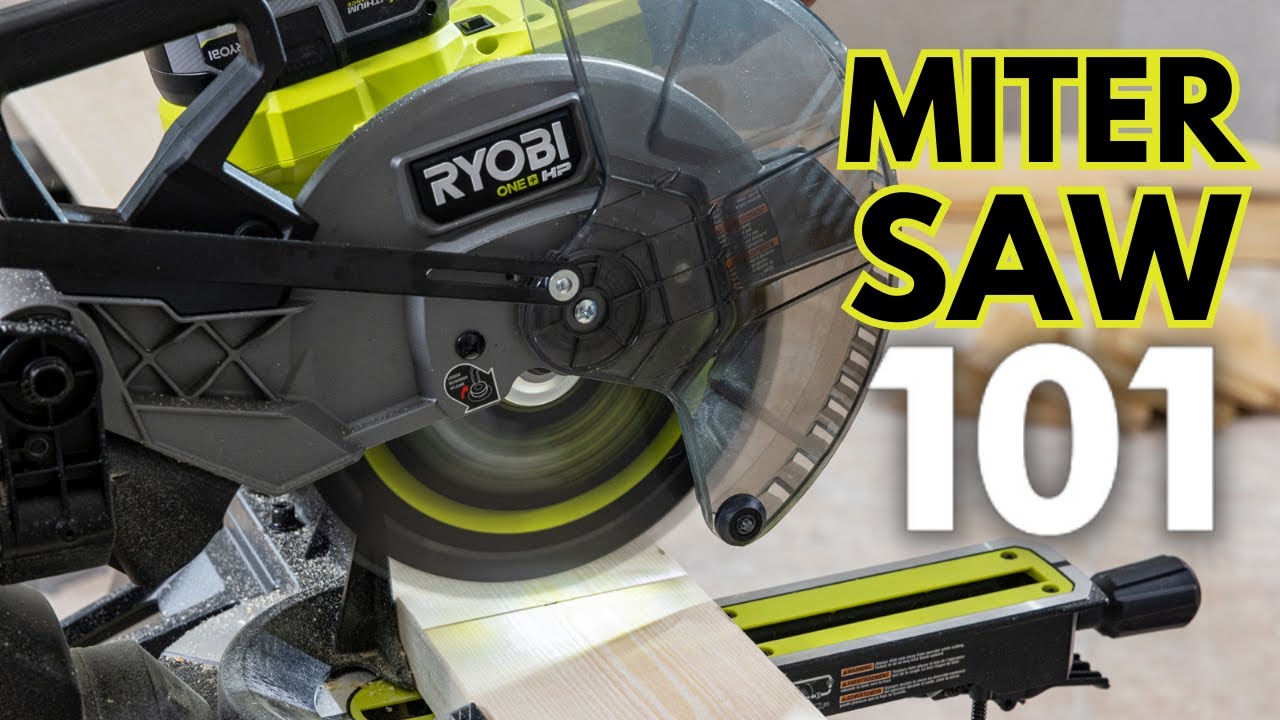
Image Source: i.ytimg.com
Fathoming the Ryobi Miter Saw
Before diving into projects, it’s important to grasp what a miter saw is and how it works. A miter saw, also known as a chop saw, is a power tool used to make precise crosscuts and angled cuts in workpieces, typically wood. It features a circular blade mounted on a pivoting arm, allowing you to make cuts at various angles. Ryobi miter saws are popular for their affordability and versatility, making them a favorite among DIY enthusiasts and professionals alike. This Ryobi miter saw guide will help you become comfortable with your tool.
Types of Ryobi Miter Saws
Ryobi offers several types of miter saws, each with unique features:
- Compound Miter Saw: These saws can make both miter cuts (angled cuts across the width of the wood) and bevel cuts (angled cuts through the thickness of the wood). Some models also have sliding rails, increasing the maximum cutting width.
- Sliding Compound Miter Saw: This type combines the features of a compound miter saw with the ability to slide the blade forward and backward, allowing for wider cuts.
- Cordless Miter Saw: Powered by batteries, these saws offer portability and convenience. They are ideal for job sites where power outlets are not readily available.
Ryobi Miter Saw Safety: First Things First
Operating Ryobi miter saw safely is paramount. Always follow these safety precautions to prevent accidents and injuries.
- Read the Manual: Before using your Ryobi miter saw, thoroughly read and understand the owner’s manual. It contains crucial information about the tool’s operation, safety features, and maintenance.
- Wear Safety Gear: Always wear safety glasses or a face shield to protect your eyes from flying debris. Hearing protection is also recommended, especially for prolonged use.
- Use a Dust Mask: Cutting wood generates dust, which can be harmful to your lungs. Wear a dust mask or respirator to minimize inhalation.
- Secure the Workpiece: Use clamps or a vise to firmly hold the workpiece in place. This prevents movement during cutting, which can lead to inaccurate cuts or kickback.
- Keep Hands Clear: Never place your hands near the blade while the saw is in operation. Use push sticks or blocks to guide the workpiece.
- Disconnect Power: Always disconnect the power cord or remove the battery before making any adjustments, changing the blade, or performing maintenance.
- Inspect the Saw: Before each use, inspect the saw for any damage or loose parts. Ensure that the blade is sharp and properly installed.
- Avoid Loose Clothing: Do not wear loose clothing, jewelry, or long hair that could get caught in the saw’s moving parts.
- Work in a Well-Lit Area: Ensure that your workspace is well-lit to improve visibility and reduce the risk of accidents.
Setting Up Your Ryobi Miter Saw
Proper setup is crucial for accurate and safe cutting.
- Choose a Stable Surface: Place the miter saw on a sturdy and level surface. A workbench or miter saw stand is ideal.
- Secure the Saw: If using a stand, securely attach the saw to the stand according to the manufacturer’s instructions.
- Adjust the Fence: Ensure that the fence is square to the blade. The fence provides a reference surface for accurate cuts. (Ryobi miter saw fence alignment will be discussed in detail later).
- Install the Blade: If necessary, install the appropriate blade for the material you will be cutting. Follow the instructions in the owner’s manual for safe blade installation. (Ryobi miter saw blade change instructions follow below).
- Test the Saw: Before cutting any material, run the saw briefly to ensure that it is operating smoothly and that all safety features are functioning correctly.
Changing the Ryobi Miter Saw Blade
A sharp blade is essential for clean and accurate cuts. Here’s how to change the blade:
- Disconnect Power: Always disconnect the power cord or remove the battery before changing the blade.
- Locate the Blade Bolt: The blade is held in place by a bolt, usually located behind a protective cover.
- Engage the Spindle Lock: Most Ryobi miter saws have a spindle lock that prevents the blade from rotating while you loosen the bolt. Engage the spindle lock.
- Loosen the Blade Bolt: Use the wrench provided with the saw to loosen the blade bolt. The direction to loosen the bolt may vary depending on the model, so refer to the owner’s manual.
- Remove the Old Blade: Carefully remove the old blade, noting the direction of the teeth.
- Install the New Blade: Install the new blade, ensuring that the teeth are facing the correct direction (usually towards the front of the saw).
- Tighten the Blade Bolt: Tighten the blade bolt securely using the wrench. Do not overtighten.
- Disengage the Spindle Lock: Release the spindle lock.
- Test the Saw: Run the saw briefly to ensure that the new blade is running smoothly and is properly installed.
Making Basic Cuts: A Step-by-Step Guide
Once you’ve set up your saw and ensured it’s safe to use, you can start making cuts.
- Mark Your Cut Line: Use a pencil to clearly mark the cut line on your workpiece.
- Position the Workpiece: Place the workpiece against the fence, aligning the marked cut line with the blade.
- Secure the Workpiece: Use clamps or a vise to firmly hold the workpiece in place.
- Start the Saw: Turn on the saw and allow the blade to reach full speed before making contact with the workpiece.
- Lower the Blade: Slowly and smoothly lower the blade through the workpiece, following the marked cut line.
- Maintain a Consistent Speed: Maintain a consistent cutting speed to prevent the blade from binding or kicking back.
- Release the Trigger: Once the cut is complete, release the trigger and allow the blade to come to a complete stop before lifting it.
- Remove the Workpiece: Remove the cut workpiece from the saw.
Cutting Angles with Ryobi Miter Saw
One of the key benefits of a miter saw is its ability to make accurate angled cuts. Cutting angles with Ryobi miter saw involves adjusting the miter and bevel angles.
Making Miter Cuts
Miter cuts are angled cuts made across the width of the workpiece.
- Loosen the Miter Lock: Loosen the miter lock knob or lever.
- Adjust the Miter Angle: Rotate the saw arm to the desired miter angle, using the miter scale as a guide.
- Tighten the Miter Lock: Tighten the miter lock knob or lever to secure the saw arm in place.
- Position and Secure the Workpiece: Position the workpiece against the fence, aligning the marked cut line with the blade. Secure the workpiece with clamps or a vise.
- Make the Cut: Follow the steps for making basic cuts, ensuring that the blade is aligned with the desired miter angle.
Making Bevel Cuts
Bevel cuts are angled cuts made through the thickness of the workpiece.
- Loosen the Bevel Lock: Loosen the bevel lock knob or lever.
- Adjust the Bevel Angle: Tilt the saw head to the desired bevel angle, using the bevel scale as a guide.
- Tighten the Bevel Lock: Tighten the bevel lock knob or lever to secure the saw head in place.
- Position and Secure the Workpiece: Position the workpiece against the fence, aligning the marked cut line with the blade. Secure the workpiece with clamps or a vise.
- Make the Cut: Follow the steps for making basic cuts, ensuring that the blade is aligned with the desired bevel angle.
Making Compound Cuts
Compound cuts combine both miter and bevel angles in a single cut. This technique is commonly used for creating complex shapes and angles in woodworking projects.
- Set the Miter Angle: Adjust the miter angle as described above.
- Set the Bevel Angle: Adjust the bevel angle as described above.
- Position and Secure the Workpiece: Position the workpiece against the fence, aligning the marked cut line with the blade. Secure the workpiece with clamps or a vise.
- Make the Cut: Follow the steps for making basic cuts, ensuring that both the miter and bevel angles are aligned correctly.
Ryobi Miter Saw Adjustments: Fine-Tuning for Accuracy
To ensure accurate cuts, it’s important to properly adjust your Ryobi miter saw. Ryobi miter saw adjustments are crucial for maintaining precision.
Fence Alignment
A misaligned fence can lead to inaccurate cuts. Here’s how to check and adjust the fence (Ryobi miter saw fence alignment):
- Check for Square: Use a square to check if the fence is square to the blade. Place the square against the blade and the fence. If there is a gap, the fence is not square.
- Loosen the Fence Bolts: Loosen the bolts that hold the fence in place.
- Adjust the Fence: Adjust the fence until it is square to the blade.
- Tighten the Fence Bolts: Tighten the fence bolts securely.
- Recheck for Square: Recheck the fence for square to ensure that it is properly aligned.
Bevel and Miter Stops
Miter saws have stops at common angles (e.g., 0°, 45°, 90°) to make it easier to set the saw to those angles. These stops can sometimes become misaligned.
- Check the Stops: Use a protractor or angle finder to check the accuracy of the miter and bevel stops.
- Loosen the Stop Screws: Loosen the screws that hold the stops in place.
- Adjust the Stops: Adjust the stops until they are accurate.
- Tighten the Stop Screws: Tighten the stop screws securely.
- Recheck the Stops: Recheck the stops to ensure that they are properly aligned.
Laser Guide (If Equipped)
Some Ryobi miter saws come equipped with a laser guide that projects a line onto the workpiece, indicating the cut line.
- Turn on the Laser: Turn on the laser guide.
- Check the Alignment: Check if the laser line is aligned with the blade.
- Adjust the Laser: If the laser is not aligned, adjust it according to the manufacturer’s instructions. Most lasers have adjustment screws that allow you to move the laser line.
- Recheck the Alignment: Recheck the alignment of the laser to ensure that it is properly aligned.
Ryobi Miter Saw Maintenance: Keeping Your Saw in Top Condition
Regular maintenance will prolong the life of your Ryobi miter saw and ensure that it continues to perform accurately.
- Clean the Saw: Regularly clean the saw to remove dust and debris. Use a brush or vacuum cleaner to clean the blade, motor housing, and base.
- Lubricate Moving Parts: Lubricate the moving parts of the saw, such as the pivot points and sliding rails, with a light oil or grease.
- Check the Blade: Regularly check the blade for sharpness and damage. Replace the blade if it is dull or damaged.
- Inspect the Power Cord: Inspect the power cord for damage. Replace the cord if it is frayed or damaged.
- Tighten Loose Bolts: Regularly check and tighten any loose bolts or screws.
Ryobi miter saw maintenance is crucial for the longevity of your tool.
Ryobi Miter Saw Troubleshooting: Common Problems and Solutions
Even with proper maintenance, problems can sometimes arise. Here are some common issues and their solutions (Ryobi miter saw troubleshooting):
| Problem | Possible Cause | Solution |
|---|---|---|
| Saw won’t start | Power cord not plugged in | Check the power cord and plug it in securely. |
| Dead battery (cordless models) | Charge or replace the battery. | |
| Faulty switch | Replace the switch. | |
| Blade vibrates excessively | Loose blade bolt | Tighten the blade bolt securely. |
| Damaged blade | Replace the blade. | |
| Cuts are not accurate | Misaligned fence | Adjust the fence to ensure that it is square to the blade. |
| Misaligned miter or bevel stops | Adjust the miter or bevel stops to ensure that they are accurate. | |
| Saw kicks back | Dull blade | Replace the blade. |
| Incorrect cutting technique | Use the correct cutting technique and maintain a consistent cutting speed. | |
| Motor overheats | Excessive use | Allow the motor to cool down before continuing. |
| Blocked ventilation openings | Clean the ventilation openings to improve airflow. | |
| Laser guide is not accurate | Misaligned laser | Adjust the laser guide according to the manufacturer’s instructions. |
| Dust collection is poor | Blocked dust port | Clear the dust port of any obstructions. |
| Improper dust collection system setup | Ensure that the dust collection system is properly connected and functioning. |
Ryobi Miter Saw Projects: Putting Your Skills to the Test
Now that you know how to use a Ryobi miter saw, you can start tackling woodworking projects. Here are a few project ideas (Ryobi miter saw projects):
- Picture Frames: Miter saws are ideal for cutting the precise angles needed for picture frames.
- Crown Molding: Install crown molding with perfectly mitered corners.
- Baseboards and Trim: Cut baseboards and trim to fit any room with accurate miter and bevel cuts.
- Birdhouses: Build a birdhouse with angled roof pieces and precise joinery.
- Small Shelves: Create small shelves with custom dimensions and angles.
- Shadow Boxes: Craft shadow boxes to display collectibles and memorabilia.
- Planters: Construct wooden planters with decorative mitered corners.
- Wooden Toys: Design and build wooden toys with various shapes and angles.
- Decorative Boxes: Create decorative boxes with intricate mitered joints.
- Custom Furniture: Build small furniture pieces like side tables or benches with precise cuts.
Frequently Asked Questions (FAQ)
-
What is the best blade for a Ryobi miter saw?
The best blade depends on the material you are cutting. For general-purpose use, a combination blade is a good choice. For cutting hardwoods, use a blade with more teeth. For cutting non-ferrous metals, use a blade specifically designed for metal cutting.
* Can I cut metal with a Ryobi miter saw?Yes, but you need to use a blade specifically designed for cutting metal. Using a wood-cutting blade on metal can damage the blade and be dangerous.
* Who is the Ryobi miter saw for?The Ryobi miter saw is for both DIY enthusiasts and professionals. Its affordability and versatility make it a great choice for a wide range of woodworking projects.
* How often should I replace the blade on my Ryobi miter saw?You should replace the blade when it becomes dull or damaged. A dull blade will produce rough cuts and can be dangerous.
* How do I prevent tear-out when cutting wood with a Ryobi miter saw?Use a sharp blade, and support the workpiece with a sacrificial fence or backing board.
* What is the warranty on Ryobi miter saws?Ryobi typically offers a 3-year limited warranty on its power tools, including miter saws. Check the specific warranty details for your model.
* How do I adjust the depth of cut on my Ryobi miter saw?Most Ryobi miter saws do not have a depth stop. Control the depth of cut by how far you lower the blade into the workpiece.
* Is a sliding miter saw better than a non-sliding miter saw?A sliding miter saw allows you to cut wider boards. If you frequently work with wide boards, a sliding miter saw is a better choice. If you primarily work with smaller pieces, a non-sliding miter saw may be sufficient.
By following this Ryobi miter saw guide, you’ll be well-equipped to use your Ryobi miter saw safely and effectively. Happy woodworking!

Hi, I’m Tom Scalisi, and welcome to The Saw Blog! I started this blog to share my hands-on experience and insights about woodworking tools—especially saws and saw blades. Over the years, I’ve had the chance to work with a wide range of tools, and I’m here to help both professionals and hobbyists make informed decisions when it comes to selecting and using their equipment. Whether you’re looking for in-depth reviews, tips, or just advice on how to get the best performance out of your tools, you’ll find it here. I’m excited to be part of your woodworking journey!