
A Ryobi miter saw is a power tool used for making accurate crosscuts and miter cuts in wood. Can I use a miter saw if I’m a beginner? Absolutely! This guide breaks down everything you need to know about Ryobi miter saw operation, from safety to cutting techniques, even how to perform a Ryobi miter saw blade change. You’ll learn how to make accurate miter cuts and keep your saw in top shape with Ryobi miter saw maintenance. This beginner’s guide to miter saws will give you the knowledge and confidence to tackle your woodworking projects.
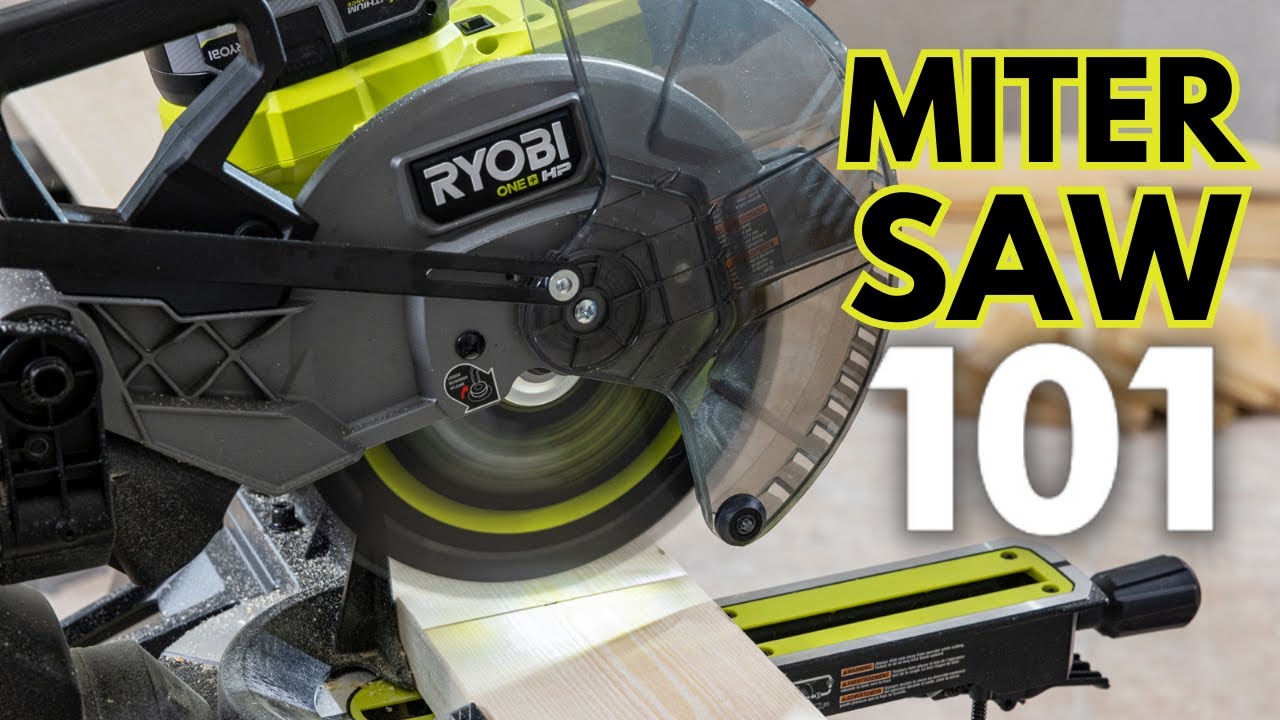
Image Source: i.ytimg.com
Getting Started with Your Ryobi Miter Saw
Before you start cutting, it’s essential to familiarize yourself with your Ryobi miter saw. This section covers the basics.
Anatomy of a Ryobi Miter Saw
Most Ryobi miter saws share similar components. Knowing these parts is the first step in safe and effective operation.
- Base: The stable foundation of the saw.
- Fence: A vertical barrier that helps keep the wood straight during cuts.
- Miter Scale: Indicates the miter angle in degrees.
- Miter Detent Plate: Has preset stops for common miter angles.
- Miter Lock Lever/Knob: Locks the saw head at the desired miter angle.
- Saw Head: Contains the motor and blade.
- Blade Guard: A safety feature that covers the blade when not in use.
- Trigger: Activates the motor and blade.
- Handle: Used to lower the saw head.
- Dust Port: Where you connect a vacuum to collect sawdust.
- Bevel Scale: Indicates the bevel angle in degrees (on compound miter saws).
- Bevel Lock Lever/Knob: Locks the saw head at the desired bevel angle (on compound miter saws).
- Sliding Rails (for sliding miter saws): Allow the saw head to slide back and forth for wider cuts.
Essential Safety Gear
Safety is paramount when operating any power tool. Always wear the following:
- Safety Glasses: To protect your eyes from flying debris.
- Hearing Protection: Miter saws can be loud; earplugs or earmuffs are crucial.
- Dust Mask or Respirator: To avoid inhaling sawdust.
- Work Gloves: For a better grip and protection.
- Appropriate Clothing: Avoid loose clothing or jewelry that could get caught in the saw.
Setting Up Your Work Area
A well-organized workspace promotes safety and efficiency.
- Adequate Lighting: Ensure you have enough light to see clearly.
- Stable Surface: Place the miter saw on a sturdy, level surface. A miter saw stand is ideal.
- Clearance: Make sure there’s enough space around the saw to move freely and handle materials.
- Dust Collection: Connect a vacuum to the dust port to minimize sawdust.
- Support: Use rollers or extensions to support long workpieces.
Basic Ryobi Miter Saw Operation
Now that you know the parts and safety measures, let’s get to the cutting.
Making a Simple Crosscut
A crosscut is a straight cut perpendicular to the wood’s grain.
- Secure the Wood: Place the wood flat against the fence and base. Use clamps if necessary, especially for small pieces.
- Position the Blade: With the saw off, lower the blade to align it with your cut mark.
- Start the Saw: Turn on the saw and let the blade reach full speed.
- Make the Cut: Slowly lower the blade through the wood, using a smooth, controlled motion.
- Release the Trigger: Once the cut is complete, release the trigger and let the blade stop completely before raising the saw head.
Cutting Angles with Ryobi: Miter Cuts
A miter cut is an angled cut across the face of the wood.
- Loosen the Miter Lock: Release the miter lock lever or knob.
- Set the Angle: Rotate the saw head to the desired angle using the miter scale.
- Tighten the Lock: Secure the miter lock.
- Make the Cut: Follow the same cutting procedure as for a crosscut.
Cutting Angles with Ryobi: Bevel Cuts (Compound Miter Saws)
A bevel cut is an angled cut through the edge of the wood. A compound miter saw can make both miter and bevel cuts simultaneously.
- Loosen the Bevel Lock: Release the bevel lock lever or knob.
- Set the Angle: Tilt the saw head to the desired angle using the bevel scale.
- Tighten the Lock: Secure the bevel lock.
- Make the Cut: Follow the same cutting procedure as for a crosscut. For a compound cut, set both the miter and bevel angles before cutting.
Using a Compound Miter Saw: Sliding Cuts
Sliding miter saws are great for cutting wider boards.
- Position the Wood: Place the wood against the fence and base.
- Pull the Saw Head Forward: Pull the saw head all the way forward towards you.
- Start the Saw: Turn on the saw and let the blade reach full speed.
- Make the Cut: Slowly push the saw head back through the wood while lowering the blade. Maintain a steady speed.
- Release the Trigger: Let the blade stop completely before raising the saw head.
Achieving Accurate Miter Cuts
Accuracy is key for professional-looking results. Here’s how to ensure your cuts are precise.
Calibrating Your Miter Saw
Even new miter saws can be slightly out of alignment. Calibration ensures accurate cuts.
- Check the Squareness: Use a speed square to check if the blade is 90 degrees to the fence.
- Adjust the Fence: If the fence isn’t square, adjust it according to the manufacturer’s instructions. Most Ryobi miter saws have adjustable fence components.
- Check Miter Angles: Use a protractor or angle finder to verify the accuracy of the miter scale at common angles (e.g., 45 degrees, 22.5 degrees).
- Adjust Miter Detents: If the detents are off, adjust them using the adjustment screws. Refer to your saw’s manual.
- Check Bevel Angles: If you have a compound miter saw, check and adjust the bevel angles as well.
Miter Saw Cutting Techniques
Proper technique is essential for precise cuts.
- Hold the Wood Firmly: Keep the wood firmly against the fence throughout the cut.
- Avoid Forcing the Saw: Let the blade do the work. Forcing it can lead to inaccurate cuts or kickback.
- Use a Stop Block: For repetitive cuts of the same length, use a stop block clamped to the fence. This ensures consistent results.
- Practice on Scrap Wood: Before cutting your final pieces, practice on scrap wood to refine your technique and verify your settings.
- Make a Zero-Clearance Insert: Create a custom-fit insert for the saw’s table. This helps to minimize tear-out and supports the wood close to the blade.
Troubleshooting Common Issues
Even with the best techniques, problems can arise.
- Tear-out: This occurs when the wood fibers splinter as the blade exits the cut. Use a fine-tooth blade, slow down your cutting speed, and use a zero-clearance insert to minimize tear-out.
- Inaccurate Angles: Double-check your measurements, ensure the saw is properly calibrated, and verify that the wood is flush against the fence.
- Blade Vibration: A dull or damaged blade can cause vibration. Replace the blade with a new, sharp one.
- Saw Not Cutting Straight: This could be due to a warped blade, loose fence, or incorrect cutting technique. Inspect the blade, check the fence alignment, and practice your technique.
Ryobi Miter Saw Adjustments and Maintenance
Regular maintenance keeps your saw performing optimally.
Ryobi Miter Saw Blade Change
Changing the blade is a common task.
- Unplug the Saw: Always disconnect the saw from the power source before changing the blade.
- Locate the Arbor Lock: Most Ryobi miter saws have an arbor lock button or lever.
- Engage the Arbor Lock: Press and hold the arbor lock while using the wrench (usually included with the saw) to loosen the arbor bolt.
- Remove the Bolt and Outer Flange: Carefully remove the bolt and outer flange.
- Remove the Old Blade: Take off the old blade, noting its orientation.
- Install the New Blade: Place the new blade onto the arbor, ensuring the teeth are pointing in the correct direction (usually indicated by an arrow on the blade).
- Reinstall the Flange and Bolt: Put the outer flange and bolt back on, tightening the bolt securely with the wrench while holding the arbor lock.
- Test the Saw: Plug in the saw and test it to ensure the blade is running smoothly and securely.
Cleaning and Lubrication
Keeping your saw clean and lubricated extends its lifespan.
- Dust Removal: Regularly remove sawdust from the saw and surrounding area. Use a brush, vacuum, or compressed air.
- Lubrication: Lubricate moving parts, such as the miter and bevel pivots, with a dry lubricant. Avoid using oil, as it can attract dust and grime.
- Blade Cleaning: Clean the blade with a blade cleaner to remove resin and pitch buildup.
- Inspect Cords and Connections: Check the power cord for damage and ensure all connections are secure.
Checking and Replacing Brushes
The motor brushes in your miter saw wear down over time.
- Locate the Brush Caps: These are usually on the side of the motor housing.
- Remove the Caps: Unscrew the brush caps.
- Inspect the Brushes: If the brushes are worn down to less than 1/4 inch, replace them.
- Install New Brushes: Insert the new brushes and screw the caps back on.
Miter Saw Safety Tips
Reviewing safety practices regularly helps prevent accidents.
- Read the Manual: Always read and understand the owner’s manual before using the saw.
- Keep Hands Clear: Never place your hands near the blade while the saw is running.
- Use Clamps: Secure small or unstable workpieces with clamps.
- Support Long Pieces: Use rollers or extensions to support long workpieces.
- Avoid Cross-Handing: Never reach across the blade to operate the saw.
- Disconnect Power: Always unplug the saw before making adjustments or changing blades.
- Inspect the Blade: Check the blade for damage before each use.
- Don’t Overreach: Maintain a balanced stance and avoid reaching too far.
- Stay Focused: Avoid distractions and concentrate on the task at hand.
- Store Properly: When not in use, store the saw in a safe, dry place.
Fathoming Different Types of Miter Saws
There are several types of miter saws available, each with its own advantages and disadvantages.
- Standard Miter Saw: Makes basic crosscuts and miter cuts.
- Pros: Simple to use, affordable.
- Cons: Limited cutting capacity.
- Compound Miter Saw: Can make miter and bevel cuts simultaneously.
- Pros: Versatile, can create complex angles.
- Cons: More expensive than standard miter saws.
- Sliding Miter Saw: Features a sliding mechanism for cutting wider boards.
- Pros: High cutting capacity, great for large projects.
- Cons: Bulky and heavier than other types of miter saws.
- Dual Bevel Miter Saw: Can bevel in both directions, making it easier to cut symmetrical angles.
- Pros: Convenient for complex cuts, saves time.
- Cons: More expensive than single-bevel miter saws.
Frequently Asked Questions (FAQ)
- What is the best blade for cutting hardwood? A blade with a high tooth count (60-80 teeth) is ideal for cutting hardwood.
- Can I cut metal with a miter saw? You can cut some non-ferrous metals (like aluminum) with a miter saw, but you need to use a special blade designed for metal cutting. Never cut steel or other ferrous metals with a standard wood-cutting blade.
- How often should I calibrate my miter saw? Calibrate your miter saw whenever you notice inaccurate cuts, or at least every few months.
- What is kickback? Kickback is when the wood is caught by the blade and thrown back towards the operator. Always hold the wood firmly and avoid forcing the saw to prevent kickback.
- How do I prevent tear-out? Use a sharp blade, slow down your cutting speed, and use a zero-clearance insert.
- Where can I find Ryobi miter saw parts? Ryobi miter saw parts can be found online at the Ryobi website, at authorized Ryobi service centers, or at some home improvement stores.
If you stick to these tips and practice cutting the right way, you’ll feel totally comfortable using your Ryobi miter saw. You’ll be making clean, professional-looking projects in no time. Just remember to put safety first and don’t rush—give yourself a little time to get used to how the saw works. Have fun with your builds!

Hi, I’m Tom Scalisi, and welcome to The Saw Blog! I started this blog to share my hands-on experience and insights about woodworking tools—especially saws and saw blades. Over the years, I’ve had the chance to work with a wide range of tools, and I’m here to help both professionals and hobbyists make informed decisions when it comes to selecting and using their equipment. Whether you’re looking for in-depth reviews, tips, or just advice on how to get the best performance out of your tools, you’ll find it here. I’m excited to be part of your woodworking journey!