
What is table saw kickback? Table saw kickback is a dangerous phenomenon where the wood being cut is suddenly thrown back towards the operator, often at high speed. This guide will walk you through effective kickback prevention strategies to enhance table saw safety.
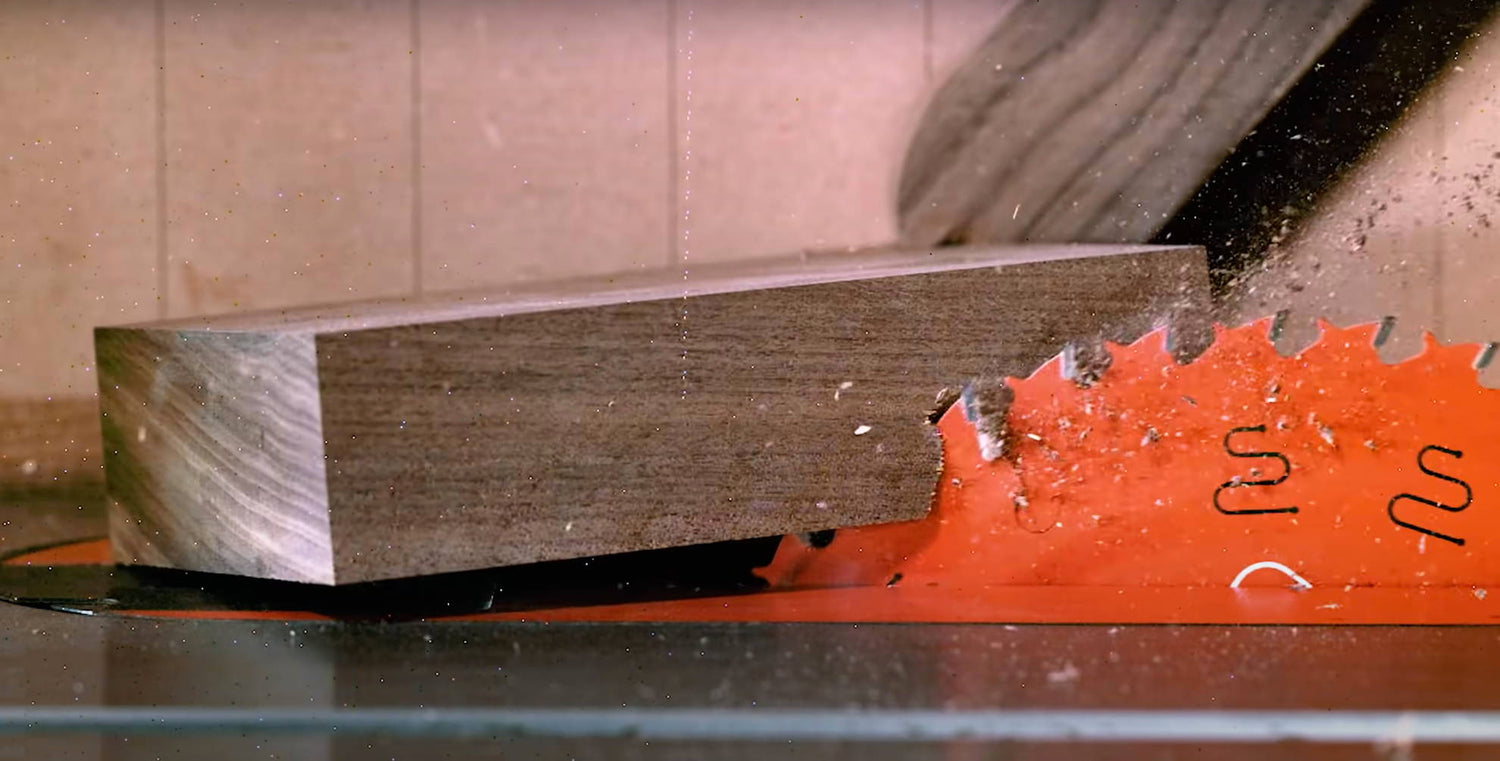
Image Source: kmtools.com
The Menace of Kickback: Recognizing the Threat
Think of kickback on a table saw as the machine suddenly fighting back. It happens when the spinning blade grabs onto the wood and flings it right back at you. This is incredibly dangerous and can lead to severe injuries. That is why it is so important to understand exactly why it happens and what steps you can take to prevent it.
How Kickback Happens: The Mechanics
Kickback usually occurs when the wood pinches the back of the blade. Here’s a breakdown:
- Pinching: The wood closes in on the blade after it passes through the cut, often due to internal stresses in the wood.
- Lifting: The rising teeth at the back of the blade grab the pinched wood.
- Ejection: The blade throws the wood back towards the operator, sometimes with considerable force.
The Dangers: Why Kickback is Feared
- Injury: Kickback can cause severe injuries, including cuts, bruises, and broken bones.
- Loss of Control: The sudden force can throw you off balance, leading to further accidents.
- Damage: Kickback can damage the saw, the workpiece, and anything else in the line of fire.
Essential Safeguards: Mechanical Aids for Kickback Prevention
Several mechanical devices are designed to prevent kickback. Using these tools is a cornerstone of table saw safety.
Riving Knife Use: The Primary Defense
A riving knife is a metal piece that sits behind the blade, moving up and down with it. It keeps the kerf (the slot cut by the blade) open, preventing the wood from pinching the blade.
- Why It Works: Prevents the wood from closing in behind the blade.
- Correct Installation: Ensure it’s properly aligned with the blade and slightly lower than the blade’s highest point.
- Regular Checks: Inspect for damage or misalignment regularly.
- Importance: A correctly installed and maintained riving knife is the most important safety feature.
Anti-Kickback Pawls: Secondary Protection
Anti-kickback pawls are toothed levers that grab the wood if it starts to move backward.
- How They Work: They dig into the wood if it tries to move back, stopping the kickback.
- Proper Adjustment: Make sure they are sharp and make solid contact with the wood.
- Limitations: They might not work on thin stock or when cutting non-wood materials.
- Maintenance: Keep them clean and sharp for reliable performance.
Blade Guards: Shielding from Contact
While not directly preventing kickback, blade guards prevent your hands from accidentally contacting the blade.
- Purpose: Acts as a physical barrier.
- Proper Use: Always use the blade guard unless a specific cut makes it impossible.
- Maintenance: Ensure it’s clean and moves freely.
- Combination: Many blade guards are combined with riving knives and anti-kickback pawls for comprehensive protection.
Mastering Technique: Safe Ripping Methods
Technique matters. Using safe ripping methods is crucial to prevent kickback.
Push Stick Technique: Keeping Hands Safe
A push stick is a tool used to push the wood through the blade, keeping your hands away from the cutting area.
- When to Use: Always use a push stick when ripping narrow pieces of wood.
- Proper Grip: Maintain a firm grip on the push stick.
- Consistent Pressure: Apply even pressure to keep the wood moving smoothly.
- Types of Push Sticks: Choose the right type for the cut: push blocks for wider pieces and push sticks for narrower pieces.
Featherboard Setup: Maintaining Workpiece Control
Featherboards are devices that hold the wood firmly against the fence and table, preventing it from wandering during the cut. This ensures straight, consistent cuts and reduces the risk of kickback.
- Types: Available in both magnetic and clamp-on versions.
- Placement: Position featherboards before the blade to keep the wood tight against the fence.
- Tension: Adjust the tension so the wood feeds smoothly but doesn’t wobble.
- Benefits: Ensures consistent contact with the fence, reducing chances of binding and kickback.
Stance and Body Position: Control and Balance
How you stand and position your body is crucial for maintaining control and preventing accidents.
- Stable Base: Stand with your feet shoulder-width apart for good balance.
- Avoid Reaching: Never reach across the blade. Adjust your position or use a push stick.
- Clear Path: Ensure you have a clear path to move if kickback occurs.
- Focus: Pay attention to the cut and avoid distractions.
Blade Management: Blade Height Adjustment
Correct blade height is crucial for safe and efficient cutting.
Ideal Height: Exposing Only What’s Needed
The blade should be high enough to cut through the wood, but not excessively high.
- Rule of Thumb: The blade should extend about ¼ inch above the workpiece.
- Why It Matters: Minimizes the amount of blade exposed, reducing the risk of kickback.
- Effect on Cut Quality: Proper height also improves the cut quality by reducing splintering.
Sharpness: A Sharp Blade is a Safe Blade
A dull blade requires more force to push the wood through, increasing the risk of kickback.
- Signs of a Dull Blade: Burning, excessive splintering, or difficulty feeding the wood.
- Maintenance: Sharpen the blade regularly or replace it when necessary.
- Impact on Safety: A sharp blade cuts smoothly, reducing the chance of binding and kickback.
Material Considerations: Wood Properties and Their Effects
The type of wood you’re cutting can affect the risk of kickback.
Recognizing Internal Stress: Avoiding Warped Wood
Wood with internal stress can pinch the blade, causing kickback.
- How to Identify: Look for warped, twisted, or bowed wood.
- Mitigation: Use a jointer and planer to flatten and relieve stress before cutting.
- Cutting Strategy: If you must cut stressed wood, make shallow cuts and use featherboards to maintain control.
Knotty Wood: Handling Imperfections
Knots can cause the wood to bind or kick back.
- The Problem: Knots can deflect the wood or chip, causing sudden movements.
- Solutions: Avoid cutting through large knots whenever possible. Use a sharp blade and a slow, steady feed rate.
- Extra Caution: Be extra vigilant when cutting knotty wood.
Advanced Strategies: Mitigating Complex Cuts
Some cuts are inherently more dangerous than others and require extra precautions.
Non-Through Cuts: Preventing Binding
Making cuts that don’t go all the way through the wood can increase the risk of binding.
- Techniques: Use a stop block to control the cut depth and prevent overcutting.
- Riving Knife: Ensure the riving knife is properly adjusted for the cut depth.
Freehand Cutting: The Ultimate Risk
Never perform freehand cuts on a table saw (without the fence or miter gauge).
- Why It’s Dangerous: No support or guidance for the wood, making it very likely to kickback.
- Alternatives: Use a miter saw, bandsaw, or other appropriate tool.
- Zero Tolerance: Absolutely avoid freehand cutting on a table saw.
Emergency Procedures: Reacting to Kickback
Even with all precautions, kickback can still occur. Knowing how to react can minimize injury.
Staying Calm: Responding Effectively
- Instinct: Your natural reaction might be to pull back, but this can worsen the situation.
- Maintaining Grip: Hold onto the wood as firmly as possible, allowing the kickback to happen without pulling you into the blade.
- Stepping Aside: If possible, step to the side to avoid being struck by the ejected wood.
Powering Down: Immediate Actions
- Shut Off: Immediately turn off the saw after a kickback.
- Assessment: Check the blade, riving knife, and workpiece for damage.
- Analysis: Determine the cause of the kickback and correct the issue before resuming cutting.
Checklist for Table Saw Safety: Before Every Cut
Before starting any cut, run through this checklist to ensure a safe operation.
| Item | Check |
|---|---|
| Blade | Sharp and appropriate for the material |
| Riving Knife | Properly aligned and installed |
| Anti-Kickback Pawls | Functional and properly adjusted |
| Blade Guard | In place and functional |
| Fence/Miter Gauge | Secure and properly aligned |
| Workpiece | Free of knots, warps, and excessive moisture |
| Push Stick/Featherboard | Readily available and properly positioned |
| Stance | Balanced and clear of the blade path |
| Concentration | Focused and free from distractions |
| Emergency Shut-Off | Accessible and functional |
Key Takeaways: The Cornerstones of Table Saw Safety
- Riving Knife is King: Always use a riving knife, correctly installed and maintained.
- Technique is Paramount: Master safe ripping methods and use push sticks and featherboards.
- Material Matters: Be aware of wood properties and their potential impact.
- Constant Vigilance: Stay focused and never become complacent.
Frequently Asked Questions (FAQ)
Can I remove the riving knife for certain cuts?
No, you should never remove the riving knife unless absolutely necessary, such as for certain non-through cuts. If you do remove it, replace it immediately after the cut.
What is the ideal blade height for ripping lumber?
The ideal blade height is about ¼ inch above the thickness of the wood being cut.
Who is responsible for table saw safety in a workshop?
Everyone in the workshop is responsible for table saw safety. This includes the operator, supervisors, and anyone else in the vicinity.
What is the best way to sharpen a table saw blade?
The best way to sharpen a table saw blade is to use a professional sharpening service. You can also sharpen it yourself with the right tools and knowledge.
What are some common causes of table saw kickback?
Common causes include pinching of the blade, warped wood, dull blades, and improper technique.

Hi, I’m Tom Scalisi, and welcome to The Saw Blog! I started this blog to share my hands-on experience and insights about woodworking tools—especially saws and saw blades. Over the years, I’ve had the chance to work with a wide range of tools, and I’m here to help both professionals and hobbyists make informed decisions when it comes to selecting and using their equipment. Whether you’re looking for in-depth reviews, tips, or just advice on how to get the best performance out of your tools, you’ll find it here. I’m excited to be part of your woodworking journey!