
A crosscut sled is a handy tool that helps you get perfect cuts on your table saw. If you are wondering if you can make one yourself, the answer is definitely yes! This guide walks you through exactly how to build a crosscut sled for your shop. It’s a fantastic project to tackle if you want to get better at woodworking and make your cuts safer and more accurate.
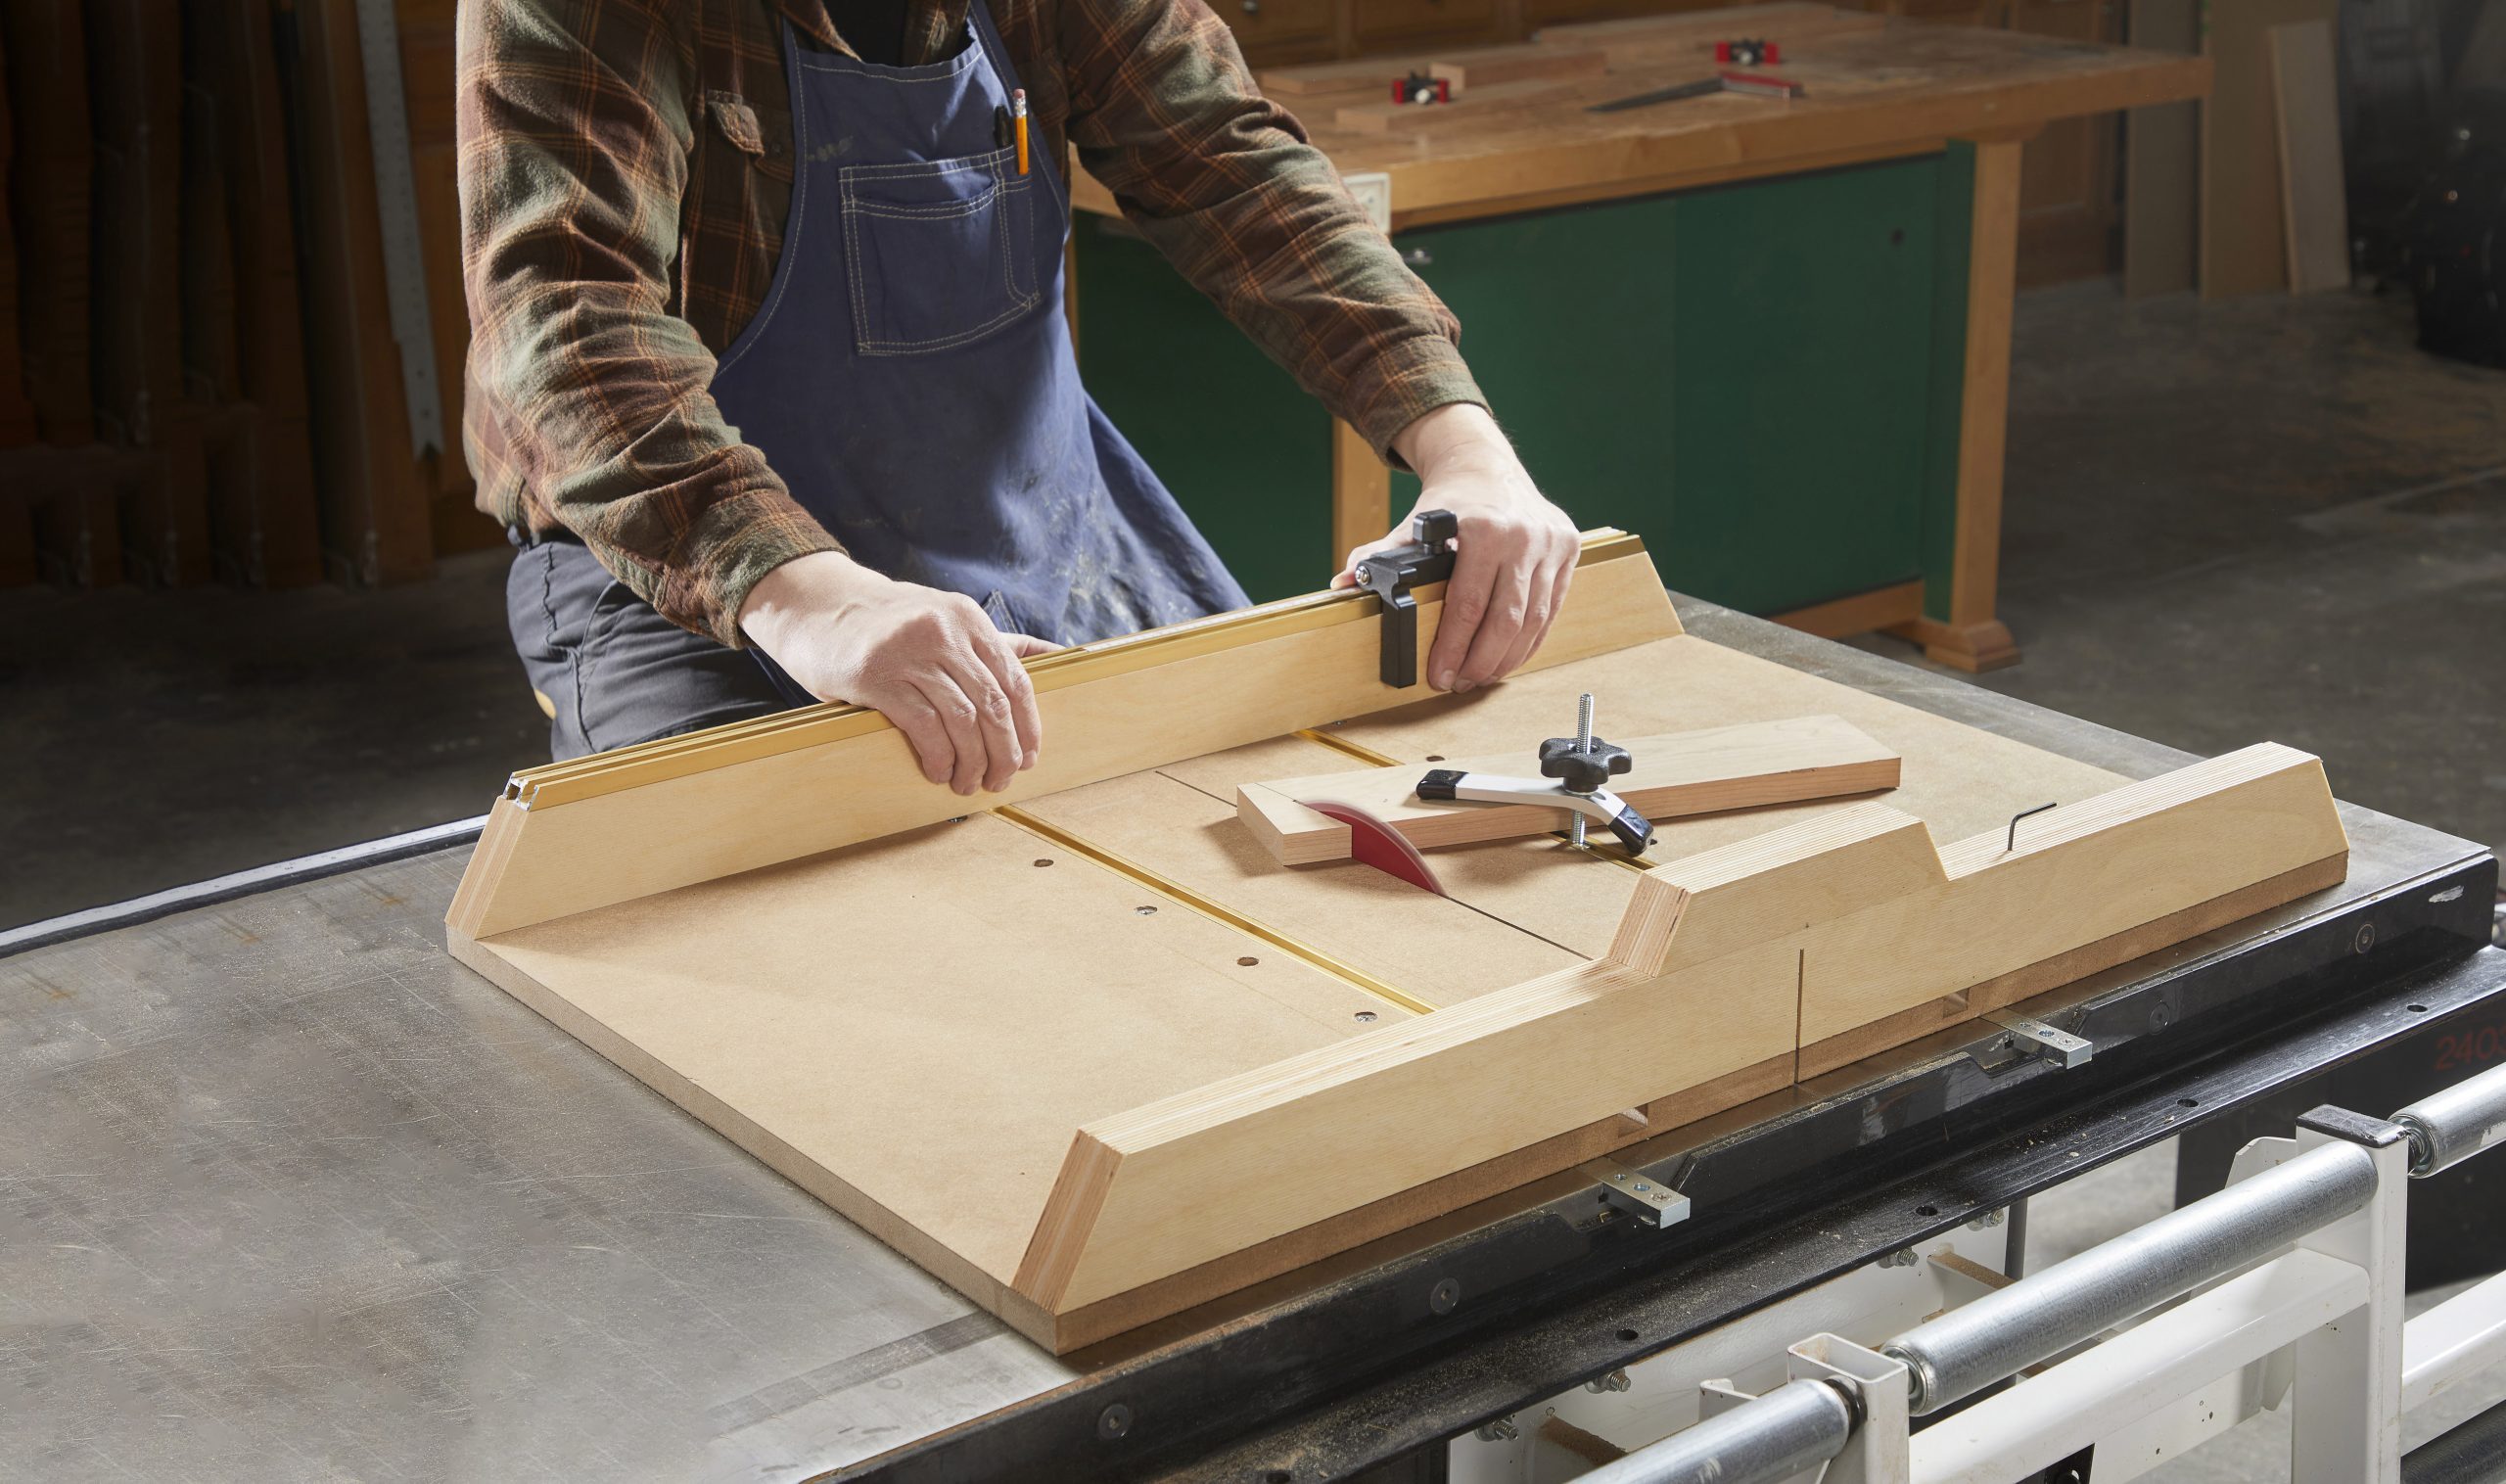
Image Source: www.familyhandyman.com
Why Build a Crosscut Sled?
A crosscut sled is one of the best table saw accessories you can build. It turns your table saw into a precision cutting machine. A DIY crosscut sled makes cutting repeatable, square, and safe. Here’s why it’s a must-have:
- Improved Accuracy: Achieve perfectly square cuts every time.
- Enhanced Safety: Keeps your hands away from the blade.
- Zero Clearance Support: Reduces tear-out for cleaner cuts. This is also known as a zero clearance sled.
- Repeatable Cuts: Easily cut multiple pieces to the exact same length.
- Stability: Provides a stable platform for smaller or awkward workpieces.
Fathoming the Components of a Crosscut Sled
Before we start building, let’s break down the different parts of a crosscut sled:
- Base: The main platform that slides across the table saw.
- Runners: Strips of wood that fit into the miter slots of your table saw.
- Fences: Front and rear fences that provide a stable surface to clamp your workpiece against.
- Blade Slot: The opening where the saw blade passes through the sled.
Materials and Tools Needed for Your DIY Crosscut Sled
Here’s what you’ll need to build your own accurate crosscut sled:
Materials:
- Plywood: ¾” plywood for the base and fences. Baltic birch plywood is a great choice, but any good quality plywood will work.
- Hardwood: For the runners (maple, oak, or similar).
- Screws: Wood screws for assembly (1 ¼” and 2″ are good general purpose sizes).
- Wood Glue: For strong joints.
- Optional: T-track for adding stops or hold-downs.
Tools:
- Table Saw: Of course!
- Miter Saw: For cutting pieces to length.
- Drill/Driver: For screwing everything together.
- Measuring Tools: Tape measure, square, and marking knife.
- Clamps: For holding pieces together while glue dries.
- Safety Glasses: Always protect your eyes!
- Hearing Protection: Protect your ears from the noise of power tools.
Table Saw Sled Plans: Step-by-Step Instructions
Follow these detailed steps to construct your DIY crosscut sled. These table saw sled plans will guide you from start to finish.
Step 1: Preparing the Runners
The runners are crucial for the sled’s smooth movement.
- Measure the Miter Slots: Accurately measure the width and depth of your table saw’s miter slots.
- Cut the Runners: Cut two pieces of hardwood slightly wider and thicker than the miter slots.
- Test Fit: Gradually plane or sand the runners until they slide smoothly but without any play in the miter slots. The runners should fit snugly, not loosely.
- Important Note: Ensure the runners are of equal thickness so the sled base remains flat on the table saw.
Step 2: Cutting the Base
The base provides the foundation for the entire sled.
- Cut the Base: Cut a piece of plywood to the desired size. The crosscut sled dimensions depend on your needs, but a good starting point is 24″ deep and 30″ wide. This allows for cutting larger pieces and provides ample support.
- Prepare for Runner Attachment: Ensure the base is clean and free of any debris.
Step 3: Attaching the Runners to the Base
This step is vital for the sled’s stability and accuracy.
- Position the Runners: Place the runners in the miter slots of your table saw.
- Position the Base: Place the plywood base on top of the runners, centering it over the table saw.
- Secure the Runners: From underneath, pre-drill and screw the runners to the base. Use wood glue for added strength. It is often recommended to only glue one runner in place to allow for wood movement.
Step 4: Cutting the Initial Kerf
Creating the initial kerf establishes the path for your blade and reference point for future cuts.
- Raise the Blade: Raise the table saw blade to a height slightly above the thickness of the plywood.
- Turn on the Saw: Carefully turn on the table saw.
- Slowly Push the Sled: Slowly push the sled through the blade, creating a kerf in the base. This is a key step in building a sled for table saw use.
- Turn off the Saw: Turn off the saw and let the blade come to a complete stop before removing the sled.
Step 5: Installing the Front Fence
The front fence is essential for accurate crosscuts.
- Cut the Fence: Cut a piece of plywood to the desired length for the front fence. Ensure it is straight and square.
- Attach the Fence: Apply wood glue to the edge of the fence that will contact the base.
- Align the Fence: Align the fence so it is perfectly square to the blade kerf. Use a reliable square to check the alignment.
- Clamp and Screw: Clamp the fence in place and pre-drill and screw it to the base from underneath.
Step 6: Installing the Rear Fence
The rear fence adds stability and provides another reference surface.
- Cut the Fence: Cut a piece of plywood to the desired length for the rear fence.
- Attach the Fence: Apply wood glue to the edge of the fence that will contact the base.
- Align the Fence: Align the fence parallel to the front fence. A good way to do this is to measure the distance between the front and rear fences at several points and ensure they are equal.
- Clamp and Screw: Clamp the fence in place and pre-drill and screw it to the base from underneath.
Step 7: Testing and Adjusting
It’s crucial to test the sled for squareness and make any necessary adjustments.
- Test for Square: Use a reliable square to check the angle between the fence and the blade kerf.
- Adjust if Necessary: If the fence is not perfectly square, loosen the screws slightly and make small adjustments until it is square. Then, re-tighten the screws.
-
The Five-Cut Method: Use the five-cut method to dial in a truly accurate crosscut sled fence. This involves making five cuts, rotating the workpiece, and measuring the difference to calculate the error and adjust accordingly.
- Cut 1: Make your first cut, keeping track of what part you cut off.
- Rotate 180 Degrees: Rotate the piece 180 degrees, keeping the same face against the fence.
- Cut 2: Make your second cut.
- Rotate 90 Degrees: Rotate the workpiece 90 degrees, keeping the same face against the fence.
- Cut 3: Make your third cut.
- Rotate 180 Degrees: Rotate the piece 180 degrees, keeping the same face against the fence.
- Cut 4: Make your fourth cut.
- Rotate 90 Degrees: Rotate the workpiece 90 degrees, keeping the same face against the fence.
- Cut 5: Make your fifth cut.
- Measure and Calculate: Measure the difference between the first and last cut pieces. Use this difference to adjust the angle of your fence.
- Adjust the Fence: Make adjustments based on the measurements. It might take a few iterations.
Enhancing Your Crosscut Sled
Once your basic sled is complete, you can add features to improve its functionality.
Adding T-Track
T-track allows you to add stops, hold-downs, and other accessories.
- Route Grooves: Route grooves into the fence where you want to install the T-track.
- Install T-Track: Insert the T-track into the grooves and secure it with screws.
Integrating a Hold-Down Clamp
A hold-down clamp keeps your workpiece securely in place.
- Choose a Clamp: Select a hold-down clamp that is compatible with your T-track.
- Install the Clamp: Attach the clamp to the T-track and adjust it to securely hold your workpiece.
Implementing a Stop Block
A stop block allows you to make repeatable cuts at a specific length.
- Create a Stop Block: Make a stop block from a piece of wood.
- Attach to T-Track: Attach the stop block to the T-track with a bolt and knob.
Crosscut Sled Safety: Keeping Yourself Safe
Safety is paramount when using any power tool. Here are some safety tips for using your crosscut sled:
- Always Wear Safety Glasses: Protect your eyes from flying debris.
- Use Hearing Protection: Protect your ears from the loud noise of the table saw.
- Keep Your Hands Away from the Blade: Use push sticks or hold-downs to keep your hands a safe distance from the blade.
- Never Reach Over the Blade: Always turn off the saw and wait for the blade to stop spinning before reaching over it.
- Inspect the Sled Regularly: Check for loose screws or any damage to the sled before each use.
- Use Common Sense: Always be aware of your surroundings and think about what you are doing.
Troubleshooting Your Crosscut Sled
If you encounter problems with your sled, here are some common issues and solutions:
- Sled Doesn’t Slide Smoothly: Make sure the runners are properly fitted to the miter slots. Check for any debris or obstructions.
- Cuts Are Not Square: Double-check the alignment of the fences. Use a reliable square to ensure accuracy.
- Tear-Out: Use a zero clearance sled or backer board to minimize tear-out.
- Sled Jams or Binds: Ensure the sled is properly aligned with the blade. Check for any warping or twisting in the base.
Grasping the Benefits of a Zero Clearance Sled
A zero clearance sled provides support right up to the edge of the blade. This helps to reduce tear-out and produce cleaner cuts. The close proximity of the support minimizes the vibration and flexing of the wood fibers as the blade cuts through, leaving a crisp, clean edge.
Maintaining Your Crosscut Sled
Proper maintenance will ensure your crosscut sled lasts for years.
- Clean Regularly: Remove dust and debris from the sled after each use.
- Check for Loose Screws: Periodically check for loose screws and tighten them as needed.
- Wax the Base: Apply wax to the bottom of the base to help it slide smoothly.
- Store Properly: Store the sled in a dry place to prevent warping.
Tailoring Crosscut Sled Dimensions
The ideal crosscut sled dimensions depend on the type of work you will be doing. For larger projects, you may want a larger sled. For smaller, more detailed work, a smaller sled may be more appropriate. Consider the following:
- Base Size: A larger base provides more support for larger workpieces.
- Fence Height: A taller fence provides more surface area to clamp workpieces against.
- Runner Length: Longer runners provide more stability and prevent the sled from tipping.
Here is a sample dimensions table:
| Component | Dimension (Inches) | Notes |
|---|---|---|
| Base Length | 30 | Adjust based on table saw size and typical workpiece length. |
| Base Width | 24 | Adjust based on table saw size. |
| Runner Length | 12 | Ensure runners are long enough to stay in miter slots throughout travel. |
| Runner Width | Match miter slot | Custom fit each runner to your miter slot. |
| Runner Thickness | Match miter slot | Custom fit each runner to your miter slot. |
| Fence Height | 4 | Higher fences provide more support. |
| Fence Length | Base Width | Match the width of the sled base. |
Frequently Asked Questions (FAQ)
-
What is the best material for crosscut sled runners?
Hardwood such as maple or oak is best for runners because it is durable and resists wear. -
How do I make my crosscut sled more accurate?
Use a reliable square to align the fences, and use the five-cut method to fine-tune the squareness. -
Can I use a crosscut sled to cut miters?
Yes, you can build a miter sled by adding an adjustable miter fence. -
How often should I wax my crosscut sled?
Wax the base of the sled every few months, or whenever it starts to feel sticky or difficult to slide. -
What if my table saw doesn’t have miter slots?
Unfortunately, a crosscut sled requires miter slots. Without them, you cannot accurately guide the sled.
Building a crosscut sled is a rewarding project that will greatly improve the accuracy and safety of your table saw. By following these steps, you can create a valuable woodworking tool that will serve you for years to come. Remember to prioritize safety and take your time to ensure accurate construction. Good luck, and happy woodworking!

Hi, I’m Tom Scalisi, and welcome to The Saw Blog! I started this blog to share my hands-on experience and insights about woodworking tools—especially saws and saw blades. Over the years, I’ve had the chance to work with a wide range of tools, and I’m here to help both professionals and hobbyists make informed decisions when it comes to selecting and using their equipment. Whether you’re looking for in-depth reviews, tips, or just advice on how to get the best performance out of your tools, you’ll find it here. I’m excited to be part of your woodworking journey!