
Changing a table saw blade might seem daunting, but it’s a necessary skill for any woodworker. What is involved in changing a table saw blade? It involves safely removing the old blade and installing a new one, ensuring it’s properly aligned and secured. This guide provides clear, simple table saw blade change steps to help you through the process. This process is called table saw blade replacement. Replacing a saw blade safely isn’t just about avoiding injury; it’s about maximizing the performance and lifespan of your saw. Let’s walk through it!
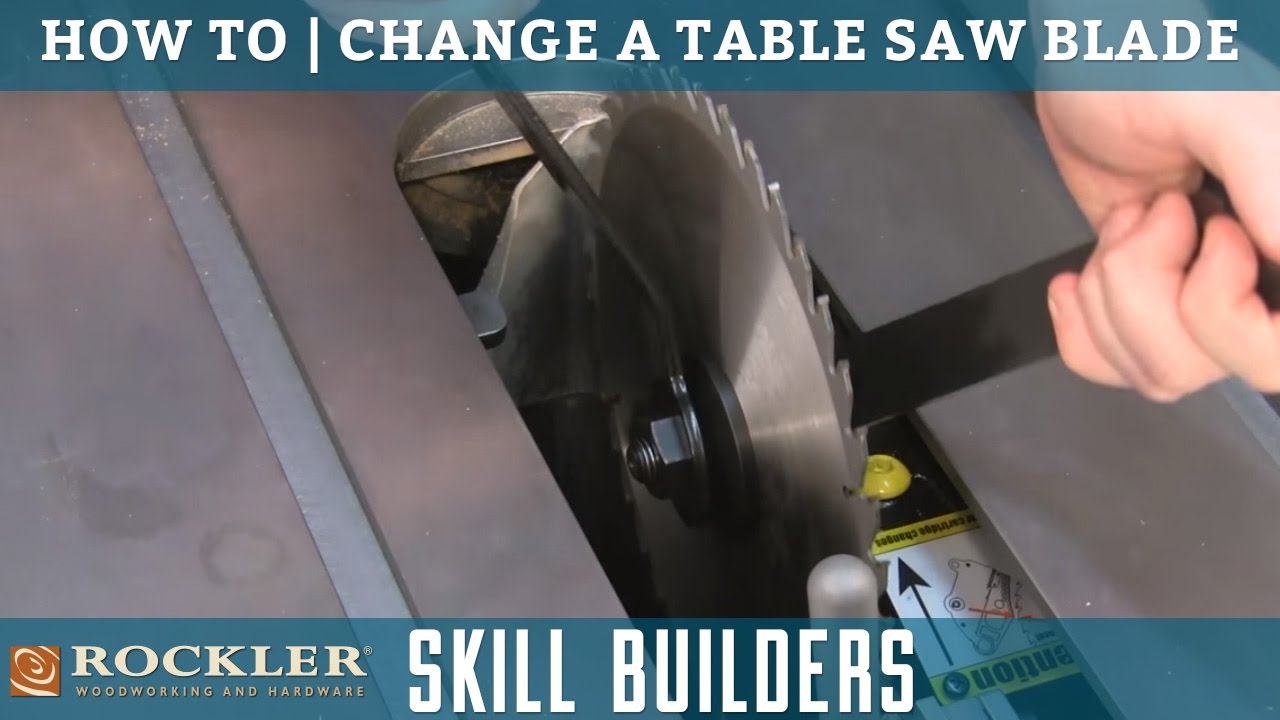
Image Source: i.ytimg.com
Before You Begin: Safety First
Your safety is the most important thing. Before you even think about touching your table saw, take these precautions:
- Unplug the Saw: This is non-negotiable. Make sure the saw is completely disconnected from the power source. This prevents accidental starts.
- Wear Safety Glasses: Flying wood chips and metal debris can seriously injure your eyes.
- Wear Gloves: Protect your hands from sharp blade edges.
- Read Your Saw’s Manual: Each saw model is slightly different. Your manual contains specific instructions and safety guidelines for your particular saw.
- Clear the Area: Remove any clutter around the saw to give you plenty of room to work.
Tools You’ll Need
Gather these tools before you start:
- Table Saw Blade Wrench (or Wrenches): Most saws come with the correct size wrench. If you don’t have it, check your manual to find the table saw blade wrench size you need.
- New Table Saw Blade: Choose the right blade for the type of wood you will be cutting.
- Clean Rags: For wiping down the saw and blade.
- Blade Stabilizer/Stiffener (Optional): These can help reduce vibration and improve cut quality, especially with thin blades.
- Locking Pliers or Vise Grips (Optional): Can be helpful for loosening stubborn arbor nuts.
Step-by-Step Guide: Changing Blade on a Table Saw
This table saw blade change tutorial is broken down into easy-to-follow steps.
Step 1: Lower the Blade and Unplug the Saw
- Lower the blade to its lowest position. This gives you easier access to the arbor nut.
- Double-check that the saw is unplugged.
Step 2: Remove the Throat Plate
- The throat plate (also called an insert) is the removable piece surrounding the blade.
- Most throat plates are held in place by latches, screws, or simply sit snugly in place.
- Consult your saw’s manual if you’re unsure how to remove it.
Step 3: Access the Arbor Nut: A Visual Guide
Now you can see the arbor nut that holds the blade in place. This nut is usually located behind a metal plate.
Step 4: Preventing Blade Rotation: Locking Methods
The key to removing table saw blade easily is to prevent the blade from turning while you loosen the arbor nut. Here are several methods:
- Arbor Lock: Many modern table saws have a built-in arbor lock. This is a button or lever that, when engaged, locks the saw’s arbor (the rotating shaft that holds the blade). Press and hold the arbor lock while loosening the nut.
- Using a Wooden Block: If your saw doesn’t have an arbor lock, carefully wedge a piece of wood between the blade’s teeth and the table to prevent rotation. Make sure the wood is soft enough to not damage the blade.
- Using a Second Wrench: Some people use two wrenches – one to hold the blade steady and the other to loosen the nut. This requires coordination and can be risky if not done carefully.
Step 5: Loosening the Arbor Nut
Important: Table saw arbor nuts usually have left-handed threads. This means you turn the wrench clockwise to loosen the nut, and counter-clockwise to tighten it. Check your saw’s manual to confirm the direction.
- Position the wrench on the arbor nut.
- Apply steady pressure in the correct direction (usually clockwise to loosen).
- If the nut is stuck, avoid forcing it. Try applying a penetrating oil (like WD-40) and letting it sit for a few minutes before trying again.
- Once the nut is loose, you can remove it by hand.
Step 6: Removing the Old Blade
- Carefully remove the outer flange (the metal washer behind the nut).
- Gently slide the old blade off the arbor.
- Be careful not to damage the arbor threads.
Step 7: Cleaning the Arbor and Flanges
- Use a clean rag to wipe down the arbor and both flanges.
- Remove any sawdust or debris. This ensures the new blade will sit flush and run true.
Step 8: Installing the New Table Saw Blade
This is the reverse of the removal process. Installing table saw blade correctly ensures safe and accurate cutting.
- Check Blade Rotation: Most blades have an arrow indicating the correct direction of rotation. Make sure the arrow points in the direction the blade will spin when the saw is running.
- Mounting the Blade: Carefully slide the new blade onto the arbor.
- Replace the Outer Flange: Make sure the flange is clean and sits flush against the blade.
- Reattaching the Arbor Nut: Tighten the arbor nut by hand, turning it counter-clockwise (usually).
Step 9: Tightening the Arbor Nut Securely
- Use the wrench to tighten the arbor nut.
- Engage the arbor lock (or use your chosen method to prevent blade rotation).
- Give the nut a firm, but not excessive, tightening. You want it snug, but you don’t want to strip the threads.
- Avoid over-tightening, as this can damage the arbor or the blade.
Step 10: Reinstalling the Throat Plate
- Replace the throat plate, making sure it’s securely in place.
Step 11: Testing the Blade
- Before plugging the saw back in, manually rotate the blade to make sure it spins freely and doesn’t rub against the throat plate.
- Plug the saw back in.
- Turn the saw on briefly to check for any unusual noises or vibrations.
- If everything sounds and looks good, you’re ready to start cutting!
Tips for Choosing the Right Table Saw Blade
The best way to change table saw blade also includes selecting the correct blade for your project. Here are some things to consider:
| Blade Type | Tooth Count | Application |
|---|---|---|
| General Purpose | 40-50 | Ripping and crosscutting hardwood and softwood. |
| Ripping | 24-30 | Cutting with the grain of the wood (ripping). |
| Crosscut | 60-80 | Cutting across the grain of the wood (crosscutting). |
| Combination | 40-50 | Versatile blade for general use. |
| Plywood/Laminate | 80+ | Producing clean cuts on plywood, veneer, and laminates. |
| Dado | Adjustable | Creating grooves or rabbets in wood. |
| Metal Cutting | Varies | Cutting non-ferrous metals like aluminum and brass. |
- Tooth Count: More teeth generally produce smoother cuts, while fewer teeth are better for ripping.
- Tooth Angle: A steeper tooth angle (higher “hook angle”) is more aggressive and better for ripping. A shallower angle is better for crosscutting.
- Blade Material: Carbide-tipped blades are more durable and last longer than steel blades.
- Kerf: The kerf is the width of the cut made by the blade. Thin-kerf blades remove less material and require less power from the saw.
- Blade Diameter: Make sure the blade diameter matches your saw’s specifications.
Maintenance for Your Table Saw Blade
Taking care of your blades will extend their life and improve their performance:
- Clean the Blade Regularly: Use a blade cleaner to remove pitch and resin buildup.
- Store Blades Properly: Store blades in a dry place to prevent rust. Use blade guards to protect the teeth.
- Sharpen Blades When Necessary: A dull blade is dangerous and produces poor cuts. You can sharpen blades yourself with specialized tools, or you can take them to a professional sharpening service.
- Check for Damage: Inspect blades regularly for chipped teeth, cracks, or warping. Replace damaged blades immediately.
Troubleshooting Common Problems
- Arbor Nut is Stuck: Apply penetrating oil and let it sit for a few minutes. If that doesn’t work, try using locking pliers or vise grips to get a better grip on the nut.
- Blade Vibrates: Check that the blade is properly tightened and that the flanges are clean. A blade stabilizer can also help reduce vibration.
- Burning or Smoking: This usually indicates a dull blade or feeding the wood too slowly.
- Chipping: Use a high tooth count blade for delicate materials like plywood and laminates. You can also try scoring the wood with a utility knife before cutting.
Comprehending Arbor Nut Thread Direction
The direction of the threads on your table saw’s arbor nut is crucial for correctly loosening and tightening the blade. Most table saws use a left-handed thread, but it’s essential to confirm this in your saw’s manual. A left-handed thread means you turn the nut clockwise to loosen it and counter-clockwise to tighten it—the opposite of what you might expect.
Fathoming Blade Runout
Blade runout refers to the amount of wobble or deviation a blade exhibits as it rotates. Excessive runout can result in inaccurate cuts, increased vibration, and premature wear on the blade and saw. Regularly checking and addressing runout is important for maintaining the accuracy and safety of your table saw.
Grasping the Importance of Blade Stabilizers
Blade stabilizers, sometimes called stiffeners, are essentially metal discs that attach to your saw blade to keep it steady. They are really helpful when you are using a thin blade or cutting through thick, hard materials. By stopping the blade from vibrating so much, they help you get a cleaner cut and make your blade last longer too.
Deciphering Table Saw Blade Markings
Table saw blades are typically marked with information about their intended use, tooth count, kerf width, and maximum RPM. Familiarizing yourself with these markings can help you choose the right blade for your project and ensure you’re using it safely.
Interpreting Cut Quality Issues
Problems with cut quality, such as tear-out, burning, or excessive roughness, can often be traced back to the blade. Selecting the appropriate blade for the material you’re cutting and ensuring the blade is sharp are key to achieving clean, accurate cuts. Experiment with different blade types and cutting techniques to optimize your results.
Frequently Asked Questions (FAQ)
- How often should I change my table saw blade? This depends on how often you use your saw and the types of materials you cut. A general rule is to replace the blade when it becomes dull or damaged, or when you notice a significant decrease in cut quality.
- Can I use a different size blade on my table saw? No. Only use blades that are the correct diameter for your saw. Using a blade that is too large or too small can be dangerous and can damage the saw.
- What is the best way to dispose of old table saw blades? Wrap the blade in cardboard or heavy paper and tape it securely. Label the package “Sharp Object” and dispose of it according to your local regulations.
- How do I know what size wrench I need for my table saw blade? Consult your saw’s manual. It will specify the correct wrench size for the arbor nut. If you don’t have the manual, you can usually find this information online by searching for your saw model.
Changing your table saw blade might seem tricky at first, but with practice, it becomes a quick and easy task. Always remember safety first, and don’t hesitate to consult your saw’s manual or seek help from a qualified professional if you’re unsure about any step.

Hi, I’m Tom Scalisi, and welcome to The Saw Blog! I started this blog to share my hands-on experience and insights about woodworking tools—especially saws and saw blades. Over the years, I’ve had the chance to work with a wide range of tools, and I’m here to help both professionals and hobbyists make informed decisions when it comes to selecting and using their equipment. Whether you’re looking for in-depth reviews, tips, or just advice on how to get the best performance out of your tools, you’ll find it here. I’m excited to be part of your woodworking journey!