
How do you change a saw blade on a table saw? Changing a saw blade on a table saw involves disconnecting the power, using the correct wrenches to loosen the arbor nut, carefully removing the old blade, installing the new blade in the correct direction, tightening the arbor nut, and finally, testing the alignment before restoring power and using the saw. Safety is paramount throughout the entire process. This guide provides detailed, step-by-step instructions on safely changing your table saw blade.
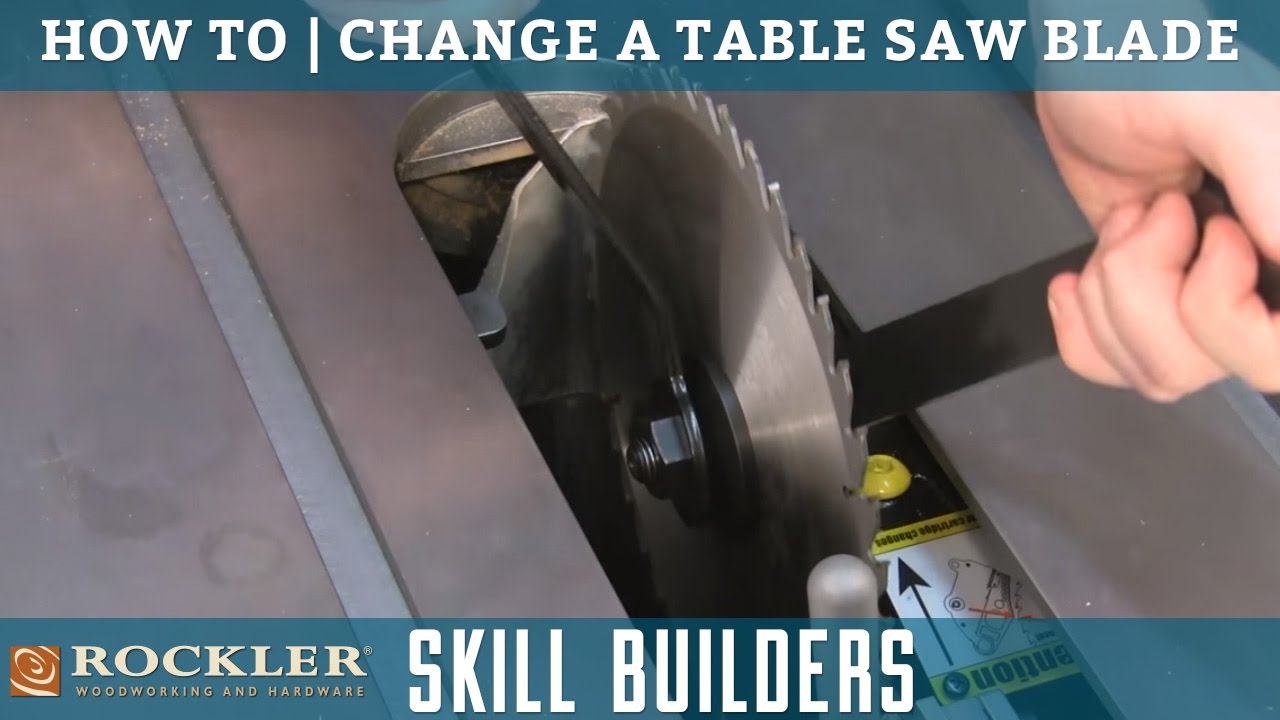
Image Source: i.ytimg.com
Why Table Saw Blade Replacement is Important
A sharp, clean blade is essential for accurate and safe cuts. Dull or damaged blades can cause:
- Kickback: Where the wood is thrown back at you.
- Burning: Scorched edges on the wood.
- Splintering: Ragged edges on the cut.
- Increased effort: Forcing the wood through the blade.
Regular table saw maintenance including blade changes, optimizes performance and reduces the risk of accidents.
Safety First: Essential Precautions Before You Start
Before even thinking about removing or installing a blade, safety must be your primary concern. Here’s a checklist:
- Disconnect the Power: This is the MOST important step. Unplug the saw from the power outlet. Do not rely on the power switch alone.
- Wear Safety Glasses: Protect your eyes from flying debris.
- Wear Gloves: Protect your hands from sharp blade edges.
- Read the Manual: Refer to your table saw’s manual for specific instructions and safety recommendations.
- Clear the Area: Make sure the area around the table saw is clear of obstructions and distractions.
- No Rushing: Take your time and avoid distractions. Rushing increases the chance of mistakes and accidents.
Tools You’ll Need
Gather these tools before beginning your table saw blade change instructions:
- Table Saw Wrenches: Usually two are provided with the saw. Know your table saw blade wrench size and arbor size.
- Work Gloves: For protecting your hands.
- Safety Glasses: Always protect your eyes.
- Clean Rags: For cleaning the blade and arbor.
- Arbor Lock (if applicable): Some saws have a built-in arbor lock.
- Block of Wood (optional): For extra support while loosening the arbor nut.
Step-by-Step Table Saw Blade Change Instructions
1. Accessing the Blade
- Raise the Blade: Raise the blade to its maximum height. This makes it easier to access the arbor nut.
- Remove Throat Plate: The throat plate is the insert surrounding the blade. Most throat plates can be removed by lifting them out. Some have locking mechanisms; refer to your saw’s manual.
2. Locking the Arbor
- Locate the Arbor Lock: Some table saws have an arbor lock button. Press and hold this button while proceeding to the next step. If your saw doesn’t have an arbor lock, proceed to use the wrench method.
- Wrench Method: If there is no arbor lock, use one wrench to hold the blade steady (apply force carefully). Use a second wrench to loosen the arbor nut.
3. Loosening the Arbor Nut
This is crucial. The direction to loosen the nut depends on the saw’s design:
- Standard Thread (Most Saws): Turn the nut clockwise to loosen.
- Reverse Thread (Some Saws): Turn the nut counter-clockwise to loosen.
Consult your saw’s manual to confirm the correct direction. Use the two wrenches. One wrench keeps the blade from turning. The other is used to loosen the nut. The table below contains some important tips to help.
| Technique | Description |
|---|---|
| Leverage | Use a steady, controlled force. Avoid jerking the wrench, which can damage the nut or cause injury. |
| Second Wrench | Make sure the second wrench is securely holding the blade to prevent it from spinning while you loosen the nut. |
| Penetrating Oil | If the nut is stuck, apply a small amount of penetrating oil and let it sit for a few minutes before trying again. |
| Check the Manual | Always check your saw’s manual for the correct direction to loosen the nut (clockwise or counter-clockwise). |
4. Removing the Old Blade
- Carefully Remove the Nut and Washer: Once the nut is loose, fully unscrew it and remove the washer. Keep these parts in a safe place.
- Remove the Blade: Gently slide the old blade off the arbor. Be careful of the teeth, which are sharp.
5. Cleaning the Arbor and Flanges
- Clean the Arbor: Use a clean rag to remove any sawdust or debris from the arbor shaft.
- Clean the Flanges: Inspect and clean the blade flanges (the metal discs that hold the blade in place). Make sure they are free of dirt and rust.
6. Installing the New Blade
- Inspect the New Blade: Before installing, inspect the new blade for any damage or defects.
- Mount the Blade: Slide the new blade onto the arbor. Ensure the blade is flush against the inner flange.
- Correct Rotation: The blade’s rotation direction is crucial. An arrow on the blade indicates the correct direction. This arrow MUST match the rotation direction indicated on the saw.
7. Reassembling and Tightening
- Reinstall the Washer and Nut: Place the washer back onto the arbor, followed by the arbor nut.
- Tighten the Nut: Using the two wrenches, tighten the arbor nut securely. Again, hold the blade with one wrench and tighten the nut with the other. Tighten firmly, but do not overtighten.
- Arbor Lock: If you used the arbor lock, release the button after tightening.
8. Replacing the Throat Plate
- Reinstall the Throat Plate: Place the throat plate back into its slot. Ensure it is seated correctly and securely.
9. Testing Blade Alignment
- Visual Inspection: Visually inspect the blade to ensure it is straight and aligned with the fence and miter slots.
- Test Cut (Optional): For added assurance, make a test cut on a piece of scrap wood. Check for smooth, straight cuts without excessive vibration.
10. Final Checks and Powering On
- Double-Check: Before plugging the saw back in, double-check that all components are correctly installed and tightened.
- Plug In and Test: Plug the saw back into the power outlet. Turn it on briefly to ensure the blade spins freely and without excessive vibration.
Choosing the Right Blade: A Quick Guide
Selecting the right blade impacts cut quality and safety. Consider these factors:
- Blade Diameter: Ensure the blade diameter matches your saw’s specifications (usually 10″ for standard table saws).
- Arbor Size: The blade’s arbor hole must match your saw’s arbor size (typically 5/8″ in North America).
- Tooth Count:
- Fewer Teeth (24-40): For ripping (cutting with the grain) wood quickly.
- More Teeth (60-80): For crosscutting (cutting against the grain) wood smoothly and cleanly.
- Tooth Grind:
- ATB (Alternate Top Bevel): Versatile for general-purpose cutting.
- FTG (Flat Top Grind): Best for ripping and creating flat-bottomed grooves.
- TCG (Triple Chip Grind): Ideal for cutting non-ferrous metals and plastics.
- Blade Type:
- General Purpose: Suitable for a range of cuts in various materials.
- Ripping Blade: Designed for fast and efficient ripping.
- Crosscut Blade: For smooth, splinter-free crosscuts.
- Combination Blade: Offers a balance between ripping and crosscutting.
- Specialty Blades: For specific materials like plywood, laminates, or non-ferrous metals.
Here is a table that helps visualize how to choose the correct blade.
| Material | Tooth Count | Tooth Grind | Blade Type |
|---|---|---|---|
| Softwood | 24-40 | ATB or FTG | Ripping, General Purpose |
| Hardwood | 40-60 | ATB | Crosscut, General Purpose |
| Plywood | 60-80 | ATB | Plywood Blade |
| Laminates | 80+ | TCG | Laminate Blade |
| Non-Ferrous Metals | 80+ | TCG | Metal Cutting Blade |
Maintaining Your Table Saw Blade
Proper maintenance extends blade life and ensures optimal performance.
- Regular Cleaning: Clean the blade after each use with a blade cleaner to remove resin and pitch buildup.
- Storage: Store blades in a dry place to prevent rust. Use blade guards or cases to protect the teeth.
- Sharpening: Sharpen dull blades to restore their cutting edge. You can sharpen them yourself with specialized tools or have them professionally sharpened.
- Inspection: Regularly inspect blades for damage, such as missing teeth, cracks, or warping. Replace damaged blades immediately.
Common Mistakes to Avoid
- Forgetting to Disconnect Power: Always disconnect the power before starting any maintenance or blade changes.
- Incorrect Rotation: Installing the blade in the wrong direction can be dangerous and damage the saw.
- Overtightening the Arbor Nut: Overtightening can damage the arbor or the nut.
- Using the Wrong Wrenches: Using the wrong size or type of wrench can damage the arbor nut. Ensure that you are aware of the table saw blade arbor size and the correct table saw blade wrench size.
- Neglecting Safety Gear: Always wear safety glasses and gloves.
- Ignoring the Manual: Your saw’s manual contains essential safety information and specific instructions.
Fathoming Arbor Sizes
The arbor size is the diameter of the shaft on the table saw onto which the blade is mounted. The standard arbor size in North America for most 10-inch table saws is 5/8 inch. However, some saws, particularly those from other regions or specialized models, may have different arbor sizes. Always consult your saw’s manual to confirm the correct arbor size before purchasing a new blade. Using a blade with the wrong arbor size can be dangerous and prevent the blade from being securely mounted.
Grasping Table Saw Blade Wrench Sizes
The wrench size you’ll need for your table saw can change depending on which model you have. Usually, these saws come with two different wrenches: one holds the blade steady while the other turns the nut. These wrenches are made to fit your specific saw, often ranging in size from 13mm to 22mm. Your best bet is to check the owner’s manual for the exact size, but if you don’t have it, you can just try a few different ones until you find a pair that fits nice and snug.
Table Saw Maintenance Blade Change Frequency
How often you need to change your table saw blade depends on several factors, including the type of wood you’re cutting, the frequency of use, and the quality of the blade. Here are some general guidelines:
- Professional Use: If you use your table saw daily for professional work, you may need to change or sharpen your blade every few weeks.
- Hobbyist Use: For occasional hobbyist use, a blade may last several months or even years with proper care and maintenance.
- Signs of Dullness: Change the blade when you notice signs of dullness, such as burning, splintering, or increased effort to push the wood through the blade.
- Regular Inspection: Inspect your blade regularly for damage, such as missing teeth or cracks, and replace it immediately if you find any issues.
FAQ Section
Q: What if the arbor nut is stuck?
A: Apply penetrating oil to the nut and let it sit for a few minutes. Use steady pressure with the wrenches. Avoid jerking. If it’s still stuck, consider taking the saw to a professional for service.
Q: Can I use a blade that’s slightly smaller in diameter than the recommended size?
A: No. Using a smaller blade can be dangerous because it may not be properly secured and can lead to kickback or other accidents. Always use the recommended blade diameter.
Q: What is kickback and how can I prevent it?
A: Kickback is when the wood being cut is thrown back towards the user. To prevent it:
- Use a sharp blade.
- Use a splitter or riving knife.
- Use proper feed rate (don’t force the wood).
- Stand to the side of the blade path.
Q: How do I dispose of old table saw blades?
A: Wrap the blade securely in cardboard or heavy paper. Label it clearly as “Sharp!” to prevent injury. Dispose of it in a responsible manner, following local regulations.
Q: What is the best way to change table saw blade on my machine?
A: The best way is always the safest way. Follow the steps in this guide, referencing your owner’s manual for specifics related to your machine. There isn’t a shortcut that outweighs safety.
Q: How to install table saw blade in a safe manner?
A: Follow the steps described in this guide, prioritize disconnecting the power, wearing safety gear, and double-checking all connections before restoring power.

Hi, I’m Tom Scalisi, and welcome to The Saw Blog! I started this blog to share my hands-on experience and insights about woodworking tools—especially saws and saw blades. Over the years, I’ve had the chance to work with a wide range of tools, and I’m here to help both professionals and hobbyists make informed decisions when it comes to selecting and using their equipment. Whether you’re looking for in-depth reviews, tips, or just advice on how to get the best performance out of your tools, you’ll find it here. I’m excited to be part of your woodworking journey!