
Do you stare at your chipped, dull gel manicure, dreaming of smooth, bare nails, but dread the salon trip to remove it? You are not alone! Gel polish looks fantastic and lasts for weeks, but taking it off at home can feel like a confusing, messy chore. Many people try harsh scraping or peeling, only to end up with weak, damaged nails. It’s frustrating when you want a fresh look without hurting your natural nails.
Choosing the best at-home removal method matters. Some techniques dry out your skin, while others just don’t seem to work on tough layers. You want a way that is safe, effective, and doesn’t require a whole afternoon of soaking. This post breaks down the easiest and kindest ways to banish that stubborn gel shine right from your living room.
Keep reading to discover simple, step-by-step guides for successful gel removal. We will cover everything from the classic soak-off method to clever shortcuts. Get ready to say goodbye to old polish and hello to healthy nails!
Top Way To Get Gel Nail Polish Off At Home Recommendations

- 【Professional Gel Nail Polish Remover】The new gel nail polish remover removes nail polish quickly and easily in 2-5 minutes. You don't need to soak or wrap it with aluminum foil. Just "apply" the gel remover on the nail polish and you can see the nail polish bursting. This is a brand new experience in removing nail polish!
- 【Save Time and Money】The gel polish remover kit comes with a 15ml bottle of gel removal, a cuticle pusher, a scraper and a nail file. It can remove ordinary nail polish, UV gel nails, shellac, etc. There is no cumbersome removal process, allowing beginners or nail art enthusiasts to easily remove nail polish at home while lying on the sofa!
- 【Formula Upgrade】Gel nail polish remover is formulated with specially enhanced organic solvents, does not contain acetone, does not damage nails, and has no irritating odor. You no longer need to soak in irritating acetone, nor do you need to deal with aluminum foil and scraping. Say goodbye to the cumbersome and traditional way of removing nail polish!

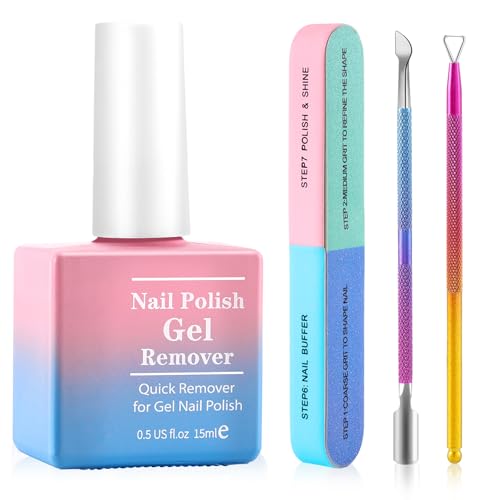
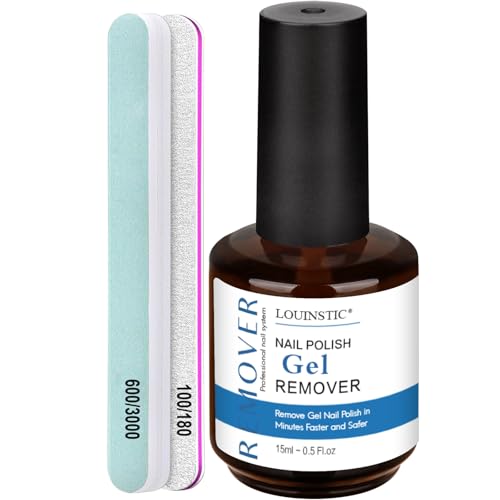
- 【Gel Nail Polish Remover Set】No salon needed. Our pro set includes a 15ml (0.5 fl. oz.) bottle of advanced nail polish remover and a 15ml peel-off liquid latex for nails. Achieve salon-quality gel removal at home without messy soaking or wrapping
- 【Gentle & Nail-friendly】No more sticky fingers! Apply liquid latex around nails before removal, peels off cleanly with lifted polish, protects your skin and cuticles from gel polish remover, and the mess of nail art applications. Gel polish remover for nails is formulated with gentle ingredients that effectively remove without damaging or drying out your nails
- 【3 Mins Fast Remove-No Drill and Soaking Needed】1. Remove the topcoat with a nail file. 2. Apply liquid latex on the skin around the nail to form a protective barrier. 3. Apply gel nail polish remover and wait 2-5 minutes. Gel polish will bubble up for effortless scraping. Every step is effortless and effective, perfect for DIY lovers, beginners, or frequent style changers
- 【Professional Gel Nail Polish Remover Kit】This nail polish remover kit includes 1 pack gel nail polish remover(0.5 Fl Oz), Dual End Cuticle Pusher*1, Single End Nail Pusher(Triangle Head )*1 , Six Sided Nail File Grit*1. The 4-in-1 kit can help you quickly remove the gel nail polish, you can easily do manicure at home without going to a professional nail salon, saving time and money.
- 【Quick and Easy】Gel nail polish remover does not require soaking or wrapping foil, just brush the nail polish cleanser onto your fingernails and wait for 2-3 minutes. The nail polish will crack naturally, and then gently remove it with a small steel push. Effectively and quickly remove nail polish without cumbersome deletion process. Very suitable for beginners.
- 【Safe and Non-irritating】This gel nail polish remover made from natural ingredients, non-irritating and light smell, can remove the nail polish easily. There is no need to worry that removing nail polish will damage the nails.
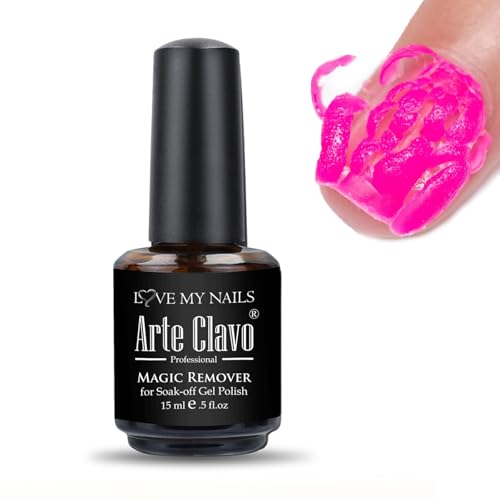
- 【ARTE CLAVO 1 Pcs Gel Nail Polish Removers】: You'll receive 1 pcs gel nail polish removers. Please note this kit excludes removal tools. 𝐖𝐚𝐫𝐦 𝐓𝐢𝐩𝐬: 𝐏𝐥𝐞𝐚𝐬𝐞 𝐟𝐢𝐥𝐞 𝐨𝐟𝐟 𝐭𝐡𝐞 𝐬𝐡𝐢𝐧𝐲 𝐭𝐨𝐩 𝐥𝐚𝐲𝐞𝐫 𝐨𝐟 𝐲𝐨𝐮𝐫 𝐠𝐞𝐥 𝐩𝐨𝐥𝐢𝐬𝐡 𝐭𝐨 𝐞𝐧𝐬𝐮𝐫𝐞 𝐞𝐟𝐟𝐞𝐜𝐭𝐢𝐯𝐞 𝐫𝐞𝐦𝐨𝐯𝐚𝐥. 𝐀𝐯𝐨𝐢𝐝 𝐓𝐨𝐮𝐜𝐡𝐢𝐧𝐠 𝐒𝐤𝐢𝐧 & 𝐍𝐚𝐢𝐥 𝐁𝐞𝐝, 𝐒𝐭𝐚𝐲 𝐀𝐰𝐚𝐲 𝐟𝐫𝐨𝐦 𝐂𝐡𝐢𝐥𝐝𝐫𝐞𝐧
- 【How to Use Gellen Gel Nail Remover?】: Our gel nail polish remover is made from natural ingredients with low smell and is harmless for human body. Please note this nail remover is only able to remove gel nail polish. Steps for Using: 1. Remember to file off your nails for a basic remover work. 2.Apply nail polish remover. 3. Wait for 5 min & you'll see the nail polish crack. 4. Gentle remove your nail polish with steel pusher. Warm Tips: AVOID TOUCHING YOUR SKIN & NAIL BED.
- 【Efficient Nail Remove, Save Time & Money】: With ARTE CLAVO gel nail polish remover kit, you are no longer need to go to a nail salon for removing your nail polish. Just stay at home & spend a litter spare time to finish a remove job by yourself! This nail remover kit also can be an ideal gift for nail art lovers or nail art starters on Thanksgiving Day, birthday, Christmas, New Year, etc.
- Professional Gel Nail Polish Remover: A revolutionary product that can easily remove gel polishing from nails. Simply add the magic bursting nail polish remover to your nails and wait for the gel to be removed for polishing, saving you the need to polish your nails and foil without any cumbersome steps.
- Efficient And Time Saving: In order to create a shiny nail surface, you no longer need to go to a professional nail salon to complete it,Remove stubborn nail polish in 3-5 minutes,fast and simple. It is suitable for UV plastic nails, acrylic nails, natural nails and other nails.
- Quick and Easy:Just brush your nail polish cleaner onto your nails and wait 3-5 minutes. You will notice that the nail polish will be peeled off and the nail polish will naturally crack. Then wipe gently with a paper towel to remove the nail polish easily. It can effectively and quickly remove nail glue and save valuable time.

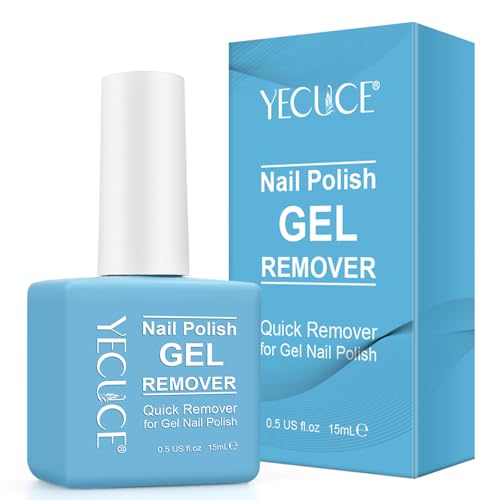
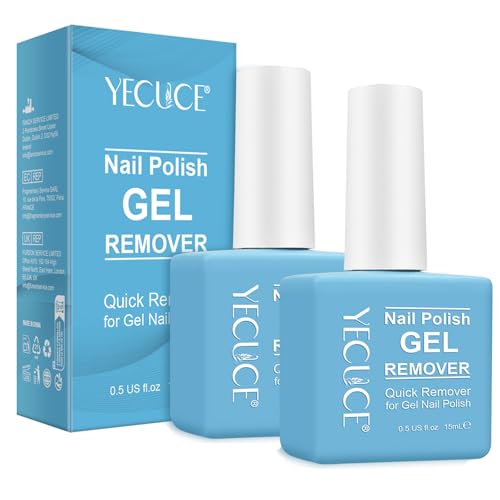
- 【Gel Nail Polish Remover】The newly formulated gel polish remover is designed to improve efficiency. You don't need to soak in strong acetone, nor do you need to deal with time-consuming and messy foil wrapping and drill bit scraping. Just "apply" the gel remover on the nail polish, you can see the nail polish bursting, and then gently scrape it off with the tool.
- 【Easy to Remove Multiple Nail Polishes】This gel remover for nails can remove a variety of nail polishes including gel nail polish, UV gel nails, shellac, etc. One bottle for multiple uses and a small and lightweight design make it easy to use when traveling, at home or in a professional nail salon. It is very suitable for beginners or people who often change their nail styles.
- 【Healthy Formula】This gel nail The remover is formulated with specially enhanced organic solvents. It does not contain acetone, does not damage nails, and has no irritating odor. After being blended in proportion, it can quickly remove gel nail polish while keeping nails healthy. Say goodbye to the strong, messy and traditional way of removing nail polish.
- Professional Gel Nail Polish Remover: A revolutionary product that can easily remove gel polishing from nails. Simply add the magic bursting nail polish remover to your nails and wait for the gel to be removed for polishing, saving you the need to polish your nails and foil without any cumbersome steps.
- Efficient And Time Saving: In order to create a shiny nail surface, you no longer need to go to a professional nail salon to complete it,Remove stubborn nail polish in 3-5 minutes,fast and simple. It is suitable for UV plastic nails, acrylic nails, natural nails and other nails.
- Quick and Easy:Just brush your nail polish cleaner onto your nails and wait 3-5 minutes. You will notice that the nail polish will be peeled off and the nail polish will naturally crack. Then wipe gently with a paper towel to remove the nail polish easily. It can effectively and quickly remove nail glue and save valuable time.
- 【Gel Remover for Nails】The new gel nail polish remover can quickly and easily remove a variety of nail polishes including UV nail gel, nail polish, gel nail polish, shellac, etc. Just "apply" the nail polish remover on the nail polish, wait 2-5 minutes, you can see the nail polish cracking, then gently scrape it off with a tool.
- 【Safe for Nails】This gel polish remover is formulated with specially enhanced organic solvents. It does not contain acetone, does not damage nails, and has no irritating odor. After being proportioned, it can quickly remove gel nail polish while maintaining health.
- 【Time-saving & Easy】LOUINSTIC gel remover is designed to improve efficiency. You don't need to soak in strong acetone, nor do you need to deal with time-consuming and messy foil wrapping and drill bit scraping. Whether you are a beginner or a nail art DIY enthusiast, you can easily remove nail polish at home while lying on the sofa.
The Ultimate Buying Guide: Getting Gel Polish Off at Home Like a Pro
Gel nail polish looks amazing and lasts much longer than regular polish. But taking it off can feel like a big chore. Don’t worry! You can easily remove tough gel polish right in your own home. This guide helps you choose the best way to do it.
1. Key Features to Look For
When picking a gel removal kit or product, look for these important features:
- Fast-Acting Formula: The best removers work quickly. You do not want to soak your fingers for an hour. Look for products that promise results in 10 to 15 minutes.
- Gentle Ingredients: Since the remover touches your skin, check the label. Ingredients like acetone are strong, but some kits include moisturizing oils (like jojoba or vitamin E) to protect your skin and nails.
- Complete Kit Availability: Some products only sell the liquid. A good kit includes everything: remover liquid, cotton pads, foil wraps, and a nail file or buffer block.
- Odor Level: Acetone smells strong. Some newer products claim to be low-odor or use different chemicals that smell less harsh.
2. Important Materials Needed
The materials you use matter a lot for successful removal. You need the right tools.
The Remover Liquid
Most effective removers use **Acetone**. It is a powerful solvent that breaks down the gel. If you have sensitive skin or prefer a gentler approach, look for **Non-Acetone** removers, but know they usually take much longer to work on hard gel polish.
The Wraps/Soaking Tools
You need something to hold the remover against the nail. Aluminum Foil Wraps are the most common. They trap heat, which speeds up the process. Some kits offer pre-cut cotton pads attached to foil—these are super convenient.
The Tools for Scraping
After soaking, you need to gently lift the softened gel. A **Cuticle Pusher** (usually metal or wood) works best. Never use sharp metal tools to pry off the gel, as this damages your natural nail.
3. Factors That Improve or Reduce Quality
The quality of your removal job depends on how you prepare and how strong your product is.
Improving Quality (Tips for Success)
- Buff the Top Coat: Always gently scratch the shiny top coat of the gel polish with a coarse nail file before soaking. This tiny step lets the remover penetrate the gel much faster.
- Warmth Helps: If you use foil wraps, cover your hands with a warm towel. Heat makes the acetone work better and faster.
- Good Soaking Time: Follow the product instructions exactly. Rushing the process means the gel will not lift properly.
Reducing Quality (What to Avoid)
- Picking or Peeling: If you try to peel the gel off before it’s ready, you rip off layers of your natural nail underneath. This weakens your nails badly.
- Using Old Wraps: If the foil wraps are loose, air gets in. Air stops the remover from working efficiently. Make sure the wraps are tight around the fingertip.
4. User Experience and Use Cases
How you use the product changes your experience.
The Quick Fix User
If you are in a hurry, choose a dedicated **Gel Removal Kit** that uses strong acetone and pre-made foil clips. These kits are designed for speed and minimal mess.
The Sensitive Skin User
If your skin gets dry or irritated easily, look for **soak-off bowls** or **electric nail drills** (used carefully). If you use acetone, be sure to apply a thick layer of cuticle oil or petroleum jelly around your skin *before* you start soaking to create a barrier.
Removing gel polish at home saves you time and money. Prepare well, use good materials, and be patient. You will have healthy nails ready for your next color!
10 Frequently Asked Questions (FAQ) About Home Gel Polish Removal
Q: How long does it usually take to remove gel polish?
A: Most effective methods take between 10 to 20 minutes of soaking time, plus a few minutes for gentle scraping.
Q: Can I use regular nail polish remover (non-acetone) for gel polish?
A: No. Regular remover usually won’t work on hard gel polish. You need acetone or a specialized gel remover for best results.
Q: Is soaking my nails in acetone harmful?
A: Acetone is strong and can dry out your skin and nails. It is safe when used correctly, but you must moisturize your hands and cuticles immediately afterward.
Q: What is the first step I must do before soaking?
A: You must file or buff the shiny top coat off the gel. This lets the remover liquid reach the color underneath.
Q: What should I do if the gel doesn’t lift easily after soaking?
A: Do not force it! Re-soak the nail for another 5 to 10 minutes. Sometimes, the gel needs extra time to soften.
Q: Are those electric nail drills safe for home use?
A: They can be very fast, but they require practice. If you use too much pressure or the wrong bit, you can seriously damage your natural nail plate.
Q: Should I use cotton balls or pads for soaking?
A: Cotton pads are usually better because they are flatter and fit neatly inside the foil wraps, ensuring full contact with the nail surface.
Q: How do I protect my skin while soaking?
A: Rub petroleum jelly (like Vaseline) or a thick hand cream around the skin surrounding your nail before wrapping your fingers in foil.
Q: What if I am allergic to acetone?
A: Look for professional “soak-off gel systems” that use different solvents. You might need to ask a professional manicurist for advice on non-acetone products that specifically target gel.
Q: What is the final step after all the gel is gone?
A: Always wash your hands well and apply a rich cuticle oil and hand lotion to restore moisture to your skin and nails.

Hi, I’m Tom Scalisi, and welcome to The Saw Blog! I started this blog to share my hands-on experience and insights about woodworking tools—especially saws and saw blades. Over the years, I’ve had the chance to work with a wide range of tools, and I’m here to help both professionals and hobbyists make informed decisions when it comes to selecting and using their equipment. Whether you’re looking for in-depth reviews, tips, or just advice on how to get the best performance out of your tools, you’ll find it here. I’m excited to be part of your woodworking journey!