
Do you dream of a sun-kissed glow without the sun’s harsh rays? Many of us want that perfect summer tan year-round, but finding a self-tanner that actually works *and* doesn’t empty your wallet can feel like a treasure hunt!
The self-tanner aisle is overwhelming. You see fancy bottles with big price tags, and budget options that promise miracles but often deliver streaks or an orange tint. It’s frustrating to spend money on something that doesn’t give you the natural-looking bronze you desire. We all want that affordable secret weapon for flawless skin.
This post cuts through the noise. We have tested and reviewed the most budget-friendly self-tanners on the market. You will learn exactly which affordable options deliver stunning, streak-free results and which ones to avoid. Get ready to discover your new favorite, cheap glow-getter!
Top And Cheapest Self Tanner Recommendations
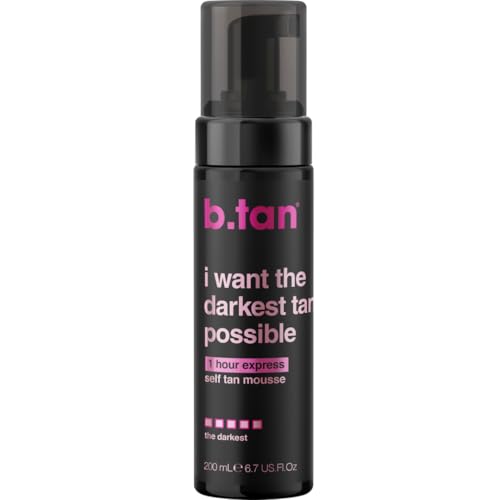
- DARKEST POSSIBLE RESULTS. i'm perfect for when dark just isn't dark enough
- EASY TANNING. no gimmicks, no fake tan smell just the most awesome, dark tan on the planet
- 1 HOUR CURE TIME. 1 hour development time, leave on for 4+ hours for darker results
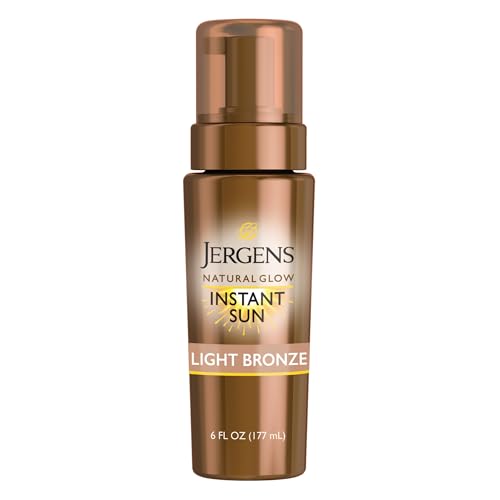
- FLAWLESS SELF TANNER - This self tanner creates a flawless, quick tan with instant, natural-looking color for gorgeous skin and blended color.
- DEEP SUNLESS TANNING - Lightweight, airy tanning mousse enhances your natural skin tone to mimic results from the sun.
- NATURAL BODY BRONZER - Develop your tone instantly, and watch it deepen within hours of application for steak-free results. Use the next day for deeper color.
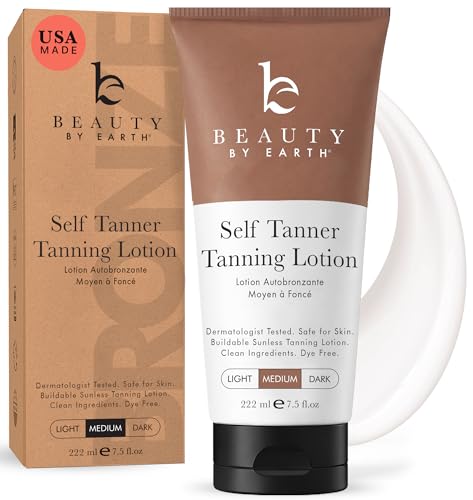
- A NATURAL, SUN-KISSED GLOW: Goodbye to orange hues and hello to a natural-looking tan. Our bronzing tanning lotion comes in fair to medium & medium to dark shades for all skin types.
- CLEAN BEAUTY: Trust Beauty by Earth for a natural self tanner organic made with organic aloe vera, shea butter, and botanical extracts without any harmful additives or dyes.
- SUITABLE FOR FACE & BODY: Our organic tanning lotion can be used on both face and body for a seamless, all-over tan. For acne-prone skin, use our tanner lotion for glowing skin.

- Our professional extra large dark instant tanning mousse is a must-have classic amongst our St Moriz #tantribe; it comes with a wash off guide colour so you can achieve a flawless faux glow
- This fast drying fake tan is infused with aloe vera & vitamin E to soothe and moisturise your skin - with our golden formula you'll be ready to strut your sun-kissed stuff in style
- Simply apply the dark tanning mousse onto your skin in circular motions and it will work its magic over 4-6 hours to leave you with streak-free tan goals for days!
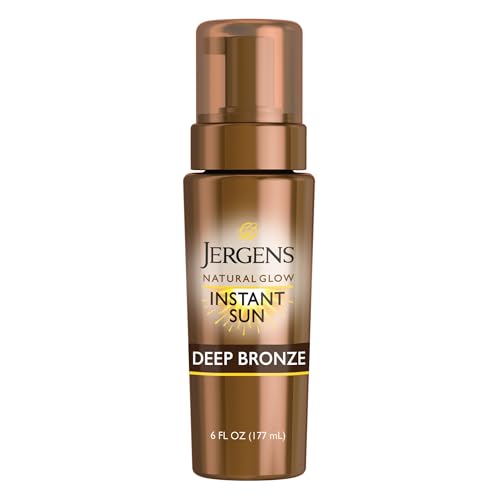
- FLAWLESS SELF TANNER - This dark self tanner creates a flawless, quick tan with instant, natural-looking color for gorgeous skin and blended color.
- DEEP SUNLESS TANNING - Lightweight, airy tanning mousse enhances your natural, dark skin tone to mimic results from the sun.
- NATURAL BODY BRONZER - Develop your tone instantly, and watch it deepen within hours of application for steak-free results. Use the next day for deeper color.
Your Guide to Finding the Best Budget-Friendly Self-Tanner
Want that sun-kissed glow without the sun damage or the high price tag? Finding an affordable self-tanner that actually works can feel like a treasure hunt. We break down what you need to know before you buy the “and cheapest self tanner.”
Key Features to Look For
Even the cheapest options should offer some great features. Look closely at the bottle!
1. Shade Range and Development Time
- Shade Options: Does it offer light, medium, or dark? A good tanner gives you options.
- Development Time: How fast does the color show up? Some work in one hour, others take eight. Fast tanners are great for quick fixes.
2. Application Type
- Mousse: These are usually easy to spread and dry fast. They often give the most even results.
- Drops/Serums: You mix these with your regular lotion. They offer the most control over how dark you get.
- Wipes/Towelettes: Perfect for small touch-ups or for beginners. They offer less coverage but are super convenient.
3. Scent (or Lack Thereof)
Most self-tanners have a specific smell (often called the “biscuity” smell). Look for formulas that say “odorless” or have added pleasant scents like coconut or vanilla. This greatly improves your user experience.
Important Materials in Your Budget Tanner
The main ingredient that makes you tan is important. You should see this listed first or near the top:
DHA (Dihydroxyacetone)
This is the magic ingredient. DHA reacts with the dead skin cells on your skin’s surface to create a temporary brown color. Make sure the product contains DHA. For budget brands, this is almost always the primary active ingredient.
Moisturizing Agents
Good tanners include things like Aloe Vera, Glycerin, or Vitamin E. These materials keep your skin soft. Dry skin makes the tan look patchy. Good moisture improves the final look.
Factors That Improve or Reduce Quality
Price doesn’t always mean bad quality, but some things can hurt the final result.
Factors That Improve Quality:
- Guide Color: Many mousses include a temporary color. This guide color shows you exactly where you applied the tanner, helping you avoid streaks.
- Fast Drying Formula: If the product dries quickly, you won’t accidentally smudge it before it sets.
Factors That Reduce Quality:
- Too Much Water Content: Very watery lotions might spread easily, but they often deliver a weak, uneven tan.
- Poor Packaging: If the pump breaks or the bottle leaks, the application process becomes frustrating. This lowers the overall user experience, even if the tan color is okay.
User Experience and Use Cases
How you use the tanner changes what you should buy.
For Beginners:
Start with tanning drops mixed into your daily body lotion. This builds color slowly, making mistakes less noticeable. You control the darkness easily.
For Quick Fixes (Vacations/Events):
A fast-developing mousse is your best friend. You apply it before bed or a few hours before you need to leave. Look for formulas that claim to be streak-free.
For Long-Lasting Wear:
Exfoliate very well before applying any self-tanner. Apply the product evenly, paying extra attention to dry spots like elbows and knees. Moisturize daily after rinsing off the guide color to make the tan last longer.
10 FAQs About the Cheapest Self-Tanners
Q: Will the cheapest tanners smell really bad?
A: Often, yes. Budget options usually use fewer masking fragrances. Look for specific “odorless” labels, even in cheap brands, to minimize the scent.
Q: Can I use cheap self-tanner on my face?
A: You can, but read the label carefully. Many body formulas are too harsh for facial skin. Drops mixed into your face cream are usually safer.
Q: How long does a cheap self-tanner usually last?
A: Most self-tanners, regardless of price, last about 4 to 7 days before fading significantly.
Q: Do cheap mousses turn me orange?
A: Sometimes. Orange tones often happen when the DHA level is too high for your natural skin tone or if you skip the proper pre-tanning exfoliation.
Q: What is the most common mistake beginners make?
A: They forget to wash their hands immediately after application. Always wash hands, wrists, and feet thoroughly after using any tanner.
Q: Are the ingredients in cheap tanners safe?
A: DHA is generally recognized as safe by the FDA for external use. Cheap tanners usually only lack the expensive added vitamins or fancy extracts found in high-end versions.
Q: Should I use a mitt with a cheap tanner?
A: Yes, always! A tanning mitt prevents the palms of your hands from turning dark brown. A mitt improves the application quality a lot.
Q: Can I swim after using a budget tanner?
A: Chlorine and salt water will definitely fade the tan faster. Try to wait at least 8 hours before swimming for the best results.
Q: Does the color look patchy if I use a cheap formula?
A: Patchiness usually comes from poor application, not just the price. Use a guide color and blend well around joints to reduce patchiness.
Q: Where should I store my cheap self-tanner?
A: Keep it in a cool, dark place, like a bathroom cabinet. Avoid direct sunlight, which can break down the DHA faster.

Hi, I’m Tom Scalisi, and welcome to The Saw Blog! I started this blog to share my hands-on experience and insights about woodworking tools—especially saws and saw blades. Over the years, I’ve had the chance to work with a wide range of tools, and I’m here to help both professionals and hobbyists make informed decisions when it comes to selecting and using their equipment. Whether you’re looking for in-depth reviews, tips, or just advice on how to get the best performance out of your tools, you’ll find it here. I’m excited to be part of your woodworking journey!