
Want to learn how to use a miter saw? It’s a great tool for making precise straight cuts, angled cuts, and even double-angled cuts in wood. This guide will show you everything you need to know, from picking out the right saw to using it safely and getting the best results.
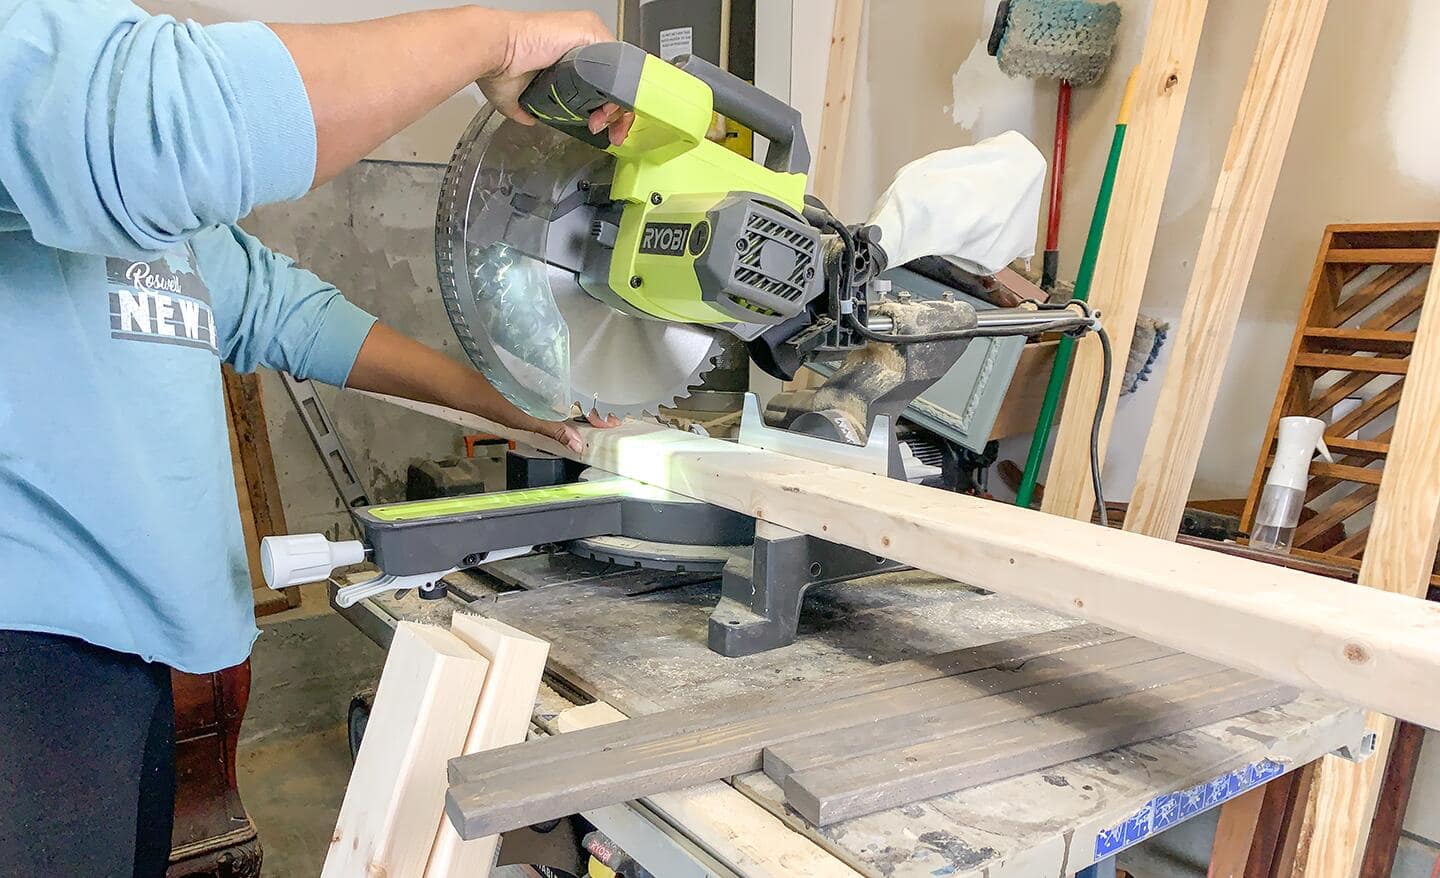
Image Source: dam.thdstatic.com
Deciphering the Miter Saw: A Carpenter’s Best Friend
A miter saw, also known as a chop saw, is an essential power tool for any woodworker, from beginner to professional. It’s designed to make precise cuts at various angles, making it ideal for projects like trim work, picture frames, and furniture building. By understanding its components and functions, you can unlock its full potential.
Anatomy of a Miter Saw
- Base: The stable platform that supports the saw and the workpiece.
- Fence: A vertical barrier that helps align the wood for a straight cut.
- Blade: A circular saw blade specifically designed for cutting wood. Selecting the right miter saw blade is crucial.
- Motor: Powers the blade. Look for a motor with enough power for the types of wood you’ll be cutting.
- Miter Adjustment: Allows you to rotate the blade left or right to make angle cuts.
- Bevel Adjustment: Allows you to tilt the blade to make angled cuts through the thickness of the wood.
- Sliding Rails (on sliding miter saws): Allow the blade to move forward and backward, increasing the cutting capacity.
- Safety Guard: A protective cover that shields the blade when not in use.
- Dust Port: A connection point for a vacuum or dust collection system.
How to Choose a Miter Saw
Selecting the right miter saw is important for both safety and the types of miter saw projects you want to take on. Here’s what to consider:
Size and Type
- Standard Miter Saw: Good for basic crosscuts and miter cuts.
- Compound Miter Saw: Allows you to make both miter and bevel cuts simultaneously. These are better when working with compound angles.
- Sliding Miter Saw: Offers a longer cutting capacity, ideal for wider boards. This is sometimes called a compound miter saw.
Blade Size
Common blade sizes are 10-inch and 12-inch. A 12-inch blade can cut thicker material than a 10-inch blade.
Power
Consider the motor’s amperage. Higher amperage usually means more power.
Features
- Laser Guide: Projects a laser line onto the workpiece for accurate alignment.
- LED Work Light: Illuminates the cutting area.
- Dust Collection: An efficient dust collection system is essential for a clean and safe work environment.
- Electric Brake: Quickly stops the blade after the cut, enhancing safety.
Portability
Consider the weight and size of the saw if you need to move it frequently. A miter saw stand can make transporting and setting up your saw easier.
Budget
Miter saws range in price from a few hundred dollars to over a thousand. Determine your budget and find a saw that meets your needs within that range.
Miter Saw Safety: Protecting Yourself
Miter saw safety is extremely important. Always follow these precautions:
- Read the Manual: Familiarize yourself with the saw’s operation and safety features.
- Wear Safety Glasses: Protect your eyes from flying debris.
- Wear Hearing Protection: Miter saws can be loud.
- Secure the Workpiece: Use clamps to hold the wood firmly in place.
- Keep Hands Clear: Never place your hands near the blade.
- Disconnect Power: Unplug the saw before making any adjustments or changing the blade.
- Inspect the Blade: Check for damage before each use.
- Use a Dust Mask: Protect your lungs from sawdust.
- Never Reach Over the Blade: Always go around the saw to retrieve the cut piece.
- No Loose Clothing or Jewelry: These can get caught in the blade.
Cutting Wood with Miter Saw: A Step-by-Step Guide
Follow these steps for cutting wood with miter saw safely and accurately:
Step 1: Preparation
- Set up the Saw: Place the saw on a stable surface or a miter saw stand.
- Install the Blade: Ensure the blade is properly installed and tightened.
- Adjust the Miter Angle: Loosen the miter lock and rotate the blade to the desired angle. Secure the lock.
- Adjust the Bevel Angle (if needed): Loosen the bevel lock and tilt the blade to the desired angle. Secure the lock.
Step 2: Positioning the Workpiece
- Place the Wood: Place the wood against the fence, ensuring it’s flat and secure.
- Align the Cut Line: Use the laser guide or the blade itself to align the cut line on the wood.
- Clamp the Wood: Use a clamp to hold the wood firmly in place, especially when cutting small or awkward pieces.
Step 3: Making the Cut
- Turn on the Saw: Allow the blade to reach full speed before making contact with the wood.
- Lower the Blade: Slowly and smoothly lower the blade into the wood.
- Maintain a Consistent Speed: Avoid forcing the blade through the wood. Let the saw do the work.
- Complete the Cut: Once the blade has completely passed through the wood, release the trigger and allow the blade to stop spinning before raising it.
Step 4: Clean Up
- Remove the Cut Piece: Carefully remove the cut piece of wood.
- Turn off the Saw: Ensure the saw is completely stopped.
- Clean Up Sawdust: Use a vacuum or dust collection system to remove sawdust from the work area.
Mastering Angle Cuts with Miter Saw
Angle cuts with miter saw are essential for many woodworking projects. Here’s how to make them accurately:
Miter Cuts
Miter cuts are made by rotating the saw blade horizontally.
- Determine the Angle: Determine the angle you need for your project. Use a protractor or angle finder.
- Adjust the Miter Angle: Loosen the miter lock and rotate the blade to the desired angle. Most miter saws have detents at common angles like 22.5°, 45°, and 90°.
- Secure the Lock: Tighten the miter lock to secure the angle.
- Make the Cut: Follow the steps for making a standard cut.
Bevel Cuts
Bevel cuts are made by tilting the saw blade vertically.
- Determine the Angle: Determine the angle you need for your project.
- Adjust the Bevel Angle: Loosen the bevel lock and tilt the blade to the desired angle.
- Secure the Lock: Tighten the bevel lock to secure the angle.
- Make the Cut: Follow the steps for making a standard cut.
Compound Cuts
Compound cuts combine both miter and bevel angles.
- Determine the Angles: Determine both the miter and bevel angles you need.
- Adjust Both Angles: Adjust both the miter and bevel angles to the desired settings.
- Secure the Locks: Tighten both the miter and bevel locks.
- Make the Cut: Follow the steps for making a standard cut. Because accurate miter saw cuts are crucial for complex projects, double-check all angles.
Advanced Miter Saw Techniques
Here are some advanced miter saw techniques to improve your skills:
- Cutting Crown Molding: Requires specific techniques for setting the miter and bevel angles.
- Nested Crown Molding: Cutting crown molding “nested” means the molding lays flat on the saw bed.
- Upside Down/Backwards Crown Molding: Cutting crown molding upside down and backwards against the fence.
- Cutting Large Stock: Use a sliding miter saw or make multiple passes.
- Making Repeat Cuts: Use a stop block to ensure all cuts are the same length.
- Cutting Curves: While not the primary function, you can make shallow, controlled cuts to approximate curves.
Miter Saw Projects: Get Started
Here are some simple miter saw projects to get you started:
- Picture Frames: Practice making accurate miter cuts.
- Shadow Boxes: Combine miter and crosscuts.
- Small Shelves: Build simple shelves for storage or decoration.
- Birdhouses: Create a fun and functional project.
- Trim Work: Install baseboards, door casings, and window casings.
Maintaining Your Miter Saw
Regular maintenance will extend the life of your miter saw and ensure it operates safely.
- Clean the Saw: Remove sawdust and debris after each use.
- Lubricate Moving Parts: Apply lubricant to the miter and bevel mechanisms.
- Check the Blade: Inspect the blade for damage and replace it when necessary.
- Calibrate the Saw: Ensure the miter and bevel angles are accurate.
- Inspect the Power Cord: Check for damage and replace if needed.
Troubleshooting Common Miter Saw Problems
- Saw Doesn’t Cut Straight: Check the fence alignment and blade condition.
- Saw Jams: Reduce cutting speed and ensure the blade is sharp.
- Saw Vibrates Excessively: Check for loose parts and blade balance.
- Dust Collection Ineffective: Ensure the dust port is clear and the vacuum is working properly.
FAQ: Frequently Asked Questions
- What is the difference between a miter saw and a chop saw?
- The terms are often used interchangeably, but generally, a miter saw refers to a saw that can make angled cuts.
- Can I cut metal with a miter saw?
- Yes, but you need a blade specifically designed for cutting metal.
- Who makes the best miter saw?
- Brands like DeWalt, Bosch, Makita, and Milwaukee are known for quality miter saws.
- What size miter saw do I need?
- The size depends on the type of projects you’ll be doing. A 10-inch saw is sufficient for most home projects, while a 12-inch saw is better for larger stock.
- How can I ensure accurate miter saw cuts?
- Always double-check your measurements and angle settings. Use a high-quality blade and ensure the workpiece is securely clamped.
By following this guide and practicing regularly, you can master the art of using a miter saw and create beautiful and precise woodworking projects.

Hi, I’m Tom Scalisi, and welcome to The Saw Blog! I started this blog to share my hands-on experience and insights about woodworking tools—especially saws and saw blades. Over the years, I’ve had the chance to work with a wide range of tools, and I’m here to help both professionals and hobbyists make informed decisions when it comes to selecting and using their equipment. Whether you’re looking for in-depth reviews, tips, or just advice on how to get the best performance out of your tools, you’ll find it here. I’m excited to be part of your woodworking journey!