
A Milwaukee table saw is a handy tool that helps you make really precise cuts in wood and other materials. This guide will walk you through everything—from how to set it up the first time to using it safely and even fixing common problems. By the time you’re done reading, you’ll feel totally comfortable and safe getting to work with your saw.
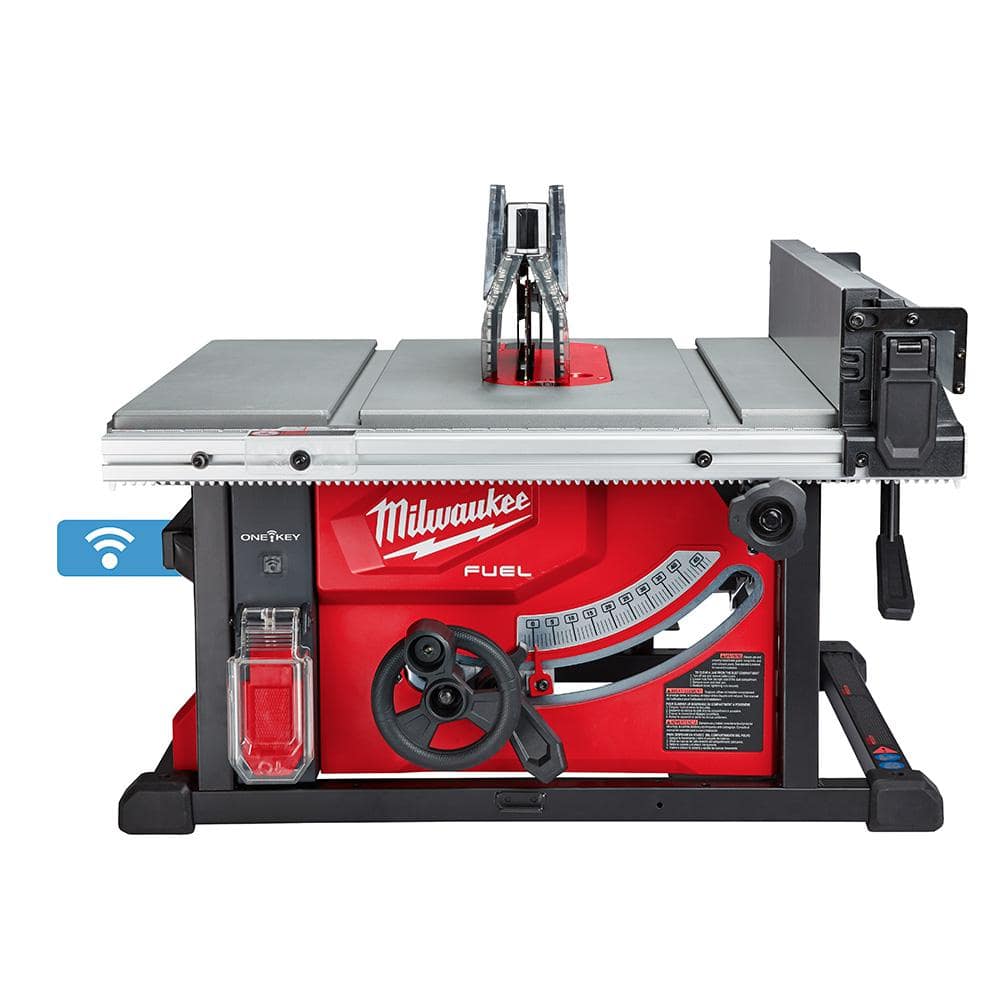
Image Source: images.thdstatic.com
I. Getting Started with Your Milwaukee Table Saw
Unboxing and Initial Inspection
When you first get your Milwaukee table saw, take everything out of the box. Check for any damage that may have happened during shipping. Make sure you have all the parts listed in the owner’s manual. This step is very important before you start with the milwaukee table saw setup.
Assembling the Table Saw
Follow the instructions in the owner’s manual to put the saw together. This usually means attaching the legs or stand, putting on the fence, and adding any other parts that came with the saw. If you’re not sure how to do something, look at the pictures in the manual or watch a video online.
Placing Your Table Saw
Choose a spot in your workshop that has plenty of room around the saw. You’ll need space to move the wood and stand safely while you’re cutting. Make sure the floor is level and the saw is steady. Also, make sure there’s good lighting and ventilation in the area.
II. Crucial Safety Measures
Milwaukee Table Saw Safety First
Safety is the most important thing when using a table saw. Always wear safety glasses to protect your eyes from flying debris. Use hearing protection because table saws are very loud. It is also a good idea to use a dust mask to protect your lungs from sawdust.
Essential Safety Equipment
- Safety Glasses: Always wear safety glasses to protect your eyes.
- Hearing Protection: Use earplugs or earmuffs.
- Dust Mask: Wear a dust mask to avoid breathing in sawdust.
- Push Sticks/Blocks: Use these to push wood past the blade, keeping your hands safe.
- Featherboards: These help hold the wood against the fence.
Safe Cutting Practices
- Never reach over the blade.
- Always use push sticks or blocks when cutting small pieces.
- Keep your hands away from the blade.
- Don’t wear loose clothing or jewelry.
- Don’t force the wood through the saw.
- Turn off and unplug the saw before making adjustments or changing the blade.
Avoiding Kickback
Kickback happens when the wood gets caught between the blade and the fence, causing it to shoot back toward you. To avoid kickback:
- Use a riving knife or splitter.
- Keep the wood flat on the table.
- Use featherboards to keep the wood against the fence.
- Don’t rip warped or twisted wood.
- Stand to the side of the blade when cutting.
III. Table Saw Components and Adjustments
Deciphering the Parts
It’s vital to know all the parts of your Milwaukee table saw:
- Table: The flat surface where you place the wood.
- Blade: The circular cutting tool.
- Fence: The guide that helps you make straight cuts.
- Miter Gauge: A tool that slides in a slot and helps you make angled cuts.
- Riving Knife/Splitter: A safety device that prevents kickback.
- Blade Guard: A cover that protects you from the blade.
- Motor: The part that powers the blade.
- On/Off Switch: Used to turn the saw on and off.
Milwaukee Table Saw Fence Adjustment
The fence is very important for making accurate cuts. To adjust the fence:
- Loosen the fence lock.
- Move the fence to the measurement you need.
- Lock the fence in place.
- Double-check the measurement to be sure it’s correct.
Blade Height and Angle
You can change the height and angle of the blade to make different types of cuts. To adjust the blade height, turn the blade height adjustment wheel. To adjust the blade angle, loosen the blade angle lock and tilt the blade to the angle you need. Always tighten the locks after making adjustments.
IV. Changing the Blade
Milwaukee Table Saw Blade Change
Changing the blade is something you’ll need to do often. Here’s how:
- Unplug the saw.
- Remove the throat plate.
- Lock the blade using the wrench that came with the saw.
- Use another wrench to loosen the arbor nut.
- Remove the nut, washer, and old blade.
- Put on the new blade, making sure the teeth are pointing in the right direction.
- Put the washer and nut back on.
- Tighten the nut securely.
- Put the throat plate back on.
- Make sure the blade spins freely.
Choosing the Right Blade
Different blades are made for different types of cuts and materials. Here are some common blade types:
- Rip Blade: Used for cutting with the grain of the wood.
- Crosscut Blade: Used for cutting across the grain of the wood.
- Combination Blade: Can be used for both ripping and crosscutting.
- Dado Blade: Used for making wide grooves in the wood.
- Plywood Blade: Used for cutting plywood without splintering.
V. Basic Cutting Techniques
Milwaukee Table Saw Ripping
Ripping means cutting wood along the grain.
- Adjust the fence to the width you want.
- Turn on the saw.
- Slowly push the wood through the blade, keeping it against the fence.
- Use a push stick to push the last part of the wood through the blade.
Milwaukee Table Saw Crosscutting
Crosscutting means cutting wood across the grain.
- Use the miter gauge to guide the wood.
- Place the wood against the miter gauge.
- Turn on the saw.
- Push the miter gauge and wood through the blade.
Milwaukee Table Saw Dado Cuts
Dado cuts are grooves cut into the wood.
- Use a dado blade set.
- Adjust the width and depth of the cut.
- Make several passes to remove the wood.
- Be very careful when making dado cuts.
VI. Advanced Techniques and Projects
Making Bevel Cuts
Bevel cuts are angled cuts made by tilting the blade. Adjust the blade angle and use the fence or miter gauge to guide the wood.
Cutting Curves
You can’t cut curves directly with a table saw, but you can make a series of small, angled cuts to create a curved shape.
Building Jigs
Jigs are special tools that help you make accurate and repeatable cuts. You can make jigs for cutting circles, tapers, and other shapes.
Working with Different Materials
Table saws can cut more than just wood. You can also cut plastic, aluminum, and other materials. Be sure to use the right blade for the material you’re cutting.
VII. Keeping Your Saw in Top Shape
Milwaukee Table Saw Maintenance
Regular maintenance will keep your table saw working well for years.
- Clean the saw after each use.
- Keep the blade sharp.
- Lubricate moving parts.
- Check the alignment of the fence and blade.
- Replace worn parts.
Sharpening or Replacing Blades
A dull blade can be dangerous and make poor cuts. Sharpen your blade regularly or replace it when it gets too dull.
Maintaining the Fence and Miter Gauge
Keep the fence and miter gauge clean and properly adjusted. This will help you make accurate cuts.
VIII. Troubleshooting Common Issues
Milwaukee Table Saw Troubleshooting
If your table saw isn’t working right, here are some things to check:
- The saw won’t turn on: Check the power cord and the circuit breaker.
- The blade is vibrating: Check if the blade is tight and balanced.
- The wood is splintering: Use a sharp blade and a zero-clearance insert.
- The saw is making a strange noise: Check for loose parts or damaged bearings.
Common Problems and Solutions
| Problem | Possible Solution |
|---|---|
| Saw won’t start | Check power cord, circuit breaker, and on/off switch. |
| Blade vibrates | Ensure the blade is properly tightened, balanced, and not damaged. |
| Splintering | Use a sharp blade, zero-clearance insert, or score the wood before cutting. |
| Fence misalignment | Adjust the fence to be parallel with the blade using a precision square. |
| Kickback | Use a riving knife or splitter, featherboards, and avoid cutting warped wood. Stand to the side of the blade. |
| Burning wood | Use a sharper blade, feed the wood at a slower rate, and ensure proper dust collection. |
IX. Expanding Your Capabilities
Milwaukee Table Saw Accessories
There are many milwaukee table saw accessories that can make your table saw more versatile:
- Featherboards: Help keep the wood against the fence.
- Push Sticks/Blocks: Keep your hands safe when pushing wood past the blade.
- Miter Saw Stand: Provides a stable base for your saw.
- Outfeed Table: Provides extra support for long pieces of wood.
- Dado Blade Set: For making wide grooves.
- Zero-Clearance Insert: Reduces splintering.
- Mobile Base: Makes it easy to move the saw around.
Customizing Your Workstation
Consider adding features to your workshop to improve efficiency and safety. Good lighting, dust collection, and organized storage are all beneficial.
Frequently Asked Questions (FAQ)
- What is the best way to clean my Milwaukee table saw?
- Use a brush and vacuum to remove sawdust after each use. Wipe down surfaces with a clean cloth.
- Can I cut metal with my Milwaukee table saw?
- No, unless you have a special metal-cutting blade. Never use a wood-cutting blade to cut metal.
- Who is responsible if I am injured while using a Milwaukee table saw?
- Ultimately, the responsibility lies with the user to operate the tool safely. Ensure you follow all safety guidelines and use appropriate protective equipment.
- How often should I sharpen my table saw blade?
- It depends on how often you use the saw and what materials you’re cutting. Sharpen or replace the blade when you notice it’s getting dull.
- Is it safe to use a table saw without a blade guard?
- No, it is not safe. Always use the blade guard to protect your hands from the blade.
- What are some beginner projects I can make with my table saw?
- Simple projects include cutting boards, small boxes, and shelves.
Using a Milwaukee table saw can be a rewarding experience. Always follow safety rules and practice good technique to get the best results.

Hi, I’m Tom Scalisi, and welcome to The Saw Blog! I started this blog to share my hands-on experience and insights about woodworking tools—especially saws and saw blades. Over the years, I’ve had the chance to work with a wide range of tools, and I’m here to help both professionals and hobbyists make informed decisions when it comes to selecting and using their equipment. Whether you’re looking for in-depth reviews, tips, or just advice on how to get the best performance out of your tools, you’ll find it here. I’m excited to be part of your woodworking journey!