
A table saw crosscut sled is a jig that slides along the table saw’s fence, letting you make very accurate crosscuts. This article will provide DIY crosscut sled plans and guide you through the process of a table saw sled build, helping you create a woodworking crosscut jig that will vastly improve table saw accuracy.
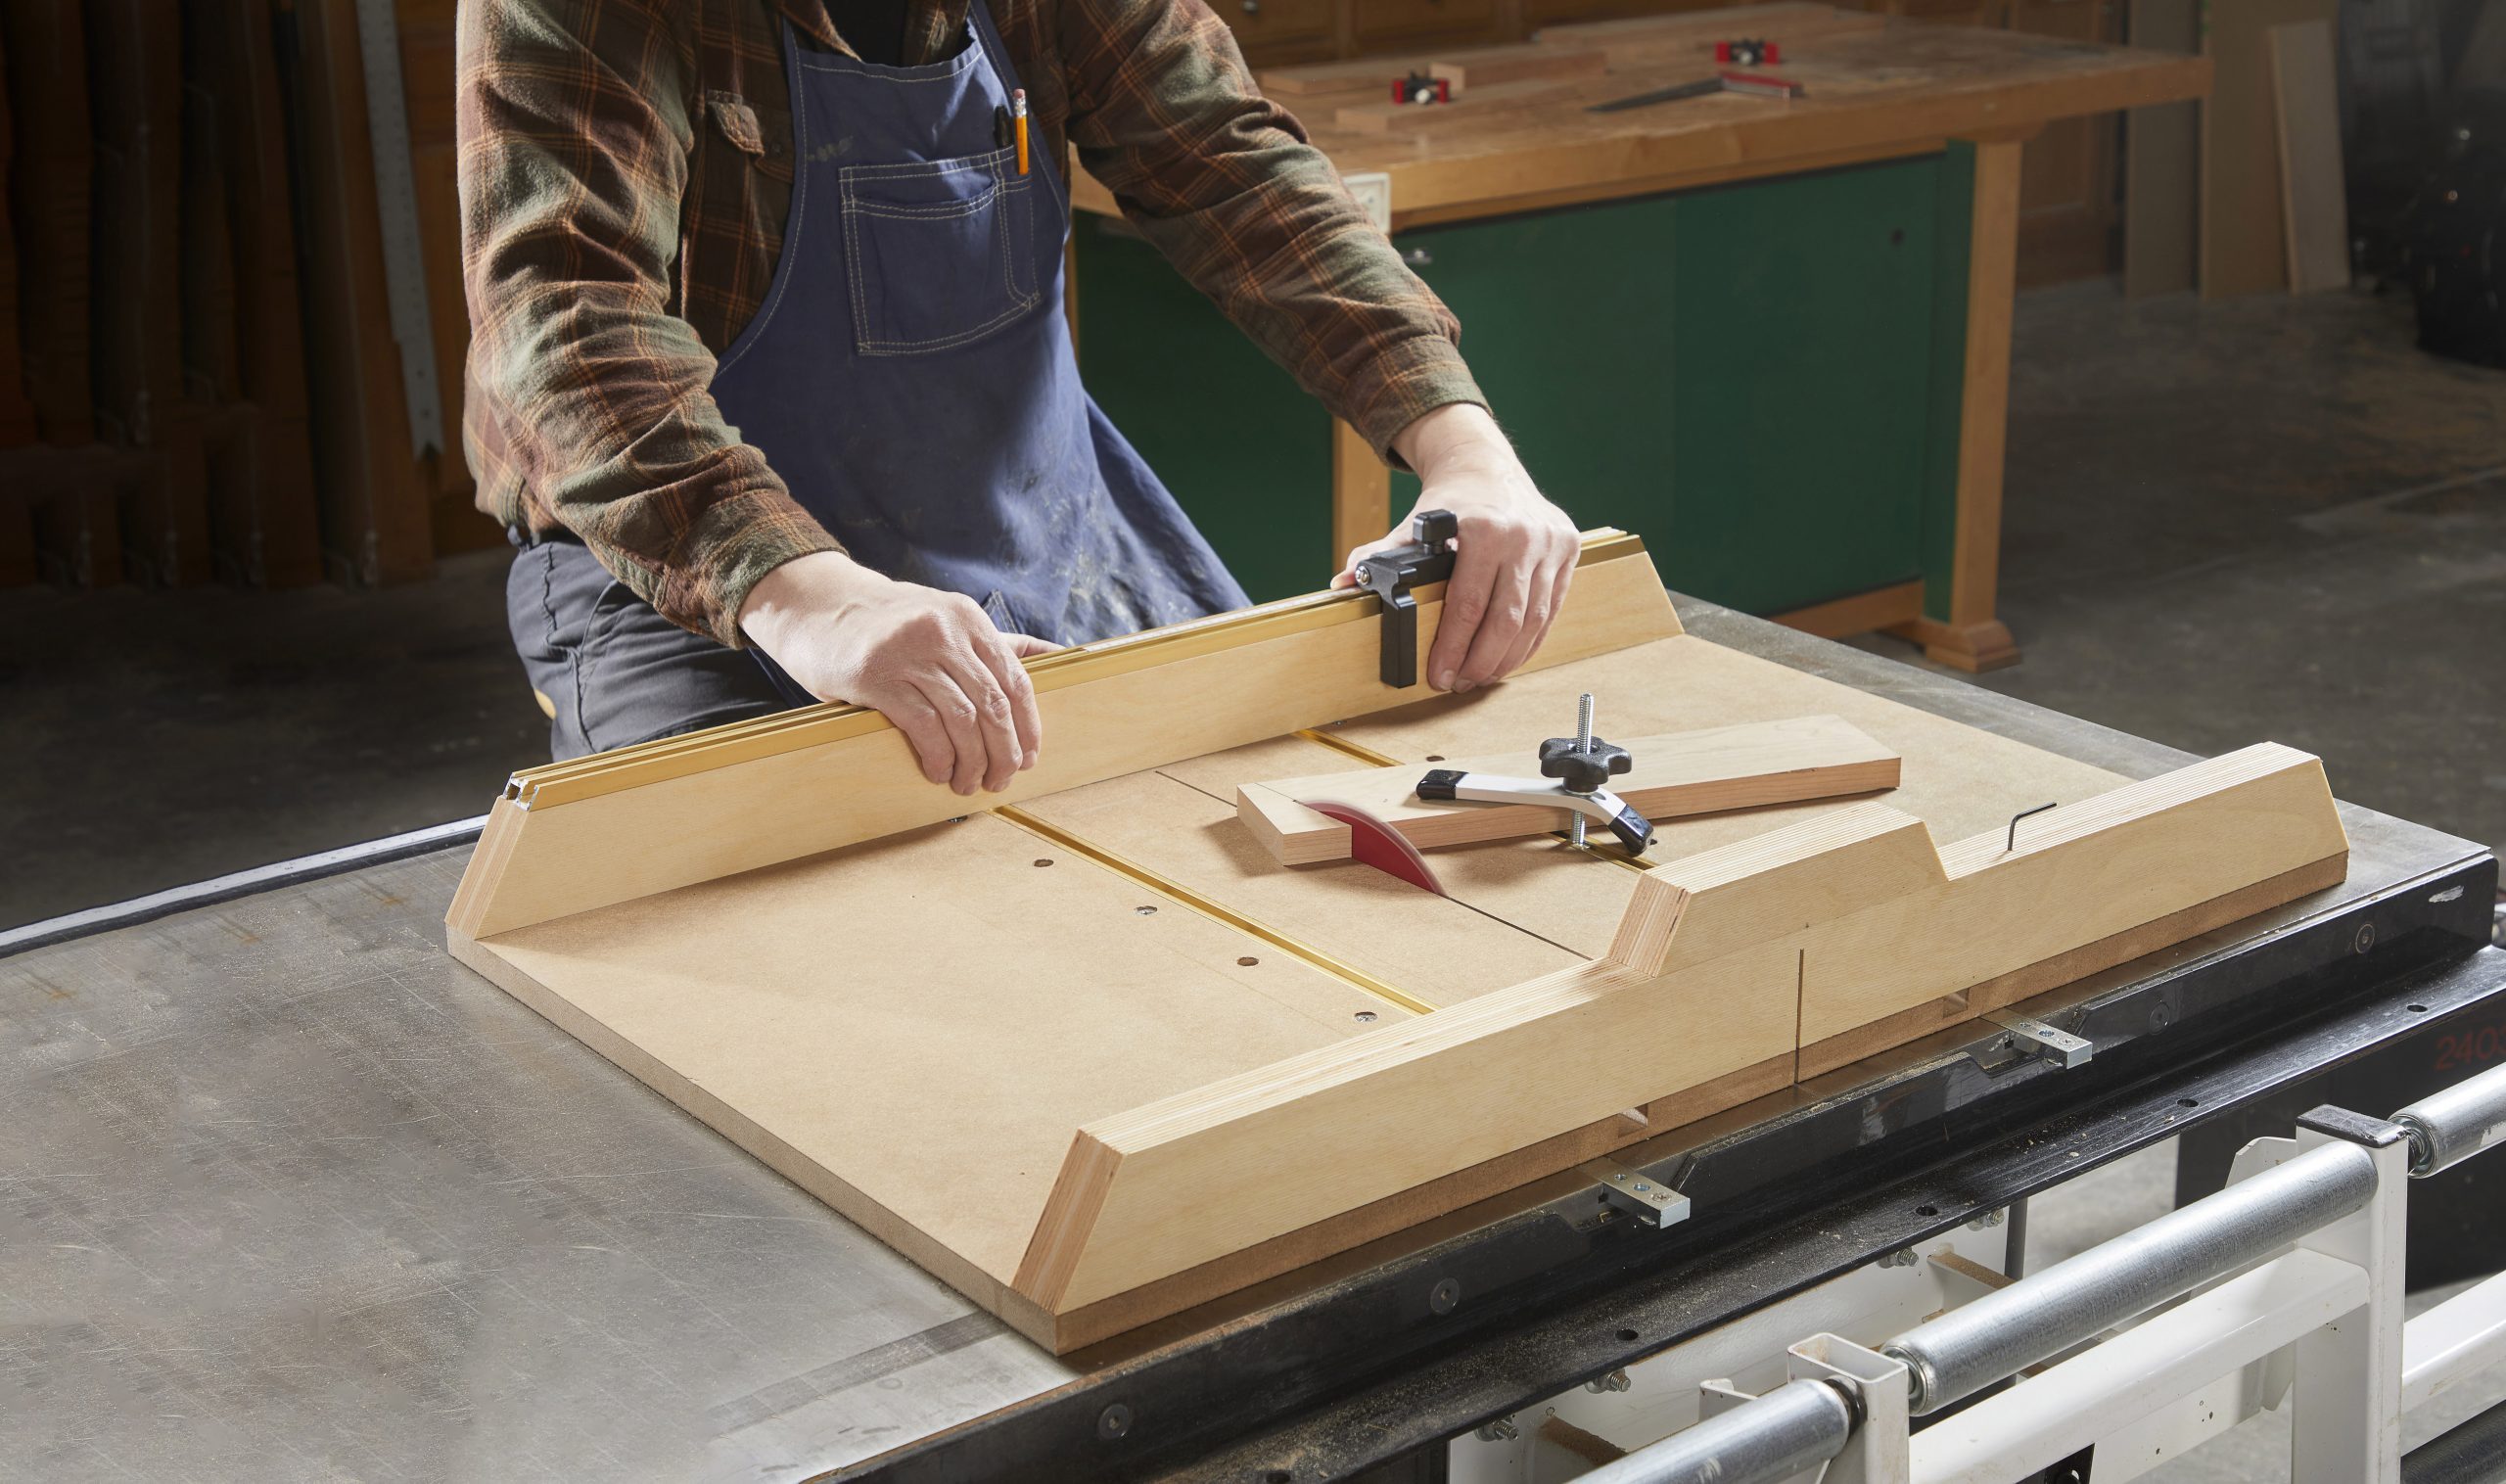
Image Source: www.familyhandyman.com
Why Build a Table Saw Crosscut Sled?
Why spend the time to build a crosscut sled when you already have a miter gauge? The answer is simple: accuracy. A crosscut sled offers several key advantages over a standard miter gauge, enabling you to produce cleaner, more precise cuts for your woodworking projects. It’s a must-have tool for anyone serious about woodworking.
Benefits of Using a Crosscut Sled
- Improved Accuracy: Sleds offer superior control and stability, leading to more accurate table saw cuts.
- Safer Operation: Keeping your hands further from the blade increases safety. A good design provides ample support for your workpiece.
- Repeatable Cuts: Easily make multiple cuts of the exact same length.
- Eliminates Tear-out: The support of the sled minimizes tear-out, especially on delicate materials.
- Cuts Wider Boards: Sleds can handle wider boards than most miter gauges.
- Perfect 90-Degree Cuts: Sleds are designed to deliver consistently square cuts.
Essential Components of a Crosscut Sled
Before we jump into the table saw sled build, let’s review the essential parts that make up a functional and accurate table saw cuts delivering crosscut sled. These components work together to provide stability, precision, and ease of use.
Main Platform or Base
This is the primary support for the workpiece. It’s typically made from a flat, stable material.
Runners
The runners fit snugly into the miter slots of your table saw, guiding the sled smoothly and accurately.
Front and Rear Fences
These fences are attached to the base and are perpendicular to the blade. The front fence usually has a sacrificial fence attached. They provide a solid surface to register your workpiece against.
Sacrificial Fence (Front Fence)
This fence is designed to be cut into by the blade, creating a zero-clearance support that reduces tear-out.
Hold-Downs and Clamping Options (Optional)
These accessories can be added to further secure the workpiece. They enhance safety and accuracy, especially when working with smaller pieces.
Choosing the Right Materials for Your Sled
Selecting the right materials is crucial for a durable and precision crosscut sled. Here’s a breakdown of common options for the table saw sled materials.
Plywood
- Pros: Affordable, stable, readily available. Baltic birch plywood is particularly favored for its void-free construction.
- Cons: Can be prone to warping if not properly sealed or supported.
Medium-Density Fiberboard (MDF)
- Pros: Very flat and stable, machines easily.
- Cons: Heavy, susceptible to moisture damage.
Hardwood
- Pros: Extremely durable, attractive.
- Cons: More expensive, requires more advanced woodworking skills to work with.
Runners Materials
- Hardwood: Maple, oak, or other dense hardwoods work well.
- UHMW (Ultra-High Molecular Weight) Plastic: Provides a very smooth, low-friction surface.
- Aluminum: Offers durability and precision.
Table: Material Comparison
| Material | Pros | Cons |
|---|---|---|
| Plywood | Affordable, Stable, Readily Available | Prone to Warping if not Sealed |
| MDF | Flat, Stable, Machines Easily | Heavy, Susceptible to Moisture |
| Hardwood | Durable, Attractive | Expensive, Requires more skill |
| Hardwood Runners | Durable, Good Grip | Can swell/shrink with moisture |
| UHMW Runners | Smooth, Low Friction | May be difficult to glue |
| Aluminum Runners | Durable, Precise | Requires specialized tools to work with |
DIY Crosscut Sled Plans: A Step-by-Step Guide
Ready to start your table saw sled build? These DIY crosscut sled plans will walk you through each step of the process. Remember to always prioritize safety when working with power tools.
Step 1: Measure Your Miter Slots
Getting exact measurements is key. Grab a pair of calipers to check the width and depth of the miter slots on your table saw. This step makes sure your runners fit perfectly snug. Also, don’t forget to check if your slots have a T-shape at the bottom.
Step 2: Prepare the Base
Cut the base of your sled from your chosen material (plywood or MDF are recommended). The crosscut sled dimensions should be large enough to comfortably support your typical workpieces. A common size is around 24″ x 30″, but adjust as needed.
Step 3: Create the Runners
Cut the runners slightly wider than the miter slots. Use a router or table saw to create a tongue that fits snugly into the miter slot. The goal is a smooth, but not tight, fit.
Step 4: Attach the Runners to the Base
Apply glue to the runners and position them on the base. Use clamps to hold them in place while the glue dries. Ensure the runners are perfectly parallel. Using the miter slots to align them is recommended.
Step 5: Add the Fences
Cut the front and rear fences from your chosen material. Attach them to the base with screws and glue. Ensure they are perfectly perpendicular to the runners. This step is critical for achieving accurate table saw cuts.
Squaring the Fence
- Use a reliable square to align the fence to the blade path or a miter slot.
- Attach the fence temporarily with clamps.
- Make a test cut on a piece of scrap wood.
- Check the cut piece with a square. If it’s not square, adjust the fence slightly and repeat the test cut.
- Once the fence is perfectly square, permanently attach it with screws and glue.
Step 6: Install the Sacrificial Fence
Attach a sacrificial fence to the front fence. This fence will be cut into by the blade, providing zero-clearance support.
Step 7: Test and Adjust
Make several test cuts and check for squareness using a reliable square. If necessary, shim or adjust the fences to achieve perfect 90-degree cuts.
Step 8: Add Optional Features
Consider adding hold-downs, t-tracks, or other accessories to enhance the functionality of your sled.
Enhancing Accuracy: Fine-Tuning Your Crosscut Sled
Even with careful construction, your crosscut sled may require some fine-tuning to achieve optimal accuracy. Here are some tips to improve table saw accuracy with your sled.
The Five-Cut Method
This method is a great way to check and adjust the squareness of your sled.
- Cut five pieces of wood to equal length.
- Arrange the pieces to make a pentagon and measure the distance between the first and last pieces.
- If the pentagon is accurate, then the board is square
- If the measurement is long, the angle is greater than 90. If the measurement is short, the angle is less than 90
Using Shims
Small shims can be used to make subtle adjustments to the fences.
Adjusting the Runners
If the sled is too tight or too loose in the miter slots, you can adjust the runners by adding shims or sanding them down.
Safety First: Operating Your Crosscut Sled
Safety should always be your top priority when using a table saw and crosscut sled. Follow these guidelines to ensure a safe woodworking experience.
- Always wear safety glasses.
- Use push sticks or push blocks to keep your hands away from the blade.
- Never reach over the blade.
- Ensure the workpiece is securely supported.
- Double-check all measurements and settings before making a cut.
- Never force the sled. If it’s binding, stop and investigate the cause.
Variations on the Standard Crosscut Sled
Once you’ve mastered the basic crosscut sled, you can explore variations to suit your specific needs.
Miter Sled
A miter sled allows you to make angled cuts with increased accuracy.
Small Parts Sled
Designed for safely cutting small pieces of wood.
Tapering Sled
Used for creating tapered cuts for furniture legs and other projects.
Troubleshooting Common Problems
Even with careful construction, you may encounter some common issues with your crosscut sled. Here’s how to troubleshoot them.
Sled is Binding in the Miter Slots
- Cause: Runners are too tight, miter slots are dirty, or base is warped.
- Solution: Sand down the runners, clean the miter slots, or flatten the base.
Cuts are Not Square
- Cause: Fences are not perpendicular to the runners, or the blade is not square to the table.
- Solution: Adjust the fences using shims or the five-cut method, square the blade to the table.
Tear-out Occurs
- Cause: Dull blade, insufficient support, or cutting against the grain.
- Solution: Use a sharp blade, ensure the sacrificial fence is providing adequate support, or adjust the cutting direction.
Maintaining Your Crosscut Sled
Proper maintenance will ensure that your crosscut sled continues to deliver accurate table saw cuts for years to come.
- Keep the runners clean and lubricated.
- Check the fences for squareness regularly.
- Replace the sacrificial fence as needed.
- Store the sled in a dry, flat location.
FAQ: Common Questions About Crosscut Sleds
What is a crosscut sled?
A crosscut sled is a jig that rides in the miter slots of a table saw, used to make accurate and repeatable crosscuts.
Can I use a crosscut sled on any table saw?
Yes, provided your table saw has standard miter slots. You will need to adjust the runner dimensions to fit your specific saw.
Who is a crosscut sled best for?
A crosscut sled is ideal for woodworkers who value accuracy, repeatability, and safety in their crosscutting operations.
What are some common woodworking projects that benefit from using a crosscut sled?
Projects that require precise crosscuts, such as boxes, drawers, picture frames, and furniture components.
How do I store my crosscut sled?
Store your crosscut sled on a flat surface, away from moisture and direct sunlight, to prevent warping or damage.
How often should I check the squareness of my crosscut sled?
Check the squareness of your crosscut sled regularly, ideally before starting any project where accuracy is critical.
Can I cut angles with a crosscut sled?
Yes, with a miter sled variation that allows you to adjust the angle of the fence.

Hi, I’m Tom Scalisi, and welcome to The Saw Blog! I started this blog to share my hands-on experience and insights about woodworking tools—especially saws and saw blades. Over the years, I’ve had the chance to work with a wide range of tools, and I’m here to help both professionals and hobbyists make informed decisions when it comes to selecting and using their equipment. Whether you’re looking for in-depth reviews, tips, or just advice on how to get the best performance out of your tools, you’ll find it here. I’m excited to be part of your woodworking journey!