
Are you looking to make more accurate cuts on your table saw? A table saw crosscut sled is the answer. This blog post provides comprehensive table saw crosscut sled plans and a detailed crosscut sled build guide. We’ll walk you through every step, from selecting crosscut sled materials to building the crosscut sled fence, ensuring you create a top-notch woodworking sled for accurate crosscuts. You’ll be using your new table saw jig like a pro in no time. This is a great alternative to a miter sled, offering even more control and precision.
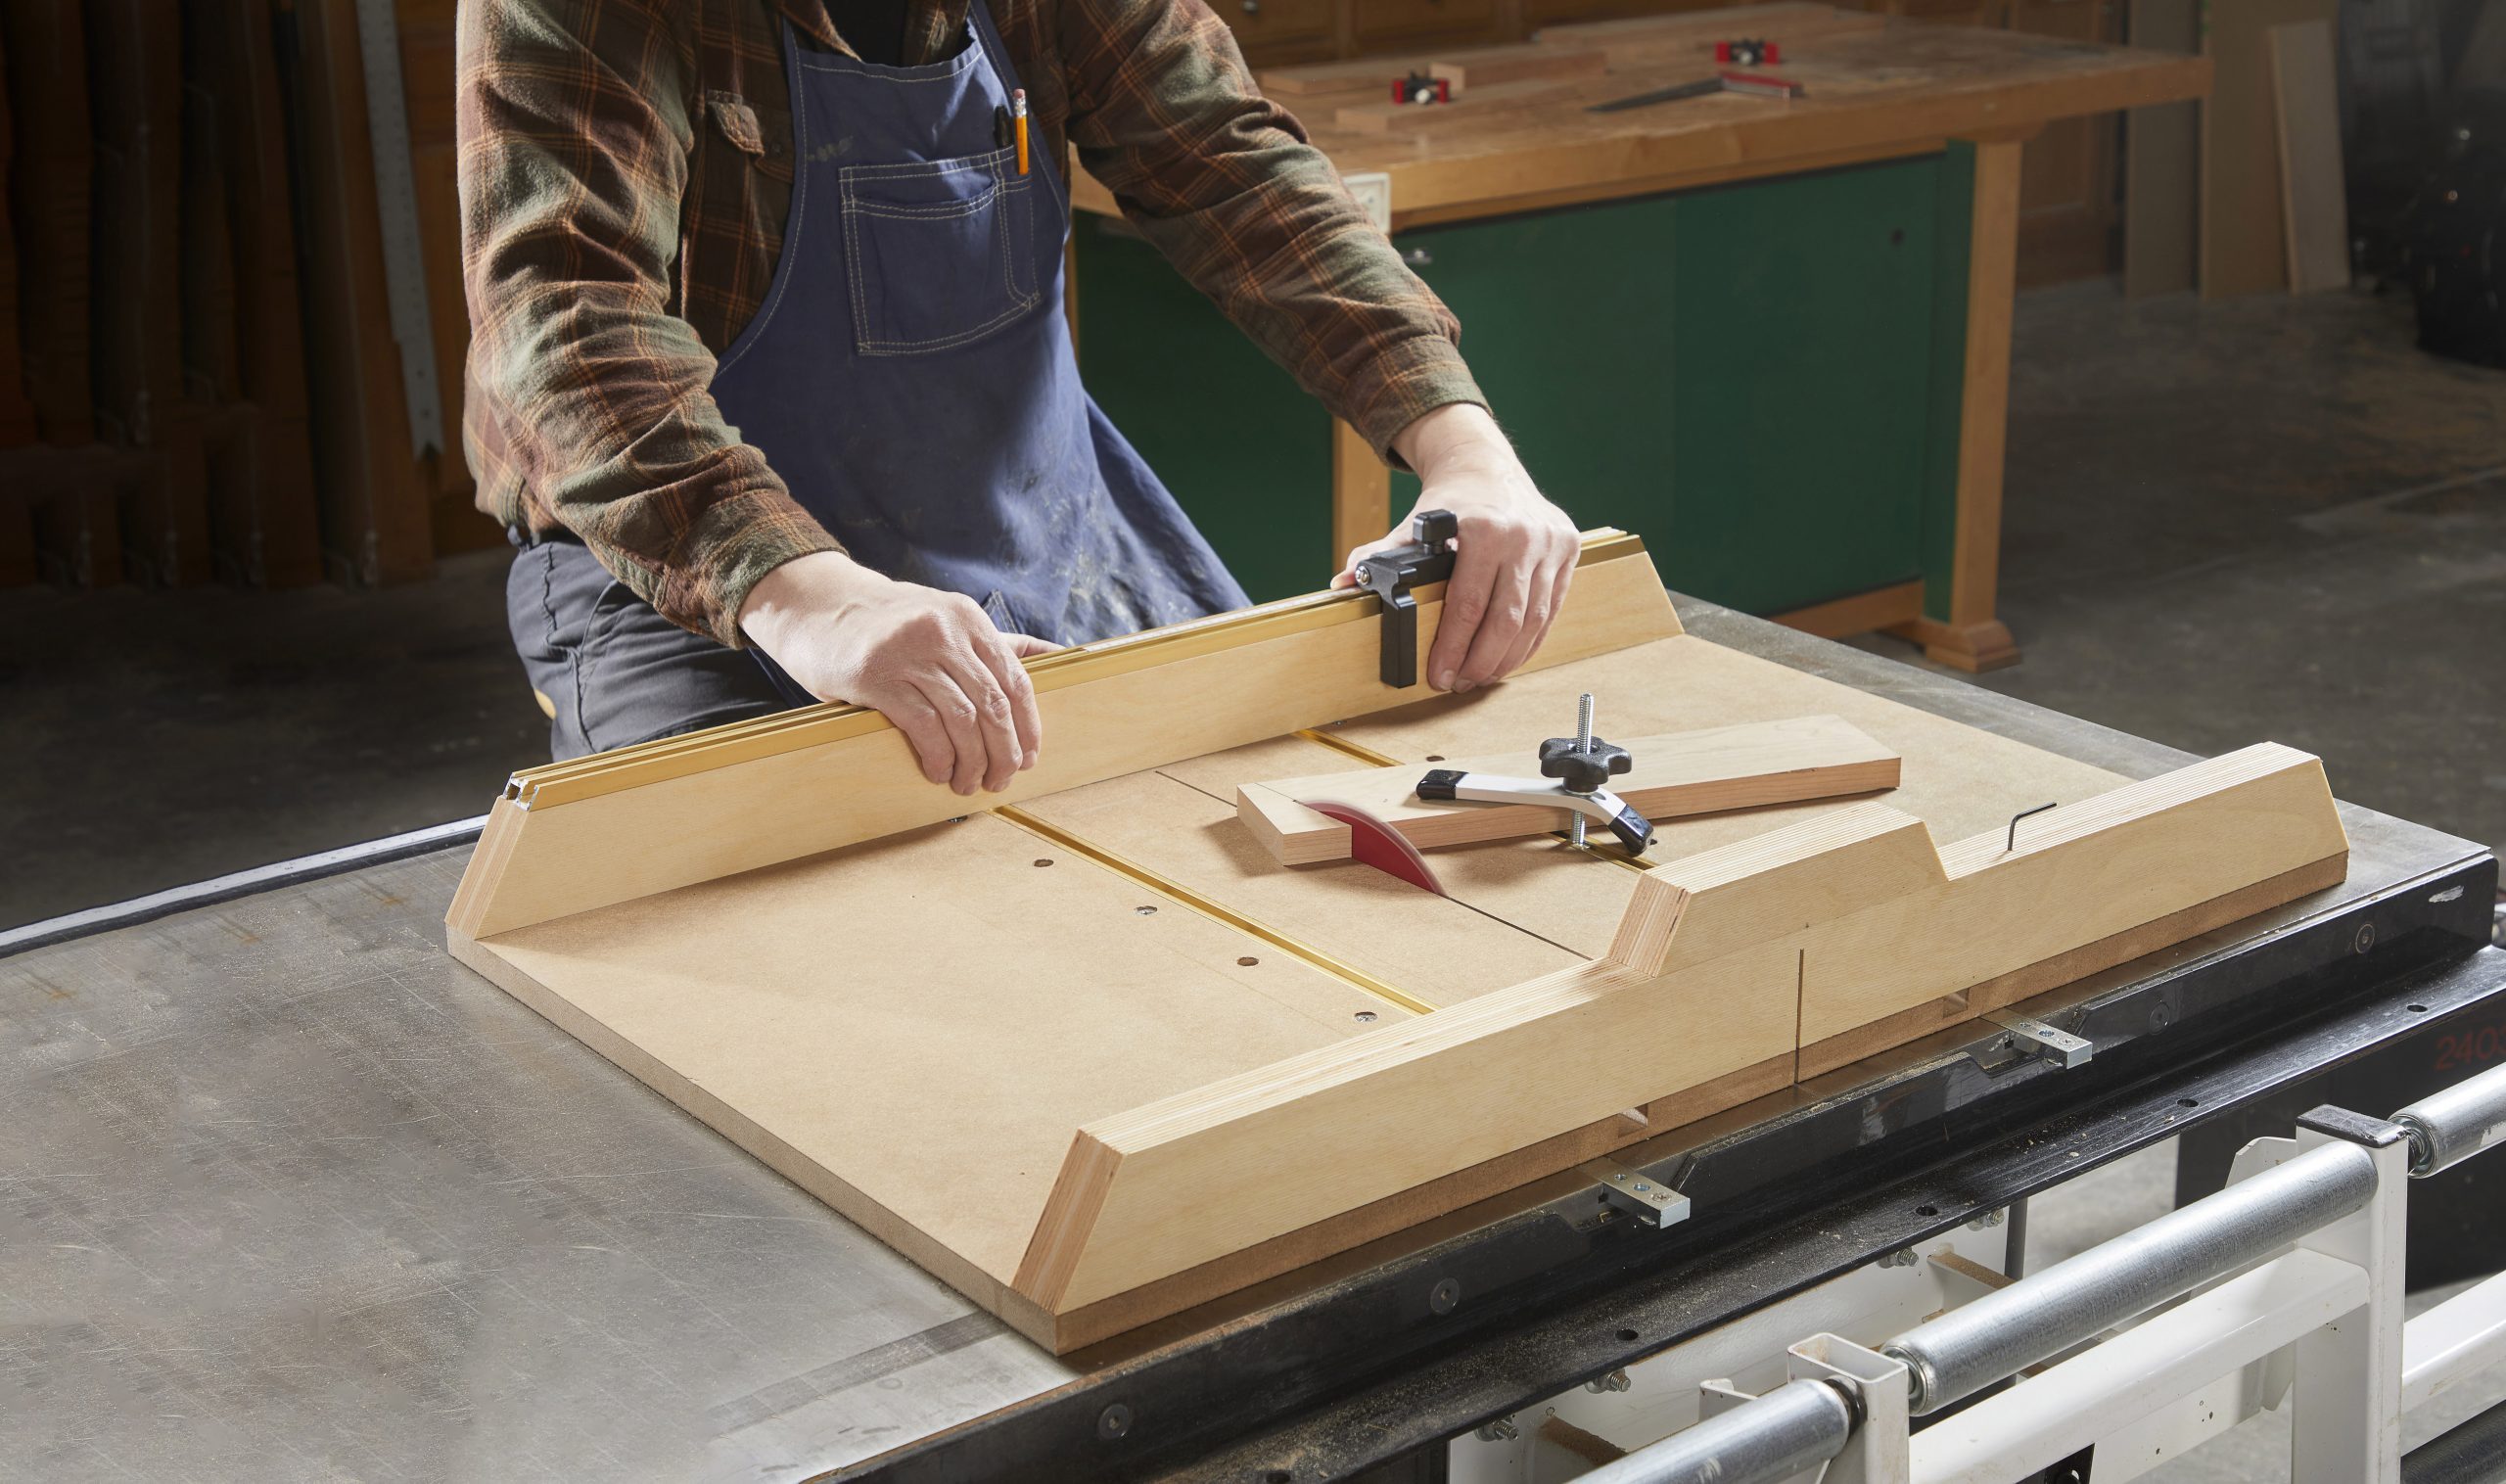
Image Source: www.familyhandyman.com
Why Build a Crosscut Sled?
A crosscut sled transforms your table saw into a precision cutting machine. Here’s why you should consider building one:
- Increased Accuracy: A sled allows for perfectly square cuts, every time.
- Enhanced Safety: It keeps your hands further away from the blade.
- Repeatable Cuts: Easily make multiple pieces of the same length.
- Support for Small Pieces: Safely cut small workpieces that would be difficult to handle freehand.
- Mitered Cuts: Many sled designs allow for adjustable fences to create precise mitered cuts.
Planning Your Crosscut Sled
Before you start cutting wood, careful planning is crucial. Let’s look at some key factors:
Determine Your Needs
Think about the types of projects you’ll be using the sled for.
- Size of Workpieces: How large are the pieces you typically cut? This will determine the overall crosscut sled dimensions.
- Angle Cuts: Do you need to make frequent angled cuts? Consider a sled with an adjustable fence.
- Storage Space: How much space do you have for storing the sled when it’s not in use?
Essential Crosscut Sled Materials
Choosing the right materials is important for a durable and accurate sled. Here’s what you’ll need:
- Base: 3/4″ plywood or MDF (Medium-Density Fiberboard) – provides a stable and flat surface.
- Runners: Hardwood (e.g., maple, oak) or UHMW (Ultra-High-Molecular-Weight) plastic – slides smoothly in the table saw’s miter slots.
- Fences: 3/4″ plywood, MDF, or hardwood – provides a solid backstop for your workpiece.
- Hardware: Screws, glue, T-track (optional, for adjustable fences).
Crosscut Sled Dimensions – Finding the Right Size
There’s no one-size-fits-all, but here are some general guidelines:
- Width: The width of the sled should be at least the width of your largest typical workpiece, plus extra for safety.
- Depth: The depth (front-to-back) should be sufficient to provide good support for your workpiece.
- Fence Height: The fence should be tall enough to support your work and allow you to clamp pieces securely.
Here is a table to give some examples.
| Table Saw Size | Sled Width | Sled Depth | Fence Height |
|---|---|---|---|
| 10″ Cabinet Saw | 24″ – 36″ | 18″ – 24″ | 3″ – 4″ |
| 10″ Contractor Saw | 20″ – 30″ | 16″ – 20″ | 3″ – 4″ |
| 10″ Hybrid Saw | 22″ – 32″ | 17″ – 22″ | 3″ – 4″ |
| Jobsite Saw | 18″ – 24″ | 14″ – 18″ | 3″ – 4″ |
Step-by-Step Crosscut Sled Build Guide
Let’s get started! Here are detailed steps to help you build a fantastic sled.
Step 1: Prepare the Base
- Cut the Base: Cut a piece of 3/4″ plywood or MDF to your desired crosscut sled dimensions. Make sure the edges are square.
- Flatten the Base: Check the base for flatness using a straightedge. If needed, flatten it with hand planes or a jointer.
- Miter Slots: Transfer the dimensions of your table saw’s miter slots to the bottom of the base.
Step 2: Install the Runners
- Cut the Runners: Cut two pieces of hardwood or UHMW to fit snugly into your table saw’s miter slots. They should be long enough to extend slightly beyond the front and back edges of the base.
- Test the Fit: Ensure the runners slide smoothly and without play in the miter slots.
- Attach the Runners: Apply glue to the runners and carefully position them on the base, aligning them with the marked miter slot locations. Secure them with screws from the top of the base, countersinking the screw heads.
Step 3: Add the Front Fence
- Cut the Front Fence: Cut a piece of 3/4″ material for the front fence. Make sure it’s perfectly straight and square.
- Attach the Front Fence: Position the fence at the front edge of the base, ensuring it’s square to the runners. Use a large square to check for accuracy.
- Secure the Fence: Apply glue and screw the fence to the base. Use plenty of screws for a strong connection.
Step 4: The Crucial First Cut
- Raise the Blade: Raise the table saw blade through the base of the sled. This creates the kerf that will define the zero-clearance slot.
- Stop the Saw: Turn off the saw. Unplug it for safety.
- Vacuum: Vacuum all sawdust.
Step 5: Install the Rear Fence
This is the most crucial step for achieving accurate cuts.
- Cut the Rear Fence: Cut a piece of 3/4″ material for the rear fence, matching the length of the front fence.
- Positioning: Here’s where precision counts!
- Place a reliable square against the blade, extending it to the rear edge of the sled base.
- Carefully align the rear fence along the square’s edge. This ensures the fence is perfectly perpendicular to the blade’s kerf.
- Secure the Fence: Apply glue to the fence and clamp it firmly in place. Double-check the alignment with the square before securing it with screws. Use screws frequently.
Step 6: Reinforce the Fence
- Add Braces: Cut and install triangular braces to reinforce both fences. This will prevent them from flexing during use.
- Secure Braces: Glue and screw the braces to the fences and the base.
Step 7: Fine-Tune and Add Features
- Test for Square: Use a reliable square to check that the sled cuts perfectly square. If necessary, make small adjustments to the rear fence.
- T-Track (Optional): Install T-track in the fences to allow for adjustable stops and hold-downs.
- Sacrificial Fence (Optional): Attach a sacrificial fence to the front or rear fence. You can then cut into this fence to create a zero-clearance support for splinter-free cuts.
Advanced Crosscut Sled Features
Once you’ve mastered the basic sled, consider adding these features:
Adjustable Fence
- T-Track System: Install T-track in the sled base and fence. This allows you to easily adjust the fence to different angles.
- Angle Gauge: Add an angle gauge to the fence for precise angle adjustments.
Hold-Down Clamps
- Secure Workpiece: Install hold-down clamps to keep your workpiece firmly in place during cutting.
- Various Types: There are several types of hold-down clamps available, including toggle clamps and cam clamps.
Measuring System
- Accurate Lengths: Incorporate a measuring system with a scale and pointer to quickly set the desired cut length.
- Digital Readout: For even greater accuracy, consider using a digital readout.
Safety First!
- Always disconnect the power: Whenever making adjustments or changes to the sled.
- Wear safety glasses: To protect your eyes from flying debris.
- Use push sticks: To keep your hands away from the blade.
- Never reach over the blade: While the saw is running.
- Ensure proper blade height: The blade should only extend slightly above the workpiece.
- Check stability: Always make sure the sled is stable and secure before making a cut.
Troubleshooting
- Sled Doesn’t Slide Smoothly: Check for debris in the miter slots or on the runners. Wax the runners for smoother movement.
- Cuts Aren’t Square: Double-check the alignment of the rear fence. Make small adjustments as needed.
- Fence Flexes: Reinforce the fence with additional braces.
- Sled is Too Heavy: Use lighter materials, such as thinner plywood or MDF.
Fathoming the Angle Cutting with a Crosscut Sled
A standard crosscut sled is perfect for making straight cuts, but it works for angled cuts, too. Usually, all you need is an adjustable fence to make it happen.
- Adjustable Fence: The simplest method involves an adjustable fence that pivots around a central point. This fence is marked with degree increments, allowing for precise angle settings.
- T-Track System: To build an adjustable fence, you will need to install a T-track on the base. This track will act as a guide for a pivot point where you can connect the adjustable fence.
- Degree Markings: Add degree markings near the pivot point to allow you to dial-in the specific angle you are looking for.
Frequently Asked Questions (FAQ)
- What is the best material for crosscut sled runners? Hardwood (maple, oak) or UHMW plastic are excellent choices. UHMW is very slippery and durable.
- Can I use a crosscut sled on any table saw? Yes, as long as your table saw has standard miter slots.
- How do I make sure my crosscut sled is square? Use a reliable square to align the rear fence to the blade. Make test cuts and adjust as needed.
- How often should I wax the runners of my crosscut sled? It depends on how frequently you use it. Wax them whenever they start to feel sticky or sluggish.
- How do I store my crosscut sled? Store it on a flat surface or hang it on a wall to prevent warping.
- What are the benefits of using a crosscut sled over the miter gauge? The crosscut sled offers increased accuracy, stability, and safety, especially for smaller workpieces.
- Do I need a zero-clearance insert with a crosscut sled? While not essential, a zero-clearance insert can further reduce tear-out and improve cut quality.
Conclusion
Building a crosscut sled is a worthwhile project for any woodworker. It significantly improves the accuracy and safety of your table saw, allowing you to create precise cuts with ease. By following these table saw crosscut sled plans and tips, you’ll be well on your way to building a fantastic woodworking sled that will serve you for years to come. Happy crosscut sled build-ing!

Hi, I’m Tom Scalisi, and welcome to The Saw Blog! I started this blog to share my hands-on experience and insights about woodworking tools—especially saws and saw blades. Over the years, I’ve had the chance to work with a wide range of tools, and I’m here to help both professionals and hobbyists make informed decisions when it comes to selecting and using their equipment. Whether you’re looking for in-depth reviews, tips, or just advice on how to get the best performance out of your tools, you’ll find it here. I’m excited to be part of your woodworking journey!